Damp walls are an all-too-familiar but serious problem for many UK homeowners.
They are not just unsightly, but also reflect underlying moisture issues, which can threaten your property and your well-being.
If you don’t remove the damp on the walls, it can lead to:
- Fading paint and wallpaper
- Crumbly plaster
- Timber decay to the structure
- Mildew and mould growth
- Respiratory and allergy problems
Regardless of whether the damp is caused by increasing moisture from the ground, external leaks, or lack of ventilation, the most important thing is to act early and treat it effectively.
This manual takes you through everything you need to learn: how to identify the form of damp, eliminate it, restore the damage, and prevent it from recurring.
How to Remove Damp from Walls: The Ultimate Guide
Follow the following steps keenly to get rid of damp from your walls and keep your home dry and safe from damp-related issues:
1. Determine the Type of Damp
Before you undertake any treatment, you need to determine the cause and category of damp.
Getting it wrong wastes money and compounds the issue.
Primary Types of Damp:
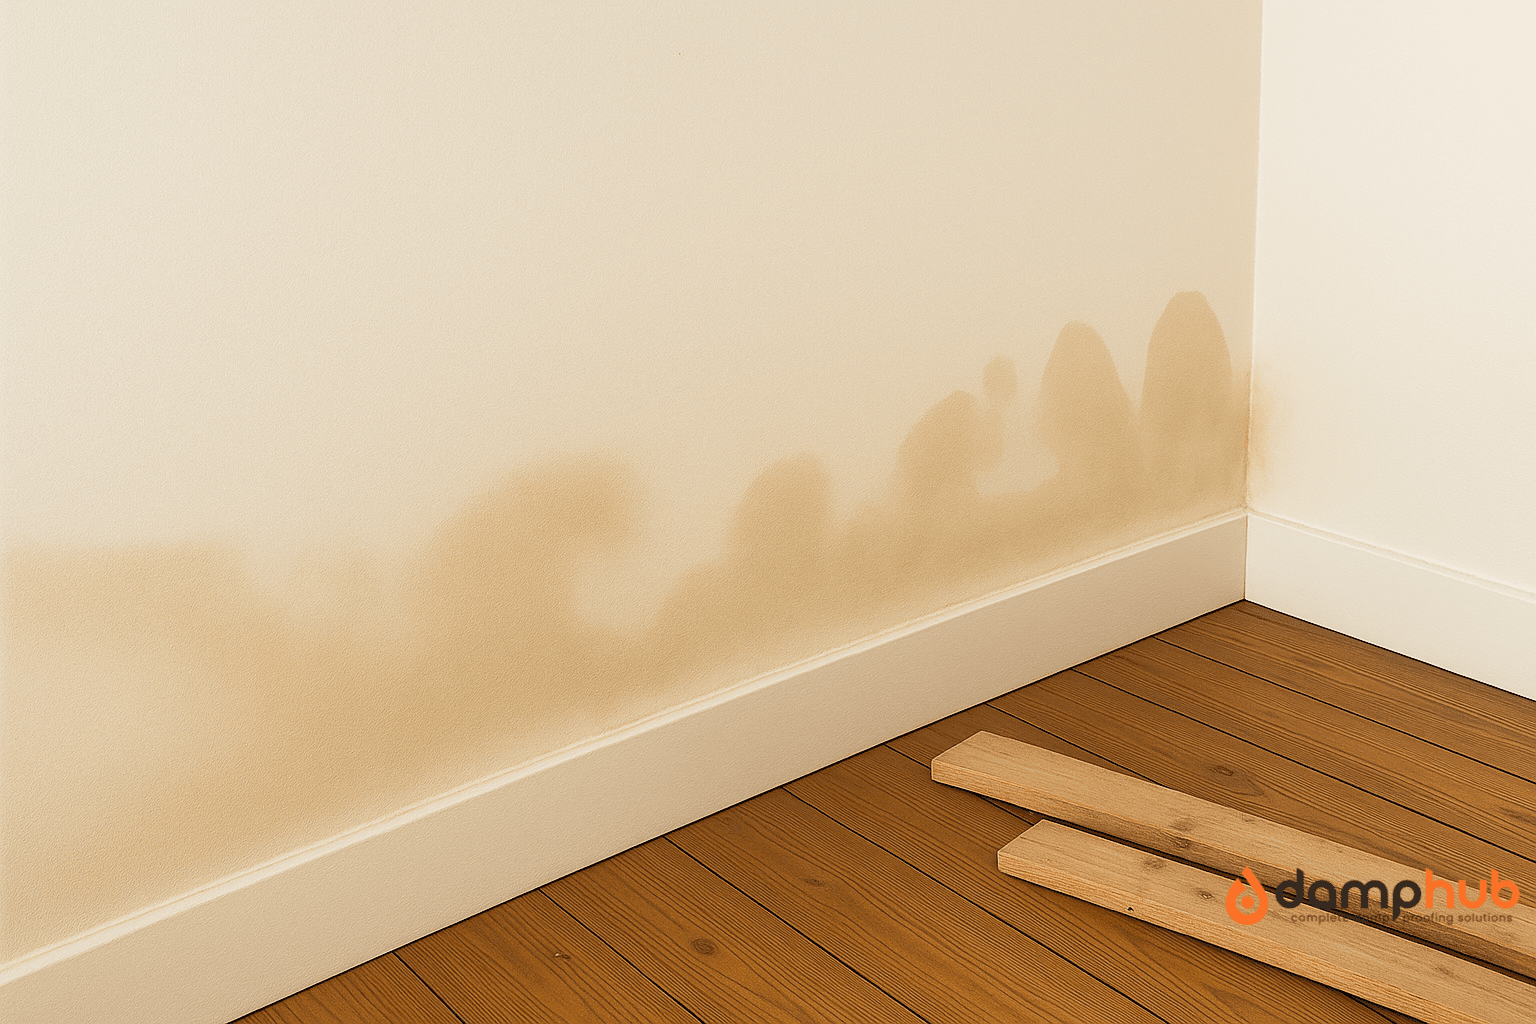
(i) Rising Damp
- Caused by moisture moving up through walls from the floor because of a damaged or missing damp-proof course (DPC).
- Typically affects walls on ground floors up to 1 metre high.
- Typical signs of rising damp:
- Tide marks on walls
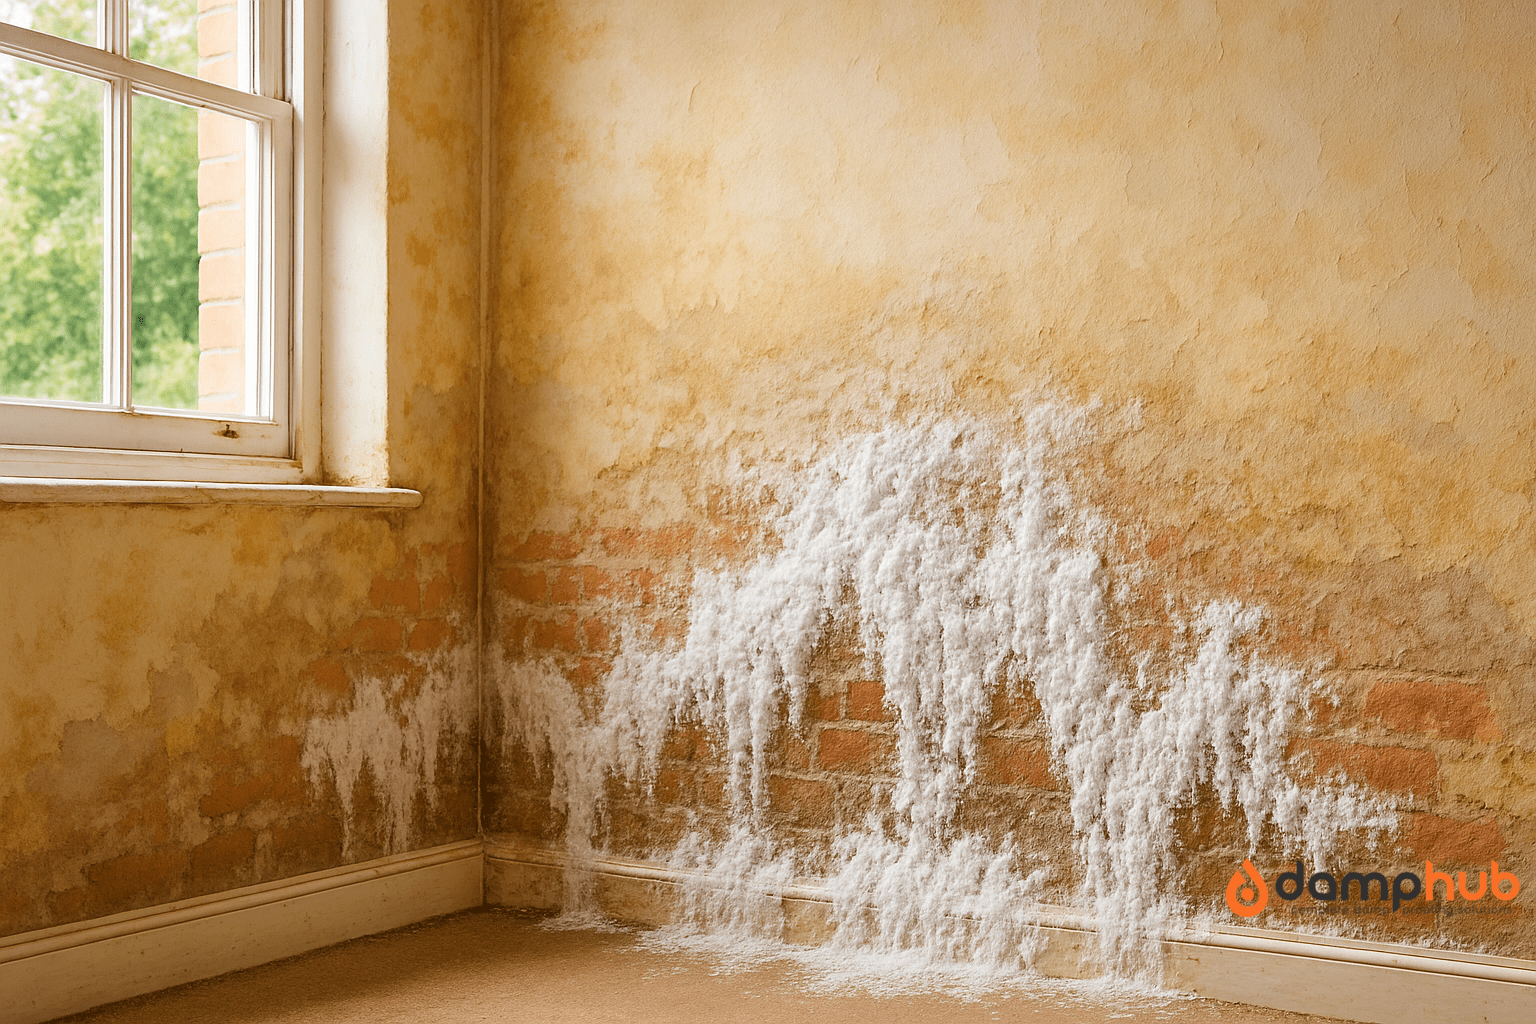
- Salt deposits (white, powdery)
- Damp skirting boards or floorboards
- Peeling paint or wallpaper
(ii) Penetrating Damp
- Water enters through exterior walls because of leaks, cracked render, malfunctioning gutters, or damaged roof tiles.
- It can happen at any floor level.
- Frequent signs:
- Damp patches on the wall that increase after rain
- Mould in secluded areas
- Localised musty odour
(iii) Condensation
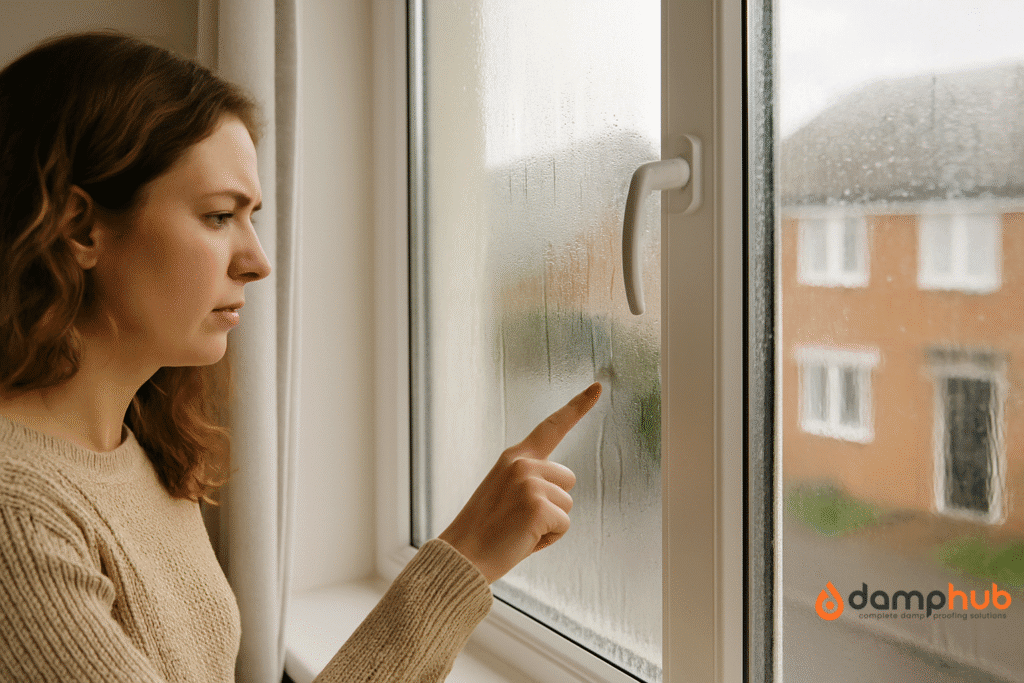
- Happens when warm, damp air comes into contact with a cold surface (such as uninsulated walls).
- Extremely common in bathrooms, kitchens, and bedrooms.
- Frequent signs:
- Water droplets on walls
- Surface mold
- Musty odor
- Affected clothes, curtains, and furniture
Good to Know:
Rising damp is frequently misdiagnosed. There is more penetrating damp and condensation in new houses.
👉 Must read: What is Damp – A Complete Guide 2025
2. Dry Out the Affected Wall
As a prerequisite to removing or treating the damp, you must remove excess moisture from the affected area.
Drying the wall prevents regrowth of mould and makes it possible to safely repair materials such as plaster.
Drying Techniques:
- Improve natural ventilation:
- Open windows every day for a minimum of 15–30 minutes.
- Leave interior doors open to permit airflow.
- Utilise electric fans or a fan heater:
- Blow warm air over moist surfaces to enhance evaporation.
- Operate a dehumidifier:
- Best suited for rooms that can be confined or have poor ventilation.
- Set to hold indoor humidity at 40%–60%.
- Inspect and repair water ingress:
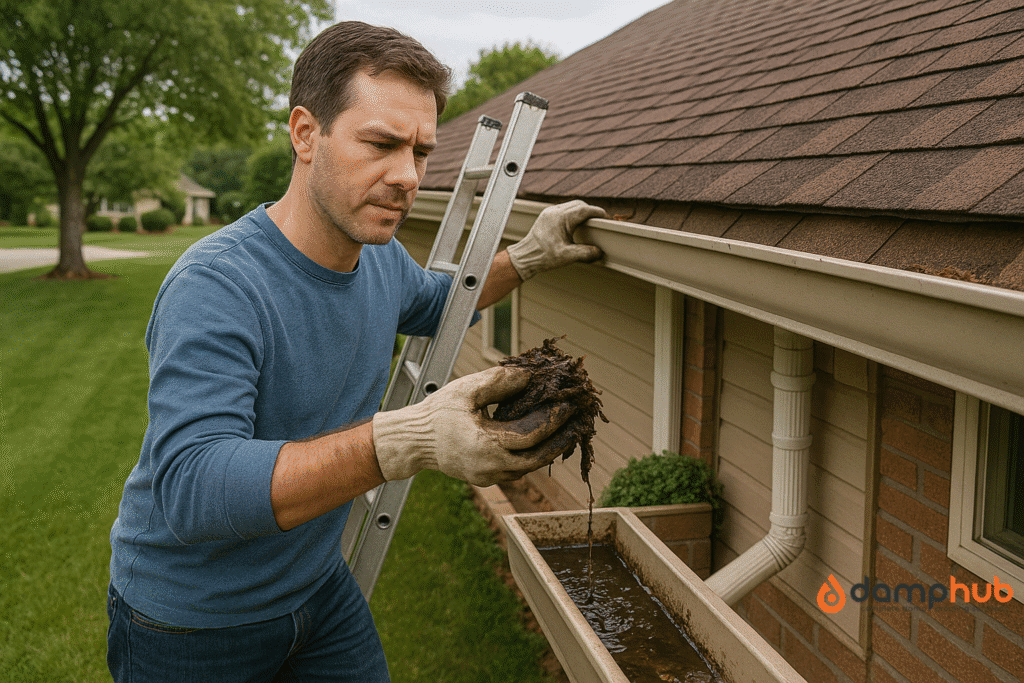
- Clear obstructed gutters and downpipes.
- Seal roof leaks or exterior cracks.
- Reseal windows or exterior brickwork where required.
- Remove wallpaper or wall coverings:
- These absorb moisture—strip them to allow the wall to breathe.
Good to Know:
Walls can take weeks to completely dry, depending on the severity, especially after flooding or rising damp.

3. Clean and Prepare the Surface
Clean any surface salt residue or mould before applying the repair treatments or repainting once the wall is dry.
Cleaning Steps:
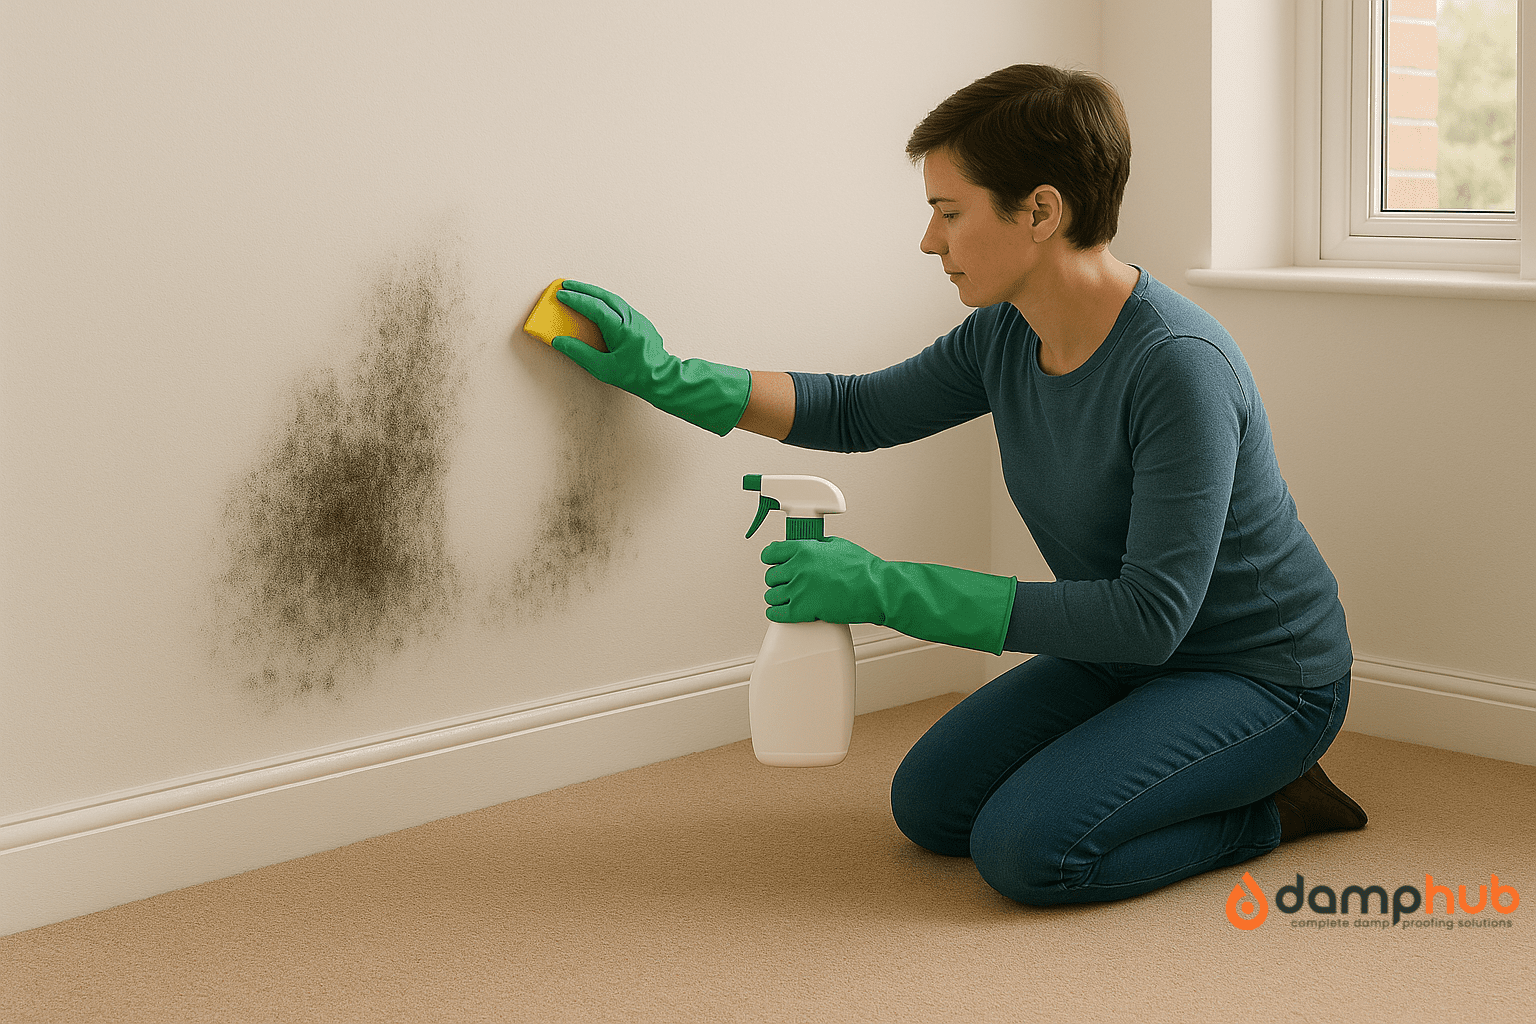
- Scrub away mould:
- Use white vinegar (1:1 water), baking soda, or an anti-mould cleaner.
- Wear a face mask, goggles, and gloves to prevent spores from being inhaled.
- Rinse thoroughly and air dry.
- Brush away efflorescence (salt crystals):
- Stiff dry brush.
- Do not wet the area—water reactivates salts.
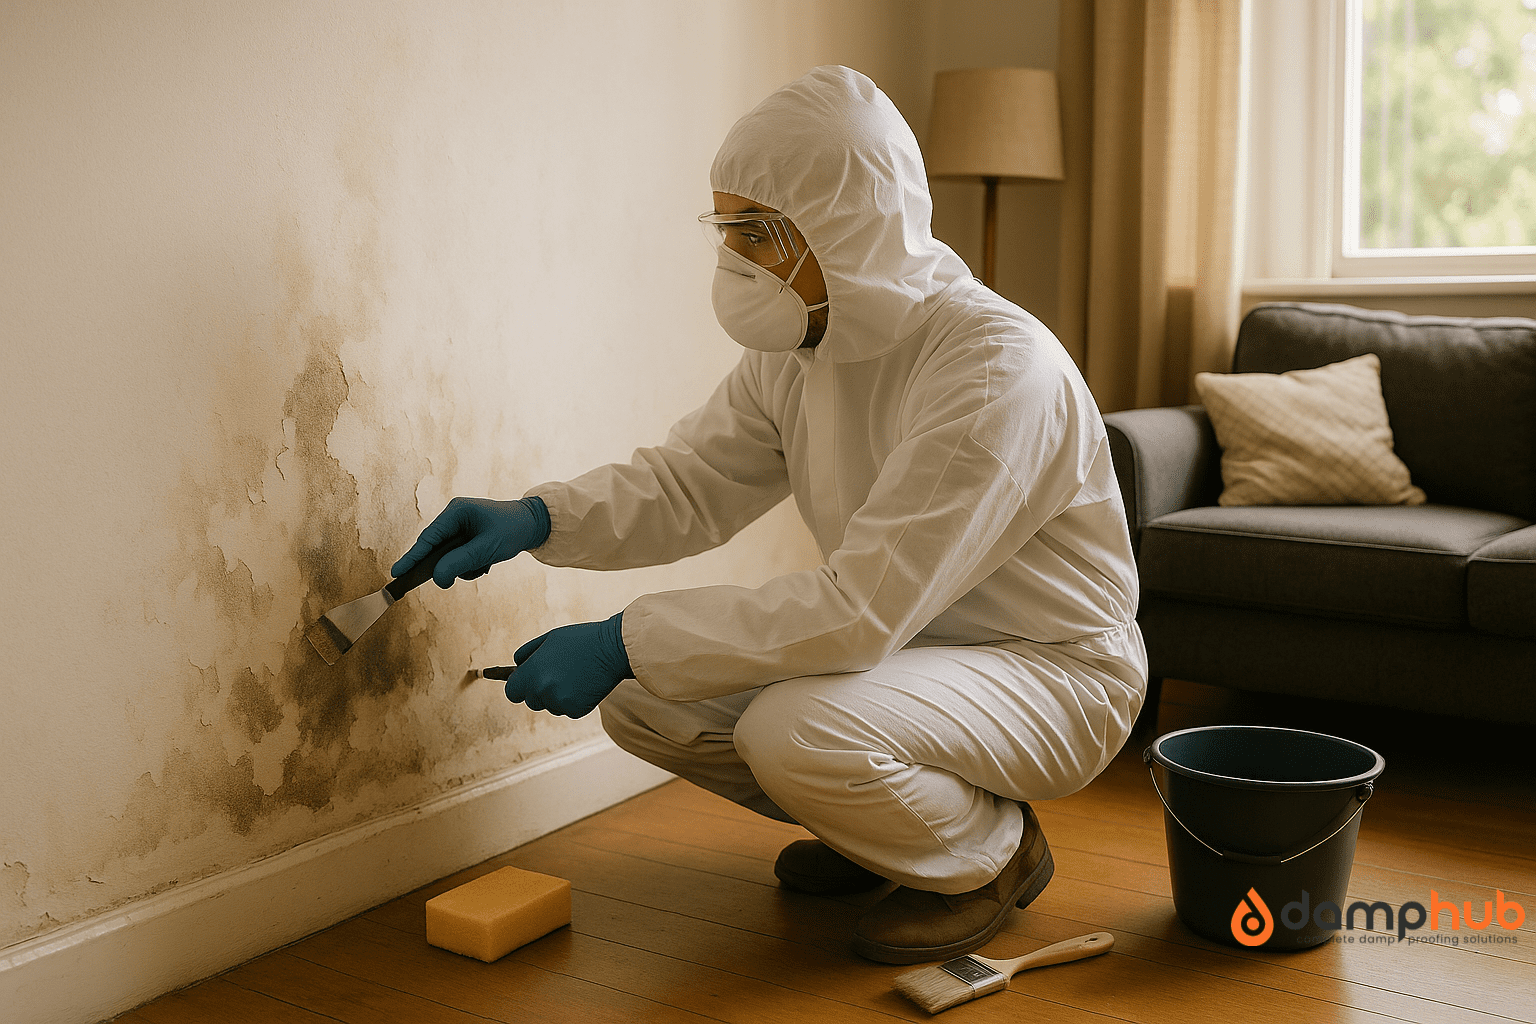
- Strip damaged paint, plaster or wallpaper:
- Scrape off flaking or bubbling surfaces.
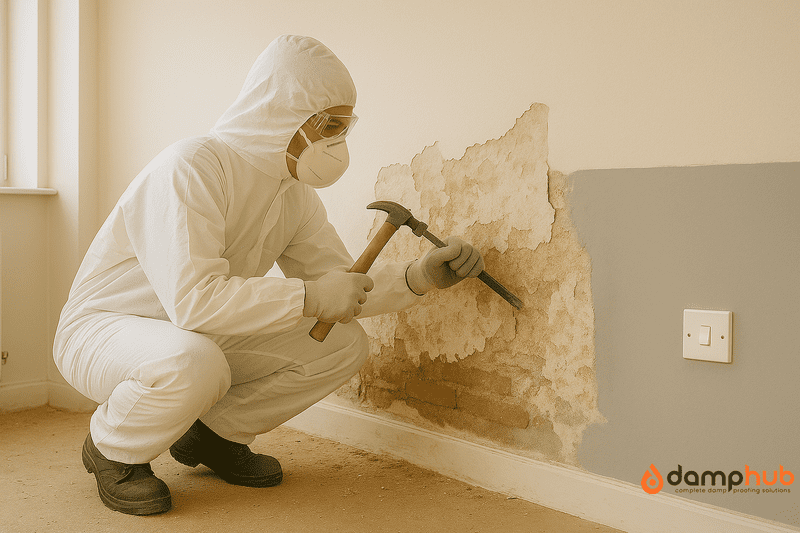
- If plaster is soft, crumbly, or stained right through, remove it completely down to the brickwork.
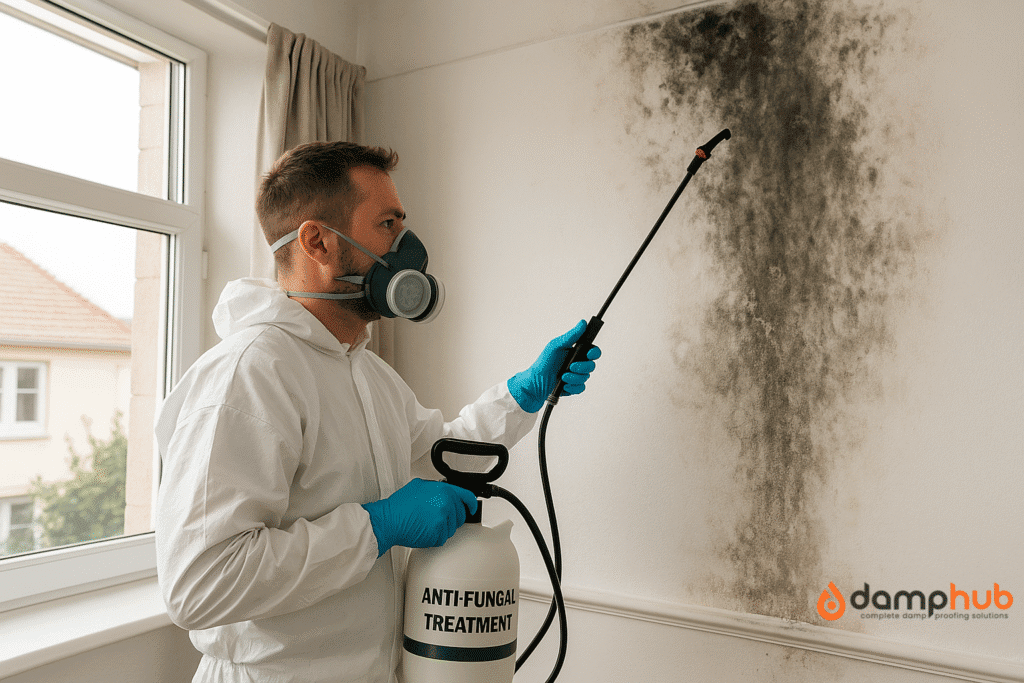
- Apply antifungal treatment:
- Kills mould spores in plaster and prevents regrowth.
- Most crucial if you had black mould.
Example:
In a Victorian house suffering from rising damp, you might have to strip plaster back to the brickwork, allow it to dry out fully, and reapply a tanking system or render with damp-proofing additives.
👉 Must read: How to Damp Proof a House: 7 Practical Tips from Industry Experts
4. Treat Damp-Proof
After cleaning and drying the surface, treat the wall according to the type of damp encountered above.
Treatment Options by Damp Type:
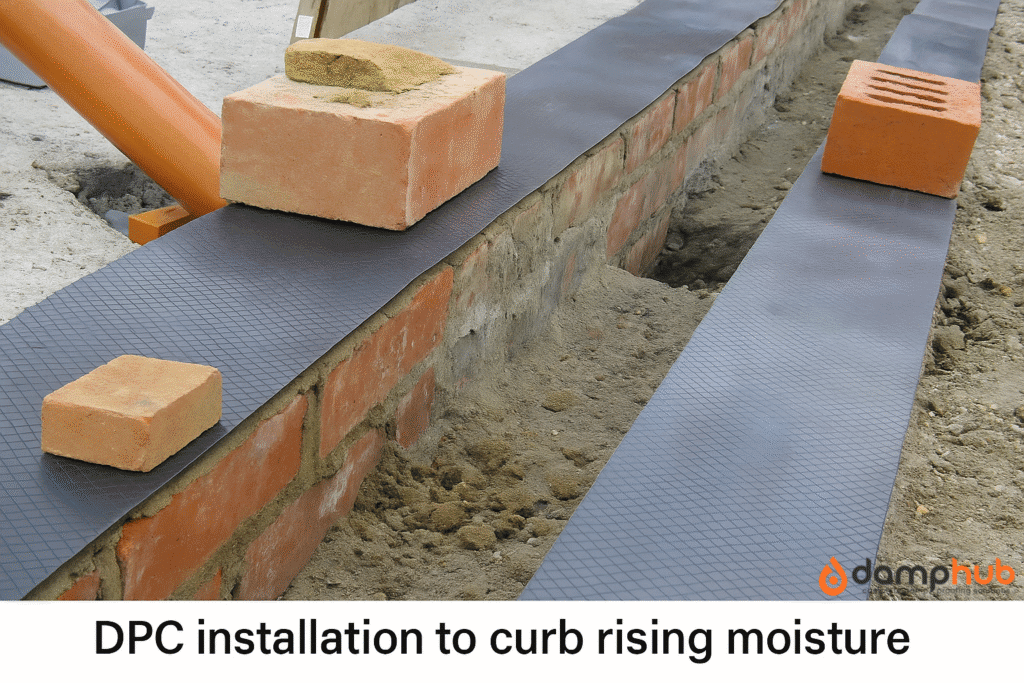
For Rising Damp:
- Install or repair damp-proof course (DPC):
- Apply chemical injections that form a waterproof barrier.
- Best carried out by specialists.
- Tanking slurry:
- Dirt-resistant cement coating that prevents water from entering masonry.
- Waterproof replastering:
- Apply salt-resistant render or renovation plaster.
For Penetrating Damp:
- Seal outside walls:
- Breathable water-repellent sealants.
- Repair outside faults:
- Stem leaks, cracked pointing, or failed roof flashings.
- Insulate walls:
- External or cavity insulation can help cut moisture absorption.
For Condensation Damp:
- Fit extractor fans:
- Needed in bathrooms and kitchens.
- Apply anti-condensation paint:
- Insulates inner walls and discourages condensation.
- Improve insulation:
- Cold surfaces are more likely to condense—insulate lofts, walls, and floors.
👉 Must read: Is Rising Damp Dangerous
5. Refinish and Paint the Wall
Having treated the wall, it’s time to finish and paint the wall with the right finishing materials.
Steps to Refinish:
- Ensure full drying:
- Use a moisture meter to test levels before decorating.
- Apply a mist coat to new plaster:
- A thinned emulsion base coat ensures paint can adhere successfully.
- Select breathable paints:
- Limewash, clay paint, or mineral-based paints let moisture escape.
- Don’t use vinyl or acrylic paints:
- These hold in moisture and can lead to condensation buildup.
6. Stop Damp from Returning
Prevention is the key to having dry walls in the long term. Once the issue is resolved, ensure it doesn’t return.
Long-Term Damp Prevention Tips:
- Clean gutters and downpipes
- Repair plumbing leaks promptly
- Vent bathrooms and kitchens
- Open windows when showering or cooking.
- Air-dry clothes or with a vented dryer
- Fit trickle vents to windows
- Employ a dehumidifier in winter
- Leave furniture 5–10cm from the walls
- Enhances air flow.
Tip: Fit a humidity sensor or smart hygrometer. Maintaining indoor levels below 60% will significantly lower the risk of damp.
👉 Must read: How to Treat Rising Damp: A Complete Guide for UK Homeowners
7. When to Call an Expert
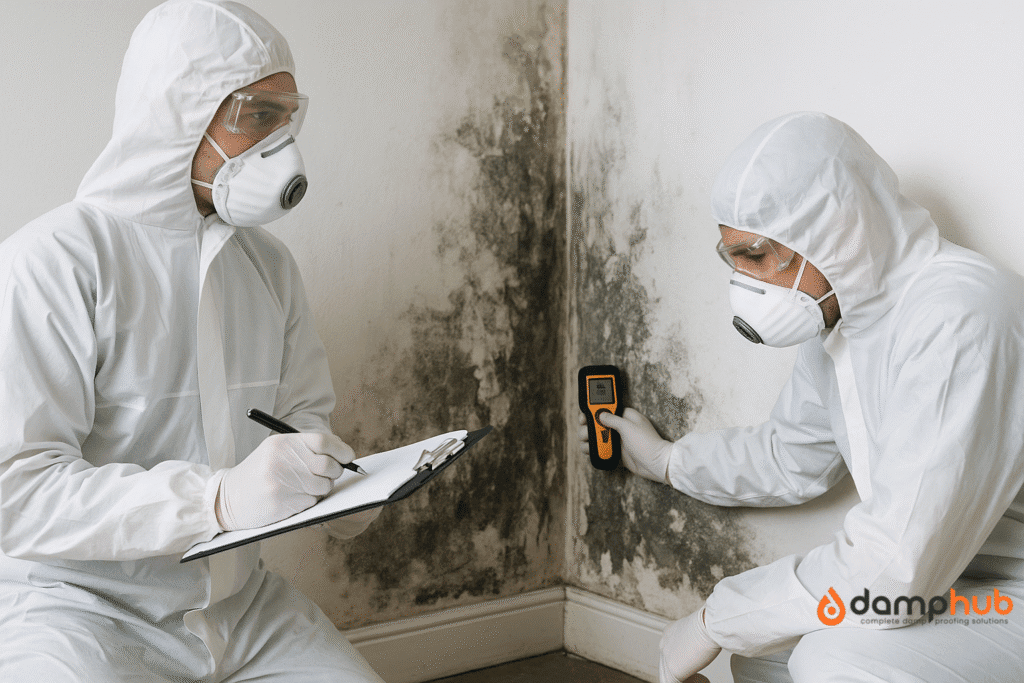
Certain damp problems are more complicated or serious than can be addressed with DIY solutions. You should contact a professional surveyor or damp expert if:
- You notice significant or spreading patches of mould
- Plaster or timber is soft or crumbling
- Damp returns despite ventilation or cleaning
- Your home is over 50 years old and lacks a modern DPC
- You’re unsure whether the cause is rising, penetrating, or condensation
Conclusion
Dealing with damp walls isn’t just about removing stains—it’s about protecting your home from hidden damage.
The longer moisture is left untreated, the more costly the repairs can become.
Whether you’re battling rising damp in a ground-floor room or tackling mould caused by poor ventilation.
If you’re unsure, don’t be afraid to seek professional guidance, particularly if the damage is extensive or you’re living in an older or listed building.
With proper equipment, understanding, and attention, you can restore a damp, unwholesome wall to its former status as a dry, safe, and clean living area.

