When you spot flaking paint, tide marks, mould, or yellow patches on your walls, you most likely think the same thing most of us do: repaint it to restore the look.
But did you know painting over damp is one of the worst mistakes you can make? It’s like sealing a wound without cleaning the infection.
The moisture trapped inside won’t just sit there — it will push through, cause your new paint to bubble and peel, and bring back mould worse than before.
If you’re serious about fixing the problem (not just covering it up), this guide will show you exactly how to treat a damp wall before painting. Step by step, the right way.
What Happens If You Paint Over a Damp Wall
Painting over a damp wall is strongly discouraged, as it can lead to several long-term issues, both aesthetically and structurally.
Here’s what typically happens:
1. Paint Adhesion Is Severely Compromised
Paint is formulated to adhere to clean, dry, and stable substrates. When moisture is present:
- Adhesion fails: The water acts as a barrier between the wall and the paint film, preventing it from bonding properly.
- Blistering and bubbling occur as trapped moisture pushes outward, breaking through the paint layer.
- Over time, you’ll see peeling, flaking, or chalking — all signs of coating breakdown due to substrate instability.
2. Efflorescence and Salt Staining Become Visible
Damp masonry and plaster often contain water-soluble salts. As moisture migrates to the surface, it brings these salts with it:
- This results in efflorescence—white, powdery deposits that disfigure painted surfaces.
- Salt movement can discolour paint, cause streaking, and further disrupt adhesion.
- No decorative finish will remain stable as long as active moisture and salt transport continue beneath the surface.
3. Encouragement of Mould and Biological Growth
Where moisture is present, mould spores thrive, especially on indoor walls with limited ventilation. Painting over a damp wall:
- Seals in moisture, creating a humid micro-environment behind the paint film.
- Leads to black mould growth that eventually penetrates the painted surface.
- Poses serious health risks, especially to those with respiratory conditions, and will often violate indoor air quality standards.
4. Cosmetic Fixes Mask Underlying Structural Issues
Dampness is a symptom, not the root cause of the problem. By painting over it:
- You risk concealing more serious issues, such as rising damp, penetrating damp, or leaking plumbing.
- Delaying proper investigation allows moisture to continue degrading internal materials, including plaster, brick, insulation, and even timber framing.
5. Premature Material Failure and Costly Rework
When the paint inevitably fails, the surface must be stripped, the substrate treated, and then repainted. This adds:
- Labour and material costs for remedial work
- Time delays in restoration or renovation projects
- Greater risk of needing to replace affected substrates entirely if damage becomes irreversible
How to Treat Damp Walls Before Painting – Identify the Type of Damp
Correct treatment starts with accurate diagnosis.
Painting over or repairing a wall without understanding the type of dampness you’re dealing with will almost always lead to recurring problems.
Here’s how a professional would identify the three most common types of damp in buildings:
1. Rising Damp – Starts from the Ground Up
How do you identify rising damp?
- Damp patches starting at floor level and gradually rising to about 1 metre high
- Tide marks or staining on walls
- Peeling paint or wallpaper near skirting boards
- A musty smell in ground-floor rooms
- Salt deposits (white, powdery substance) on the wall surface
How to Confirm It’s Rising Damp:
- Use a moisture meter at various heights on the wall — readings will be highest at the base and gradually reduce with height
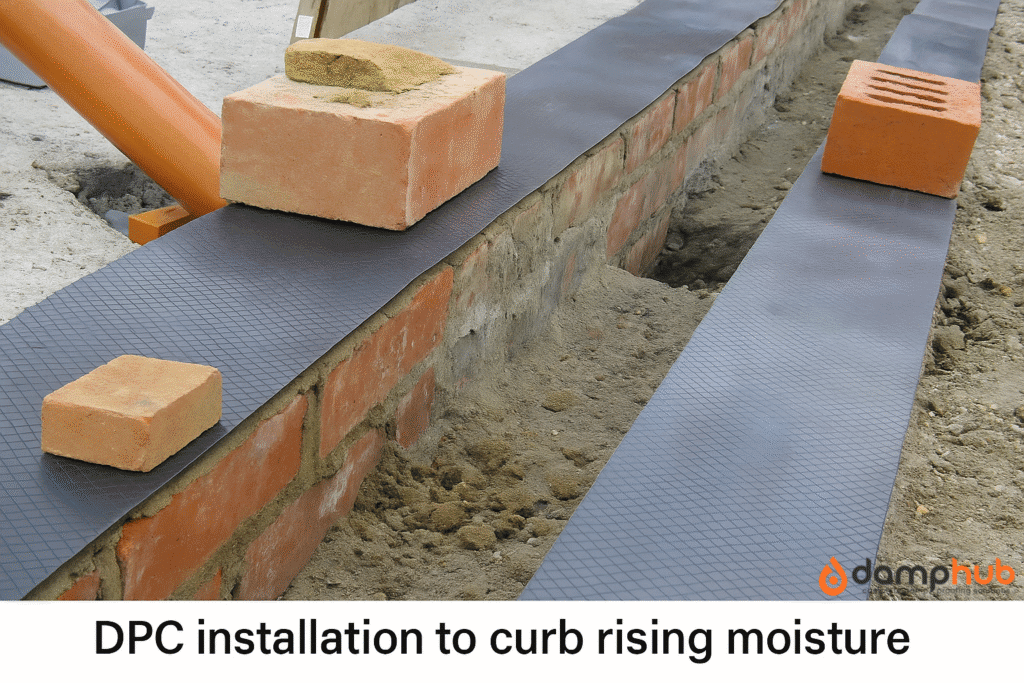
- Check for the presence or failure of a damp-proof course (DPC) — older properties may lack one entirely, or it may have been bridged by external ground levels or internal flooring
Common Causes of Rising Damp:
- No DPC installed in older homes
- DPC failure or bridging (e.g. high external ground levels, blocked cavities)
- Poor sub-floor ventilation
👉 Must Read: What is Rising Damp – A Complete Guide
2. Penetrating Damp – Lateral or Localised Moisture Ingress
How do you identify penetrating damp?:
- Damp patches on external-facing walls, usually not limited to the bottom (can appear mid-wall or near ceilings)
- Signs that worsen after rainfall
- Discolouration, flaking paint or plaster in specific spots
- Damp in chimney breasts, windows, or corners
How to Confirm It’s Penetrating:
- Inspect the outside of the building:
- Cracked or missing render
- Damaged pointing or brickwork
- Blocked gutters or overflowing downpipes
- Leaks around window frames
- Cracked or missing render
- Use a moisture meter to pinpoint localised high readings — penetrating damp will often appear in isolated areas, rather than rising in a consistent band like rising damp
Common Causes of Penetrating Damp:
- Defective external walls (cracked render, porous bricks)
- Broken guttering or downpipes
- Faulty seals around windows or doors
- Leaking roofs or flashings
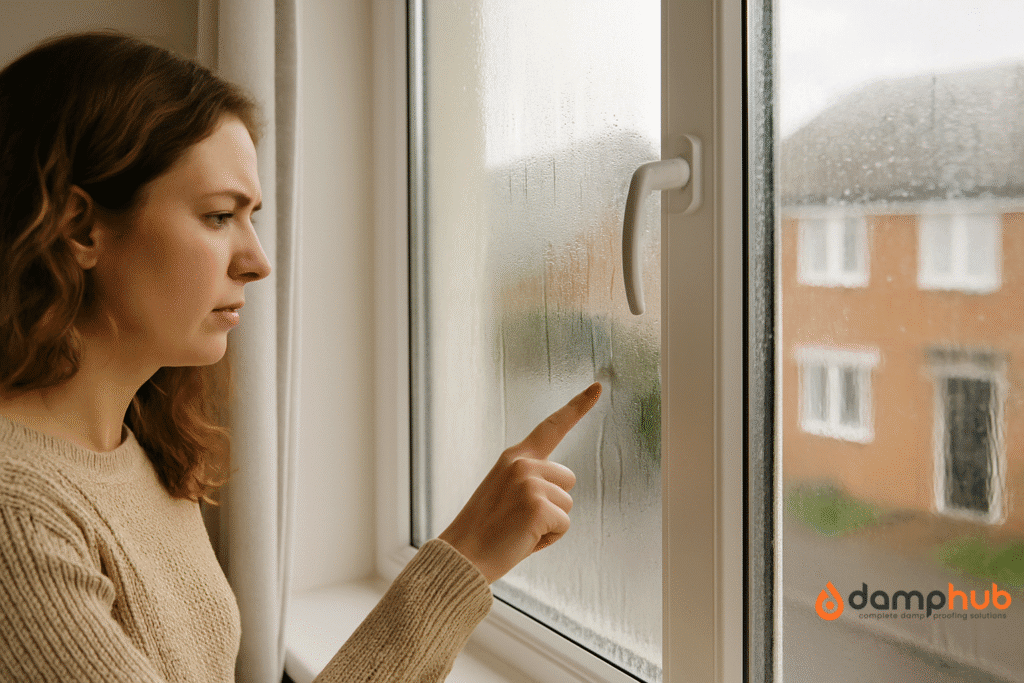
3. Condensation – Moisture from Internal Humidity
How do you identify Condensation damp?:
- Misty windows, especially in the mornings
- Black mould in corners, behind furniture, and on ceilings or cold walls
- Damp patches that worsen in winter
- A generally humid or musty feel in the room
- Bathrooms, kitchens, and bedrooms are most commonly affected
How to Confirm Condensation Damp:
- Condensation tends to affect cooler surfaces, especially external walls
- It often appears and disappears with temperature changes
- A digital hygrometer can measure relative humidity — anything consistently above 60% indoors is a red flag
- Unlike other forms of damp, the wall substrate may be dry underneath when tested with a deep-probe moisture meter — only the surface is affected
Common Causes of Condensation:
- Poor ventilation (no extractor fans, sealed windows)
- Excess indoor moisture (from cooking, showers, drying clothes)
- Cold surfaces due to poor insulation
Professional Tip:
If the signs are unclear or more than one type of damp appears to be present, it’s worth investing in a professional damp survey. Specialists use diagnostic tools like carbide meters, thermal imaging cameras, and salt analysis to distinguish between types of damp with precision.
How do you treat walls before painting? Step by Step Guide
Once the damp source is under control, the next step is making sure your walls are properly prepared for painting.
Rushing this part or skipping steps can undo all the hard work, leading to recurring damage, a poor finish, and wasted materials.
Here’s how experts treat previously damp walls before painting — in the exact order it should be done:
1. Make Sure the Wall is Bone Dry
Before anything else, the wall must be completely dry, not just on the surface.
- Use a moisture meter to check internal moisture content. Readings below 18% WME are generally safe for painting.
- Drying can take several weeks, depending on wall thickness, ventilation, and severity of previous damp.
- Speed up drying with dehumidifiers, fans, or temporary heating, but avoid trapping moisture with sealed coverings.
⚠️ Painting too soon locks moisture behind the paint film, causing bubbling, flaking, and mould all over again.
👉 Find Out: How Much Does Rising Damp Treatment Cost?
2. Strip Away Damaged or Contaminated Material
Any existing paint or plaster that was damaged by damp must be fully removed.
- Scrape off blistered, peeling or flaking paint with a putty knife or scraper.
- Sand back rough edges to achieve a smooth transition between damaged and intact areas.
- If plaster has gone soft, powdery or hollow (a sign of being “blown”), it needs to be hacked off and re-plastered.
3. Clean the Wall Thoroughly
Damp walls often accumulate mould, salts, and dirt — all of which must be cleaned off before painting.
- Use a fungicidal wash (not just household bleach) to treat any black mould or mildew. Let it dry fully before continuing.
- Brush off efflorescence (white salt deposits) using a stiff brush — don’t wet it, or the salts will go deeper.
- Wipe the wall with sugar soap to remove general dirt and grease, then rinse with clean water.
4. Repair and Re-skim the Wall — Based on Damp Type
Now that the surface is clean and dry, repairs can begin.
But not all damp-affected walls should be treated the same way.
Here’s how the repair stage varies depending on the underlying cause:
Rising Damp Repairs
- Hack off damaged plaster up to 1 metre or higher if salts have spread. The standard rule is to remove at least 300mm above the last visible tide mark.
- Install or repair the damp-proof course (DPC) if it has failed. This may involve chemical injection, DPC membrane, or electro-osmotic systems.
- Re-plaster using salt-resistant renovating plaster or a breathable system like sand and lime render — avoid gypsum.
- Allow walls to dry thoroughly (sometimes up to several months) before decorating. Use a moisture meter to confirm.
🛠 Pro Tip: Salt contamination is the main problem with rising damp. Always use salt-inhibiting additives or renovating plaster to stop it resurfacing through new paint.
👉 Must Read: How to Treat Rising Damp: A Complete Guide for UK Homeowners
Penetrating Damp Repairs
- Identify and fix the source of water ingress before making interior repairs — e.g., cracked render, defective pointing, broken gutters, or faulty window seals.
- Remove damaged plaster only in the affected area — penetrating damp tends to be localised.
- Patch with breathable filler or render. If plaster has degraded significantly, replace it with a vapour-permeable system (e.g., lime plaster or renovating plaster).
- In exposed areas, consider applying a water-repellent treatment to external walls once repairs are complete.
🌧 Tip: Exterior repairs are non-negotiable. If the source isn’t fixed, interior painting will fail again, no matter how thorough the prep.
Condensation Damp Repairs
- Improve ventilation and insulation first — install extractor fans, trickle vents, or dehumidifiers.
- Walls often don’t need full replastering unless mould or condensation has caused surface breakdown.
- Wash all surfaces with a fungicidal treatment, especially corners and behind furniture where air circulation is poor.
- Fill any cracks or surface damage with a mould-resistant filler, then sand smooth.
Good to Know: This is the only type of damp where surface treatment may be enough, as long as ventilation issues are fully addressed.
👉 Read more from us: Damp Proofing UK – Costs, Rules, and What You Need to Know
5. Prime the Wall After Damp Repairs
After damp repairs, walls can remain slightly porous, stained, or uneven in texture.
Primer prepares the surface to accept paint properly and protects your work from failure.
Choose one based on your wall’s current state:
- Stabilising Primer:
Ideal for powdery, chalky, or highly absorbent surfaces (often after scraping or sanding). It soaks in and binds loose particles, creating a solid base for paint to grip. - Stain-Blocking Primer:
Use this if the wall still shows tide marks, salt deposits, or previous mould staining. These primers seal in stains so they won’t bleed through fresh paint. - Breathable Mineral Primer:
For walls repaired with lime or renovating plaster, use a breathable primer. It allows moisture vapour to escape while sealing the surface.
⚠️ Avoid vinyl or oil-based primers on breathable systems — they trap moisture and can undo your repairs.
👉 Need More? How to Treat Damp Walls Internally: A Step-by-Step Guide
6. Choose the Right Paint for the Damp Conditions
Your wall has been through a lot, and your paint should reflect that.
Choose a topcoat that suits both the material and the environment:
- Breathable Paint (e.g., limewash, silicate, or clay-based):
Best for older buildings or walls that may still breathe. These paints let moisture escape, helping prevent blistering or future damp issues.
- Mould-Resistant Emulsion:
Perfect for bathrooms, kitchens, or any room prone to condensation. These paints include fungicides to slow down mould regrowth.
- Stain-Resistant or Durable Paints:
Useful in high-humidity areas or places where previous stains might try to resurface. Look for high-performance emulsions with added resistance to bleed-through.
How Long Does Damp Treatment Take to Dry?

The drying time depends on the type of damp proofing used and the wall’s condition:
- Rising Damp (injected DPC): Allow 1 week per 25mm of wall thickness—often 4–6 weeks total before decorating.
- Penetrating Damp: If the source is fixed and the wall has dried out, allow 2–3 weeks minimum, longer for thick or solid walls.
- Condensation Treatments (e.g., anti-mould washes): Drying time is usually 24–48 hours, depending on ventilation.
⏱ Always check manufacturer instructions and use a moisture meter to confirm dryness before painting.
How Soon Can I Paint After Damp Proofing?
You can paint only after the wall is fully dry. Rushing this can trap moisture and ruin the finish. Here’s a rough guide:
- New Plaster: Wait until fully cured—usually 4–6 weeks.
- Damp-Proof Membranes or Tanking: Some require specialist breathable paints and longer cure times.
✅ Tip: Use breathable paints (like silicate or limewash), especially for older buildings or walls treated for rising damp.
Step-by-Step: How to Paint After Damp Proofing
- Wait for Full Drying
Confirm the wall is completely dry using a moisture meter or by following drying guidelines. - Sand & Smooth
Lightly sand repaired areas and fill minor imperfections. - Apply Primer
- Use a stabilising primer for chalky or porous surfaces.
- Apply a stain-blocking primer if tide marks or mould stains remain.
- For lime or mineral plasters, use a breathable primer (avoid vinyl-based).
- Choose the Right Paint
- Breathable paints (limewash, silicate, clay-based) for treated damp walls.
- Mould-resistant emulsions for kitchens, bathrooms, or areas prone to condensation.
- Avoid vinyl, silk or gloss unless the wall is 100% dry and sealed.
- Apply in Thin Coats
Two thin, even coats with good drying time between each ensures durability and allows the wall to breathe.
Final Thought:
Painting over damp-proofed walls isn’t just the final step — it’s your wall’s long-term defence. Rushing in too soon or using the wrong products can undo all the repair work.
Give it proper drying time, choose paint that suits the wall’s condition, and use a primer that supports breathability and adhesion.
Done right, you won’t just get a good-looking finish — you’ll keep damp problems from returning.
FAQs
What is the best thing to cover damp walls with?
The best thing to cover damp walls with is a breathable damp-proof membrane or water-resistant plasterboard.
These materials allow moisture to escape while blocking further water ingress. Before covering, ensure the source of damp is fixed.
Never apply standard paint or wallpaper over untreated damp walls, as it can trap moisture and cause damage.
Which type of paint is best for damp walls?
The best paint for damp walls is anti-damp paint or moisture-resistant emulsion.
Look for products labelled as breathable, anti-mould, or damp seal paint.
These paints are designed to resist moisture buildup, prevent peeling, and stop mould growth.
Always prepare the wall properly before applying paint for best results.
How to fix damp walls permanently?
To fix damp walls permanently, start by identifying and stopping the source of moisture—whether it’s rising damp, condensation, or a leak.
Use proper damp-proofing methods such as installing a DPC (damp-proof course), improving ventilation, sealing external cracks, or using tanking slurry for basements.
Once the issue is resolved, let the walls dry completely before applying breathable finishes.
What do you use to fill holes in walls before painting?
Use a high-quality wall filler or ready-mixed spackling compound to fill holes in walls before painting.
For larger or deeper holes, opt for a powder filler that can be mixed to a thicker consistency.
After applying, let it dry fully, then sand smooth before applying primer and paint.
Why won’t my paint dry on a damp wall?
Paint won’t dry on a damp wall because moisture trapped in the wall prevents the paint from bonding and curing.
This leads to tackiness, bubbling, or peeling.
Painting over damp surfaces also increases the risk of mould.
Always ensure walls are fully dry and the damp source is fixed before painting.