Wet rot is a form of fungal decay that damages timber when it’s exposed to moisture for too long. It doesn’t always announce itself with dramatic signs. Sometimes it’s quietly eating away at floor joists, window frames, or roof timbers while everything looks fine on the surface.
Unlike dry rot, it doesn’t spread aggressively through your home. But wet rot doesn’t need to travel far to cause expensive trouble. If left alone, it weakens the timber it’s feeding on until repairs become unavoidable.
This guide explains exactly what wet rot is, what causes it, and how to spot the early signs before damage sets in. You’ll also learn practical, step-by-step wet rot prevention tips you can tackle yourself — and how to know when it’s time to call in a specialist.
👉 But first you may want to read our other guide: Dry Rot on Walls: Causes, Signs, and Expert Treatment Advice
What Causes Wet Rot
Wet rot doesn’t appear on its own. It’s always the result of something else — usually a slow leak or a trapped source of moisture. Once the moisture content in the wood stays above 20%, the spores that cause wet rot start growing.
Here are the most common causes:
- Leaking plumbing under floors or behind walls: Hidden leaks under floors or behind walls let water soak into timber slowly. Because it’s out of sight, the wood stays wet for weeks, which is exactly what wet rot needs to get going.
- Roof leaks and missing tiles: These let rain creep in and soak roof timbers. With poor airflow up there, the wood never dries properly — perfect conditions for decay.
- Overflowing gutters or cracked downpipes: Overflowing water runs down walls and into window frames or floor joists. That constant dampness keeps the wood wet and vulnerable.
- Poor ventilation, especially in lofts and cellars: Lofts, cellars, and closed-off rooms often trap moisture in the air. Timber in these spaces slowly absorbs that humidity and stays damp.
- Condensation building up in sealed rooms or voids: In sealed areas like under stairs or behind wardrobes, warm air condenses, and moisture builds up on timber. Over time, this leads to softening and rot.
- Bridged damp proof courses or rising damp in older homes: If the damp proof course fails or gets bridged by soil or render, moisture rises the wall and into timber joists. It keeps the base of the structure permanently wet.
The scary part? These issues often go unnoticed for months. Wet rot isn’t about dramatic floods — it’s about slow, ongoing dampness that never fully dries out.
🟠 Good to know
- ✓ A broken gutter pouring water onto an exterior wall for just a few months can be enough to soak joist ends and kickstart rot. Regular gutter checks are one of the easiest wet rot prevention steps you can take.
How Long Does Wet Rot Take to Develop?
If the timber stays wet and isn’t drying out, wet rot can start growing in just a few weeks — usually between 4 and 12 weeks. But it might be months before you actually see the damage.
The rot itself can stay hidden behind skirting boards, under floors, or inside roof spaces. During that time, it quietly breaks down the structure of the wood. By the time signs show, you’re often looking at major repairs.
Wet rot spreads slower than dry rot, but it doesn’t need to spread far to cause trouble. If it affects a load-bearing joist or sill, the safety of the whole structure can be at risk.
💡 Pro Tip
- ✓ Wet rot thrives in unventilated, hidden spaces. Lofts, cellars, and behind fitted furniture are classic problem areas. If you catch a faint musty smell, investigate early — that’s your first chance at wet rot prevention before costs spiral.
What are the First Signs of Wet Rot?
The early signs of wet rot aren’t always dramatic. Most people don’t notice until something feels off — a soft floorboard, a musty smell, or cracked paint that keeps coming back. That’s when to start looking more closely.
First signs include:
- Timber that feels spongy or springy underfoot
- Flaky or bubbling paint near windows or skirting
- Dark patches or water stains on wood
- Fungal growth (usually black or white)
- A persistent musty smell, especially after rain
- Cracks or warping in wood surfaces
If you spot one or more of these, don’t assume it’s cosmetic. Even a single affected area could mean that damp has been present for months.
🟠 Good to know
- ✓ Wet rot rarely affects just the surface. By the time you see flaking paint, the damage is usually deeper. Always check behind or beneath suspect areas.
How to Identify Wet Rot?
You don’t need a moisture meter or a damp expert to start spotting wet rot — just your eyes, hands, and a bit of curiosity. Most people first notice it when timber starts looking odd, feeling soft, or acting unstable. But to catch it early and stop it spreading, you’ve got to do more than glance. Get up close, test a few things, and look for the real-world clues. Here’s what to check if you want to be sure.
Touch the timber
Run your fingers over the wood and press firmly. If it feels soft, spongy, or gives way when you poke it, that’s not normal. It means the fibres inside are breaking down.
Try pushing a screwdriver into it; if it sinks in easily, there’s likely rot. Good timber resists pressure and feels dry and solid. Don’t be afraid to test corners, ends, or hidden spots — that’s often where it starts.
Look for fungal growth
Wet rot doesn’t usually come with big mushrooms like dry rot, but it still leaves signs. You might see dark stains, white fuzzy mould, or thin thread-like strands on or near the wood.
These are fungal growths feeding on the damp timber. It’s often easy to miss unless you’re really looking. If you see anything like that, assume the wood underneath is in trouble.
Test for movement in floors or stairs
If a floorboard moves when you walk on it or a stair tread feels springy, don’t just write it off as old age. Timber with wet rot loses its strength and can start to sag or crack under pressure.
Try pressing your weight into the area — if it flexes more than it should, there’s a problem. It might only move a little, but even that’s worth checking. A bit of give can mean a lot of hidden damage below.
Check for nearby moisture sources
Rot doesn’t just appear — something’s keeping that wood wet. Look around the area: is there a leaking pipe, a drip from the roof, or condensation collecting?
Even things like poor ventilation or blocked gutters can trap moisture long enough to start rot. If the damp has nowhere to go, the timber will soak it up and stay wet. Finding the moisture source is just as important as spotting the rot itself.
👉 Read our full guide: Identifying Dry Rot Symptoms
💡 Pro Tip
- ✓ Keep a moisture meter at home. Timber with a moisture content above 20% is at risk. It’s one of the best DIY tools for wet rot prevention — and it costs under £20.
How Can Wet Rot Be Prevented?
Wet rot prevention starts with moisture control. If you keep your timber dry, the fungus has no chance. The goal isn’t just to treat damage — it’s to create a home where damp can’t settle.
Key wet rot prevention strategies include:
- Fix leaks fast: Whether it’s plumbing, gutters, or roof tiles — deal with leaks within days, not weeks.
- Improve ventilation: Lofts, cellars, and crawl spaces need airflow. Add vents, use passive air bricks, or install extractor fans if needed.
- Maintain exterior walls: Cracked render, missing pointing, and porous brickwork all let water in. Keep the envelope of your home sealed and water-tight.
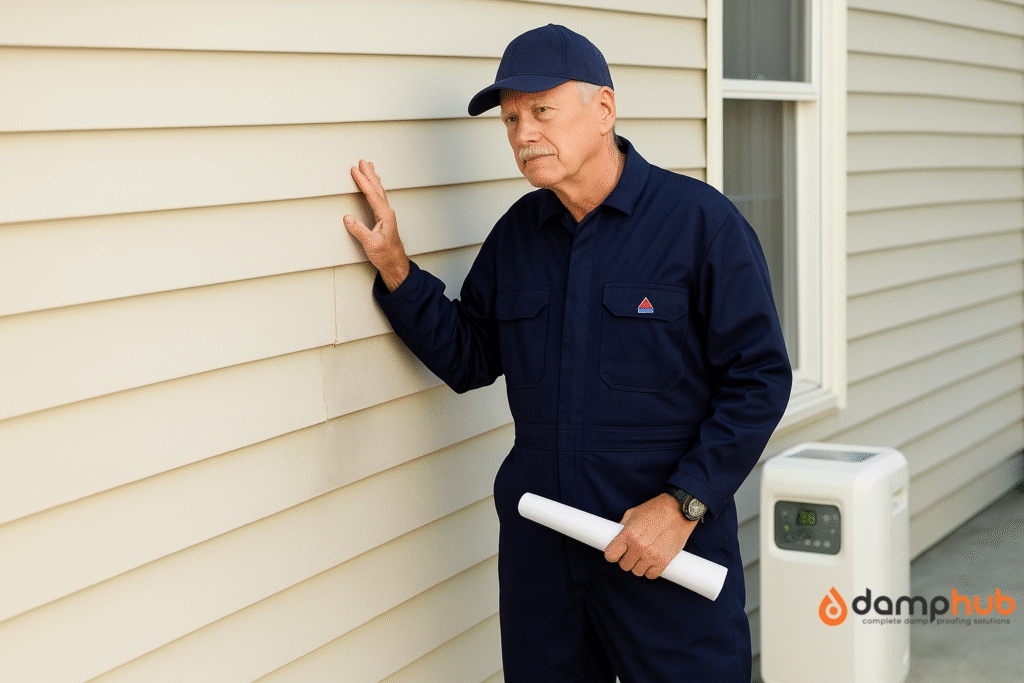
- Monitor problem areas: Window sills, bathrooms, and under sinks are classic rot zones. Keep an eye out.
- Use treated timber: Especially in high-risk areas like joist ends, consider wood pre-treated with rot-resistant chemicals.
For more guide, see our related article: Dry Rot Treatment: How to Identify and Eliminate the Problem (UK Guide)
DIY Wet Rot Prevention Tips
There’s a lot you can do yourself to stop wet rot before it starts, and it doesn’t take specialist skills.
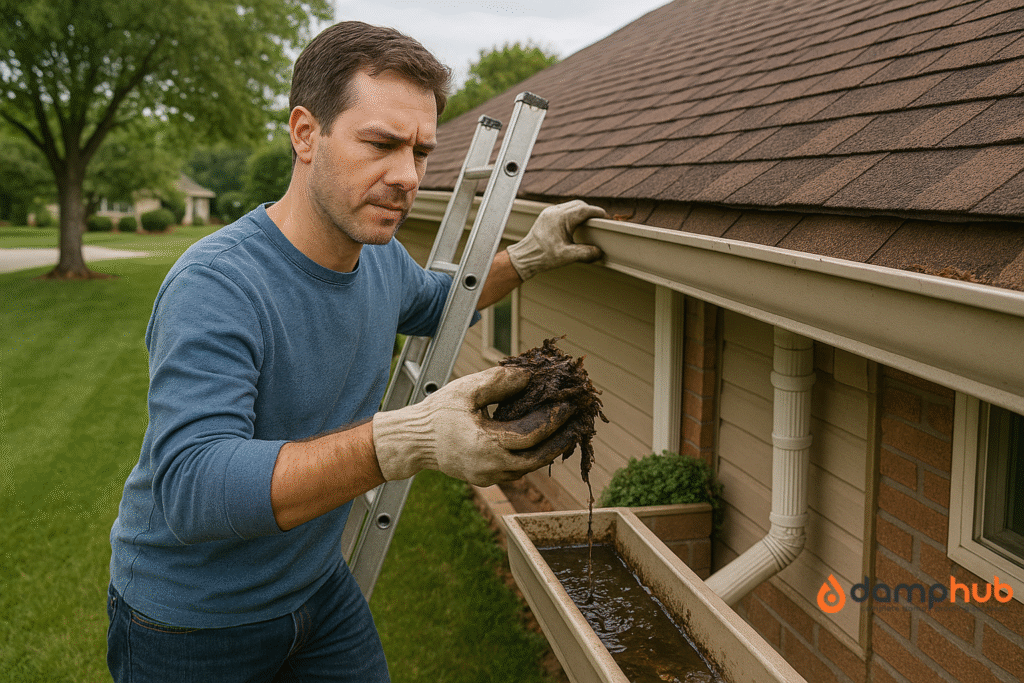
1. Check gutters every season
Blocked gutters are one of the most common causes of hidden water damage. When they overflow, water runs straight down your walls and into the structure below — prime conditions for rot.
Do a proper clean in autumn after the leaves fall, and again in spring before heavy rains. Even five minutes with a ladder and a glove can save you thousands in repairs. This is one of the simplest forms of wet rot prevention, and it makes a big difference.
2. Seal exterior gaps
Cracks in brickwork or render let rain seep into walls over time, especially around windows and doors. You don’t need a tradesperson to fix these; just get a decent masonry sealant and go around once a year.
Even hairline cracks can lead to moisture build-up in cavities and timbers. Focus on the lower part of the walls and places that get little sun. Sealing these gaps is a low-effort, high-impact way to support long-term wet rot prevention.
3. Add air bricks or vents
If your house has wooden floors and the space underneath smells stale or damp, it probably isn’t breathing well. Air bricks let moist air escape and dry air flow in, which helps stop condensation from soaking into joists.
You can buy and fit them yourself if you’re comfortable with a drill and bolster chisel. They’re cheap, subtle, and really effective. Proper airflow is one of the most underrated tools in wet rot prevention.
4. Install a leak detector
Hidden leaks are a wet rot time bomb — especially under baths, kitchen sinks, or in old loft tanks. Smart leak detectors sit under appliances or pipes and ping your phone when they detect water.
Some even shut off the water supply automatically. They’re especially useful in second homes, rentals, or anywhere you can’t check often. For the cost of a takeaway, they’re a brilliant wet rot prevention investment.
5. Paint with breathable paints
Older homes with solid walls need to “breathe” — if you trap moisture inside, it goes straight into the wood. Breathable paints like limewash or mineral-based silicate let vapour escape naturally.
Avoid plastic-based emulsions or waterproof coatings on interior walls unless you’re 100% sure the structure’s dry. It’s not just about looks — the wrong paint traps moisture and encourages rot. Choosing the right finish is a smart, often overlooked form of wet rot prevention.
6. Use a dehumidifier
Rooms that feel clammy or smell musty often have too much ambient moisture — the perfect breeding ground for rot. A compact dehumidifier can pull litres of water out of the air, especially in winter when windows stay shut.
Use one in the corners of bedrooms, basements, or anywhere you notice condensation. They’re cheap to run and reduce long-term risk massively. Keeping humidity in check is basic but essential for wet rot prevention.
👉 For more help read our guide on 10 Best Dehumidifier for UK homes.
7. Lift carpets in suspect areas
If you’ve had a leak or just suspect damp along external walls, check under the carpets now and then. Lift a corner near the skirting and inspect the underlay. If it’s damp, mouldy, or discoloured, something’s wrong.
Don’t wait for the smell to get worse or the boards to start giving way. Early wet rot prevention starts with curiosity and a bit of poking around. Most serious problems begin in places we don’t think to look.
🟠 Good to know
- ✓ DIY wet rot prevention isn’t about expensive tools — it’s about regular habits. A quick monthly walkaround with a torch and a moisture meter can stop thousands in future damage.
When to Call Professionals
Sometimes, DIY just isn’t enough. If the rot is affecting structural timber or you can’t locate the source of moisture, call a professional damp surveyor.
Signs you need expert help:
- Visible rot in joists, lintels, or roof timbers
- Moisture levels above 20% and rising
- Black fungus growth that’s spreading
- Crumbling concrete or collapsing floors
- No clear source of dampness
A professional will do more than treat the rot — they’ll trace the root cause and recommend lasting repairs. It’s often worth the cost, especially if your home is older or already has signs of damp.
How Much to Fix Wet Rot? (If You Call Professionals)
Costs vary depending on how deep the damage goes. On average:
- Minor localised treatment: £250–£500
- Replacing skirting or window frames: £400–£800
- Repairing joists or floor timbers: £1,000–£3,000
- Full structural work in multiple rooms: £4,000–£10,000+
Don’t forget to factor in drying time, plastering, and decoration. That’s why wet rot prevention is so important — the earlier you spot it, the cheaper it is to fix.
👉 Related article: Dry Rot Repair Costs in the UK: Full Breakdown for 2025
💡 Pro Tip
- ✓ Always get a damp survey before agreeing to any treatment plan. A misdiagnosis could mean paying for the wrong fix.
What Happens if Wet Rot is Left Untreated?
Leave wet rot alone, and it only gets worse. The fungus might not spread like dry rot, but it doesn’t go away either. The longer the timber stays wet, the more its structure breaks down.
Here’s what can happen:
- Collapsed floors
- Unsafe staircases
- Rotten window sills letting in water
- Weakened roof supports
- Increased risk of mould and poor air quality
More than the cost, untreated wet rot affects the safety and value of your home. If you’re selling, surveyors will flag it — and buyers will want it sorted.
Final Thought
Wet rot is one of those problems that builds quietly. A small leak, a missed vent, a bit of flaking paint — and suddenly you’re replacing joists. But it doesn’t have to get that far.
Most of the best wet rot prevention steps are things you can do yourself: keep your home dry, ventilated, and well-maintained. If you can get into the habit of monthly checks, you’ll save yourself thousands — and avoid the stress that comes with surprise repair bills.
Catch moisture early. Fix the cause, not just the symptoms. And when in doubt? Get it checked.
7 DIY Wet Rot Prevention Tips
What is wet rot hardener
Wet rot hardener is a liquid resin you brush onto decayed wood to strengthen it. Think of it as a temporary “splint” for timber that’s gone soft but isn’t completely beyond saving.
It soaks into the fibres, sets hard, and gives you a stable base for filler or paint. It won’t stop rot on its own though — you still need to fix the damp source and treat the fungus first.
What’s worse, dry or wet rot?
Dry rot wins this one, hands down. Wet rot stays put — it needs a constant water source and usually only affects the damp area.
Dry rot, however, spreads through wood and even across masonry, feeding off humidity alone. That’s why it can quietly travel metres from the original problem before you even notice.
Does wet rot stop when dry?
Yes — mostly. Wet rot fungus needs the wood to stay damp to survive. Remove the moisture and it will stop growing.
But… it won’t magically repair the damage that’s already been done. Any weakened timber will stay weak until it’s reinforced or replaced.
What can I put on wood to keep it from rotting?
For outdoor or exposed wood, use a good quality preservative or water-repellent treatment.
Boron-based preservatives are common for structural timber; for garden furniture or sheds, you can use oil-based products like linseed oil or specialist decking oils. The key is regular reapplication — one coat every few years isn’t enough.
Can you paint over wet rot?
You can, but you’ll regret it. Paint seals in moisture, which creates the perfect environment for the fungus to thrive unseen. You’ll think you’ve “hidden” the problem, but the rot will carry on behind the paint until the timber fails.
What happens if I paint over wet wood?
The paint won’t stick properly — it’ll blister, peel, or bubble within months. And more importantly, you’re locking in the damp. That means more chance of mould, rot, and decay under the surface.
How long does wet rot hardener take to dry?
Most wet rot hardeners set within 2–4 hours, but curing fully can take 24 hours or more depending on temperature and ventilation. Always check the manufacturer’s instructions — rushing it means your filler or paint might not bond properly.
What kind of paint will stick to wet wood?
None, really. Even so-called “wet surface” paints aren’t a magic fix for rotten or damp wood. They might cling for a short time, but they won’t stop decay underneath. The only real answer is: dry the timber first, then use a suitable primer and exterior-grade paint.