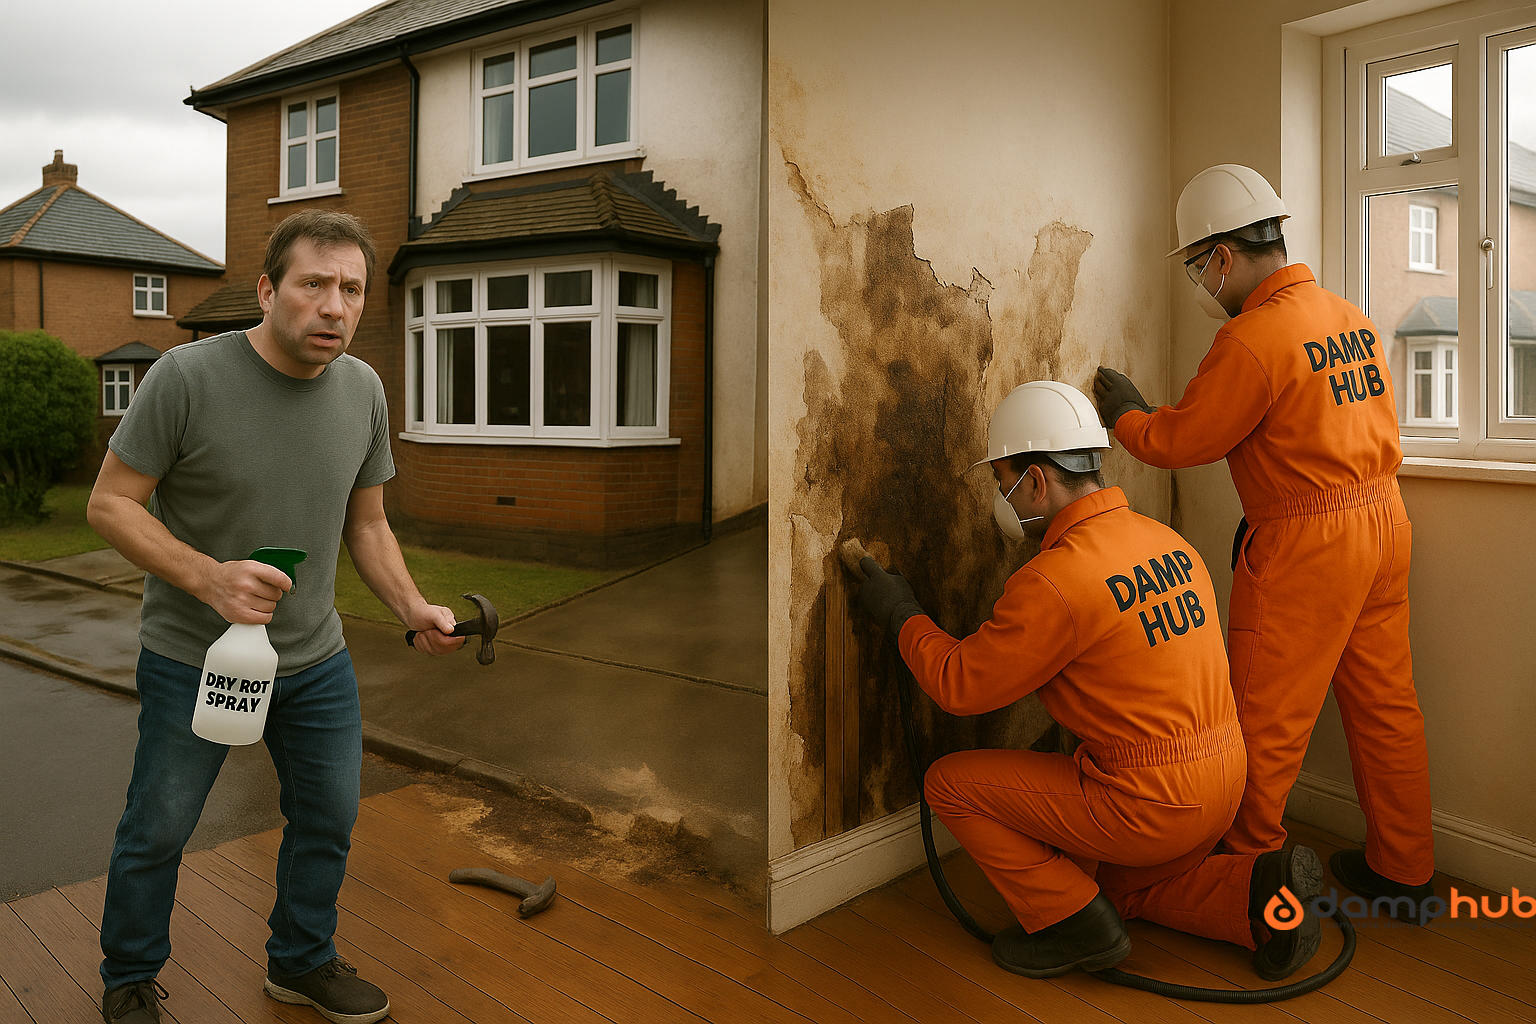
Dry rot is one of those problems that needs tackling the moment early signs appear. But how it’s removed matters just as much as spotting it.
Some homeowners roll up their sleeves and deal with it themselves. Others prefer to call in trained specialists.
The real question is: which approach is right for your home?
Let’s help you figure out the best option between professional and DIY rot treatment options, so that you approach it with confidence.
But before that, please make sure you also read our other helpful resource: Dry Rot on Walls: Causes, Signs, and Expert Treatment Advice
First: Is It Wet Rot or Dry Rot?
Before you even think about tools or treatment, you need to know what you’re dealing with.
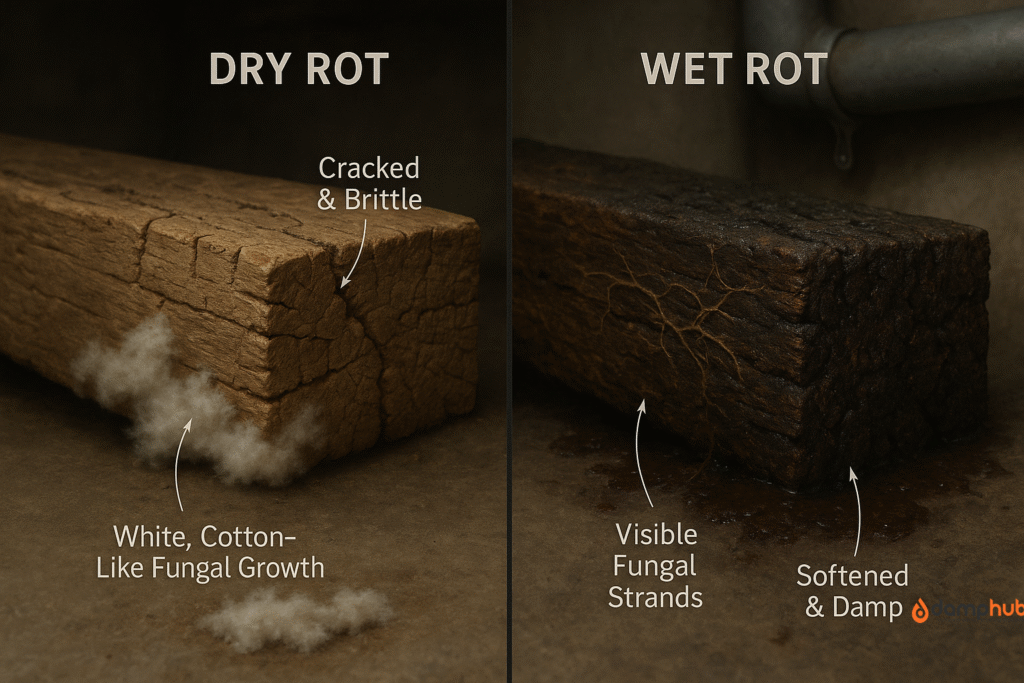
Wet rot needs constant moisture. It’s usually tied to leaks, condensation, poor ventilation — that sort of thing. Wood affected by wet rot tends to stay damp and looks darker or cracked. But it won’t spread like wildfire.
Dry rot, on the other hand, is a menace. It spreads through timber and masonry, feeding off the moisture in the air. It hides. It travels. And it keeps going even after the original damp source is gone.
And here’s the kicker — if you get the diagnosis wrong, you’ll treat the wrong problem. Meaning the rot keeps munching away while you paint over the symptoms.
Can You Treat Rot Yourself?
Short answer: sometimes. Longer answer? Only if you know exactly what you’re looking at — and it’s minor.
DIY rot treatment kits exist. You can buy fungicidal treatments, wood hardeners, and replacement timber. There’s no shortage of YouTube tutorials either. If it’s a bit of skirting that’s gone soft due to a leak you’ve already fixed, sure — scrape, treat, replace. Done.
But that’s not usually the full picture.
Rot rarely shows its full face up front. That soft board might be the tip of a damp iceberg. Floor joists, embedded timbers, wall plates — these can rot quietly while the surface still looks fine.
And unless you’ve got experience pulling floorboards, tracing hidden leaks, checking ventilation routes — it’s guesswork. Messy guesswork at that.
And here’s the problem with most DIY rot treatment jobs: they tend to focus on what you can see. Not what’s behind it.
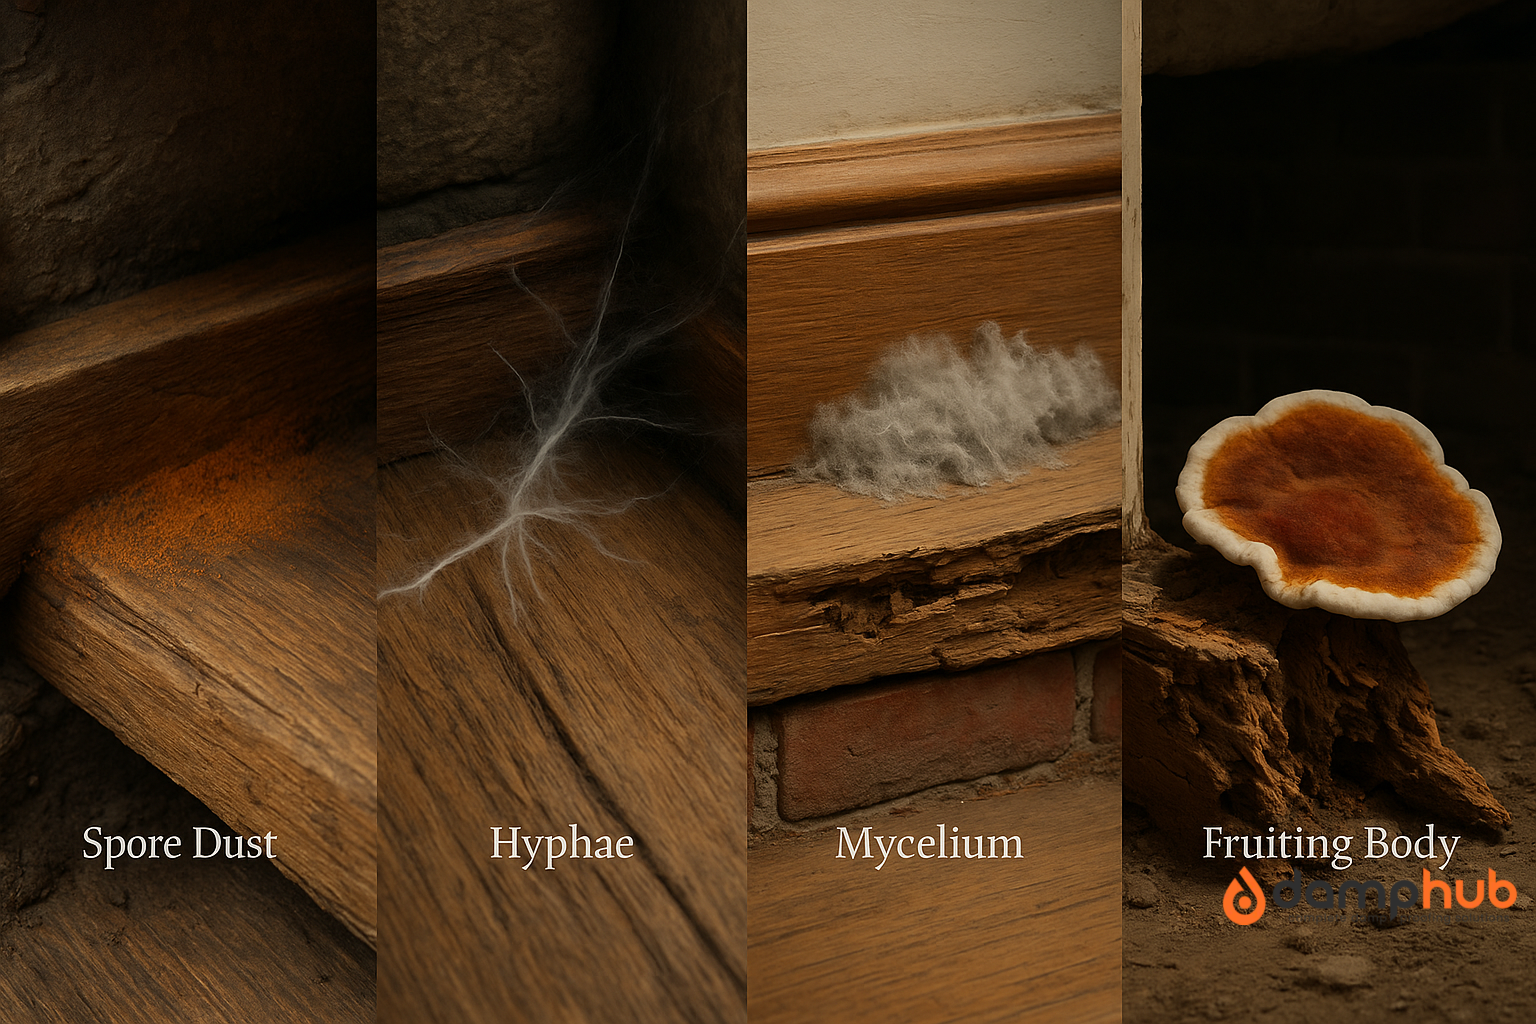
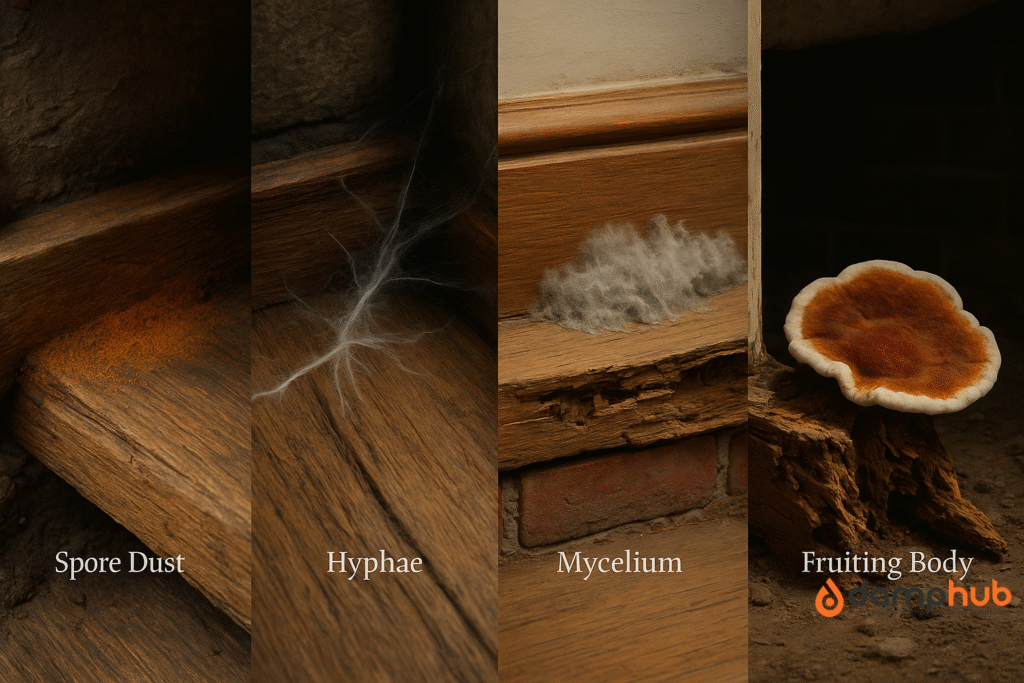
The danger with dry rot in particular is that it sends out fine root-like strands (mycelium) that can travel metres away from the original site.
DIY rot treatment kits might kill what’s visible, but miss the satellite colonies quietly expanding behind the wall.
So yes, you can treat minor rot yourself. But you’ve got to be realistic about what DIY rot treatment can actually solve. And what it might be missing.
How to Treat Dry Rot Yourself
Let’s be upfront: treating dry rot yourself isn’t easy. It’s not like wet rot, where you just replace a soggy bit of timber and call it a day. Dry rot is aggressive. It spreads. And if you miss even a tiny patch, it can come back with a vengeance.
But if the affected area is small, fully exposed, and you’re sure you’ve found the source of moisture and stopped it, then DIY rot treatment is possible. Here’s how to give it the best shot.
1. Confirm It’s Indeed Dry Rot
Dry rot has a few tell-tale signs:
- A musty, mushroomy smell
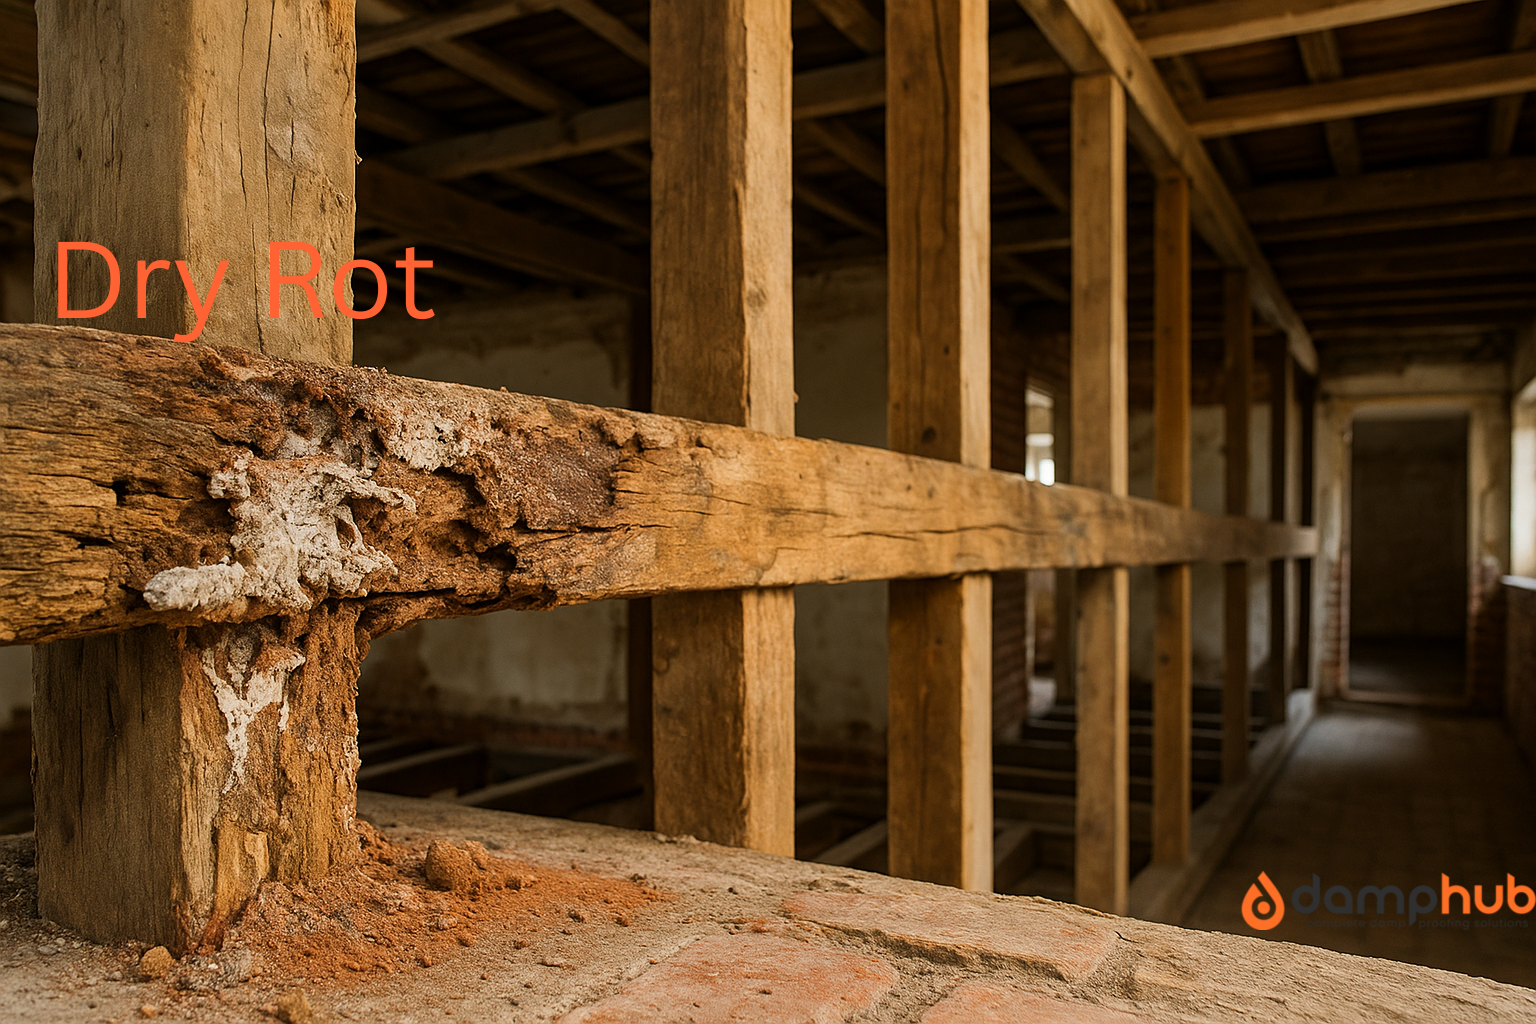
- Brittle, crumbly wood that cracks into cubes
- Grey or white strands (called mycelium) that look like cotton wool or cobwebs
- Flat, pancake-like fruiting bodies with orange or rust-coloured spores
If you’re not seeing these, it might be wet rot — which is a different beast. But if you’re confident it’s dry rot, carry on.
Need further help? Explore our dedicated article: Identifying Dry Rot Symptoms
2. Cut Off the Moisture
No treatment works if the timber is still damp. You need to fix the leak, unblock the air bricks, repair the guttering — whatever’s feeding the rot. Dry rot won’t survive long in a bone-dry environment.
And if you skip this step? The fungus will come back. Guaranteed.
3. Strip Out All Affected Timber
Be ruthless. You’ve got to remove every bit of infected wood. Not just the bits that look bad — but also 500mm (half a metre) beyond it in all directions. That’s because dry rot spreads underground, invisibly, through hidden mycelium.
You’ll need:
- A crowbar or saw
- A heavy-duty mask (spores are nasty)
- Gloves and goggles
- Bags to safely dispose of the timber
If the rot has travelled into the brickwork, you might also need to chip back plaster or render. Sorry. No shortcuts here.
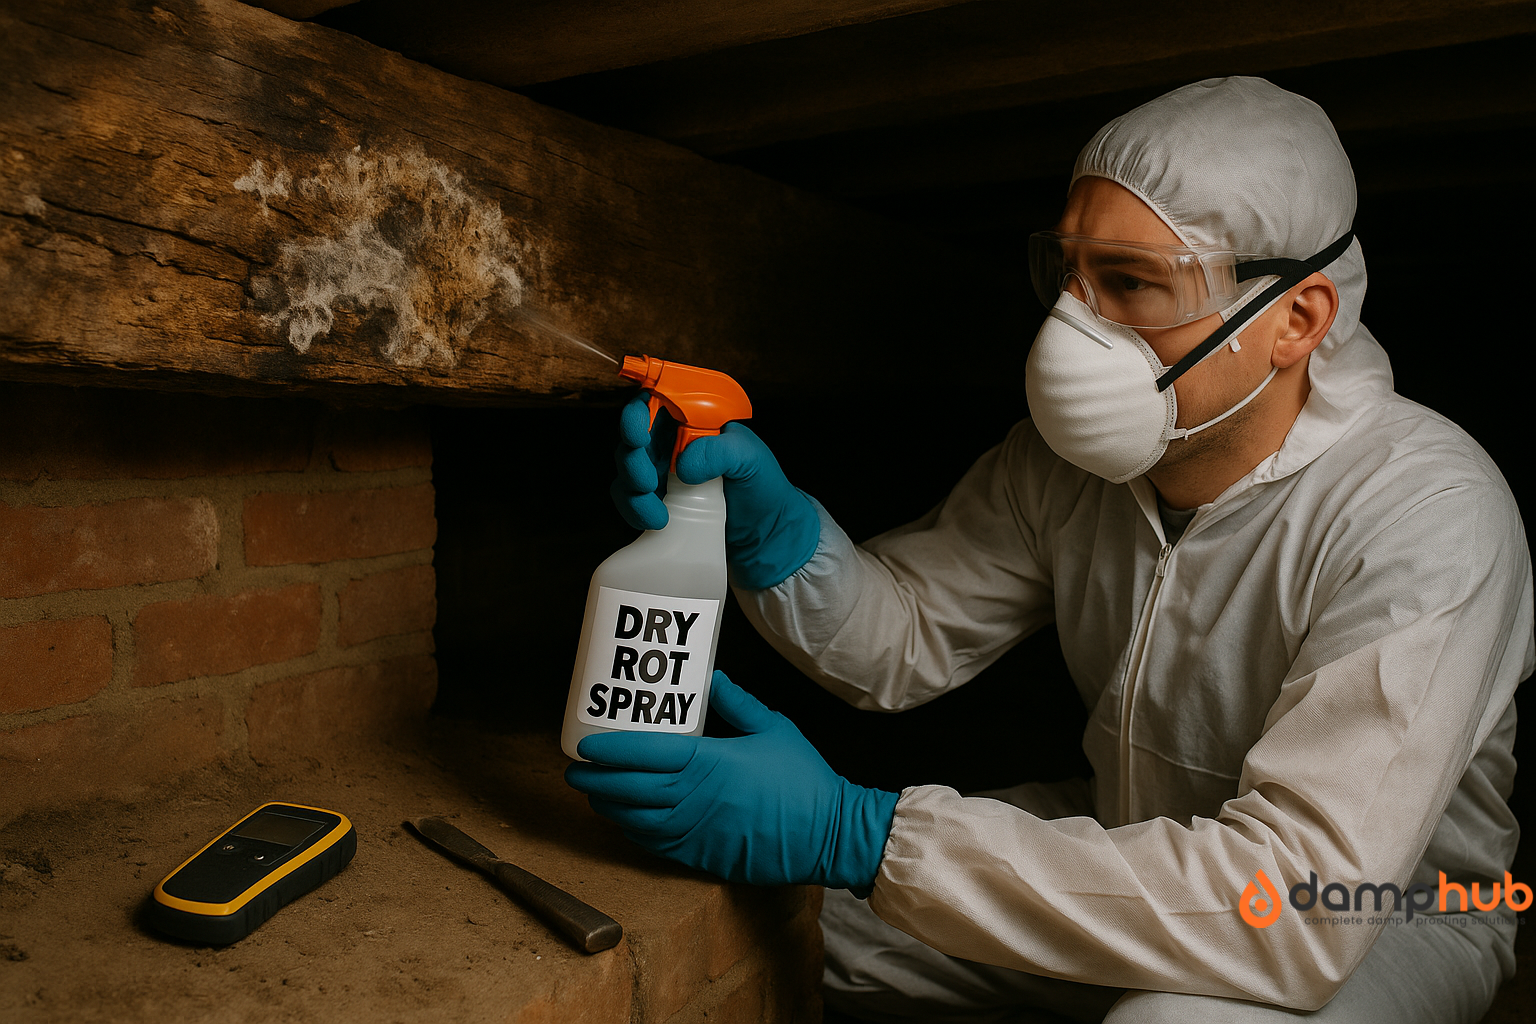
4. Apply Fungicidal Treatment
Once it’s stripped, vacuum everything. You want to clear away dust and spores. Then you can treat:
- Use a dry rot fungicide (like boron-based solutions) on all the surrounding timber, masonry, and exposed surfaces.
- Apply it generously. Don’t just dab. You want to soak it into the grain and cracks.
- Pay extra attention to the cut ends of new timber — these are most vulnerable.
Some products come in spray form; others need brushing. Follow the instructions, wear protection, and keep windows open. These chemicals aren’t friendly.
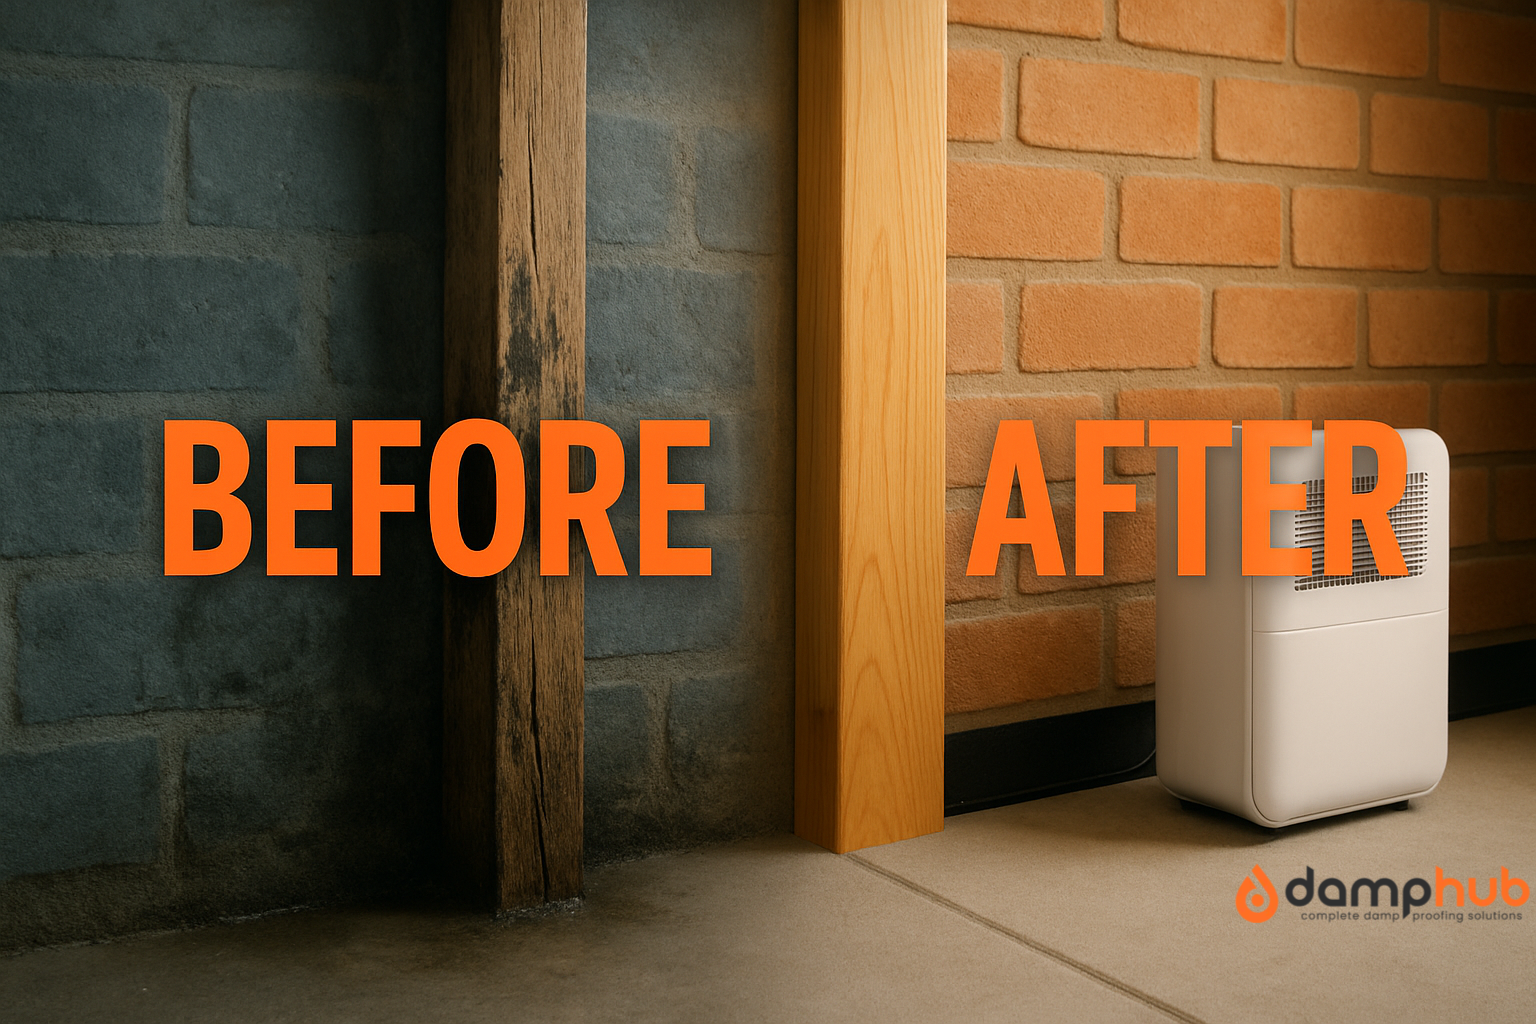
5. Improve Ventilation and Dry It Out
Even after treatment, the area needs to dry fully. Air it out. Use a dehumidifier if needed. Dry rot loves stagnant, stale air — so boosting airflow is key to stopping it from coming back.
If this area used to be sealed or poorly ventilated (like under floorboards), now’s the time to fix that.

6. Replace the Timber
Once everything is dry, clean, and treated — and you’re confident the fungus is dead — you can rebuild.
- Use pre-treated timber rated for rot resistance.
- Don’t skimp. Cheaper wood is more porous and prone to future infection.
- Keep everything well spaced, allow airflow behind boards, and don’t trap moisture in.
You might also want to treat the new timber with a surface fungicide, too, just to be safe.
For more dry rot treatment tips, please see our other detailed guide: Dry Rot Treatment: How to Identify and Eliminate the Problem (UK Guide)
What Professional Dry Rot Treatment Does
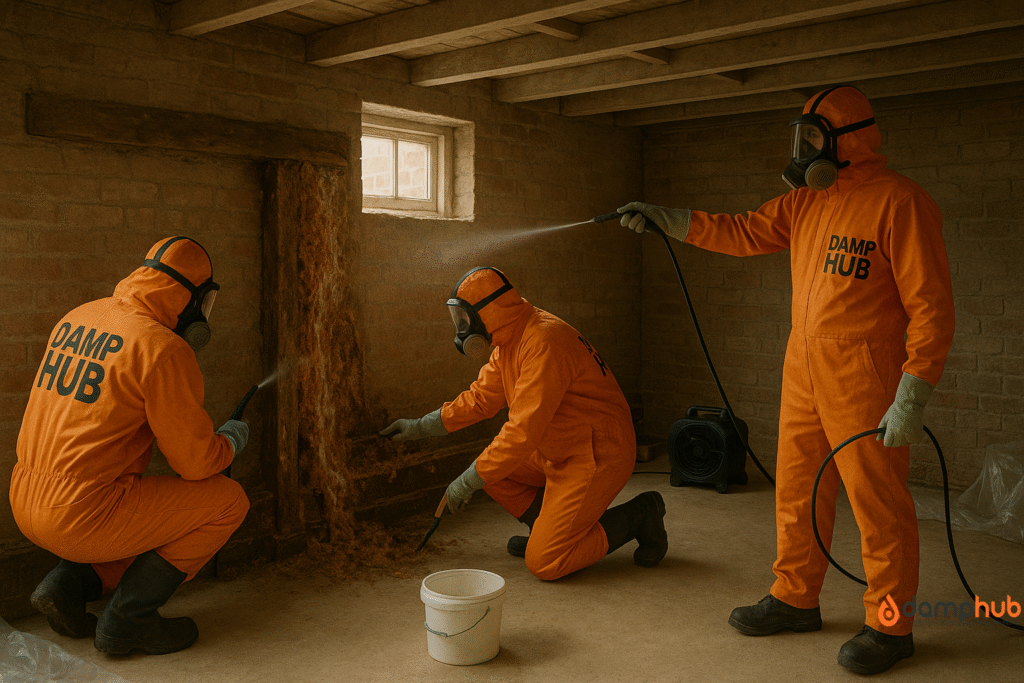
A proper dry rot treatment goes far beyond a quick spray. Here’s what a good specialist actually does:
- Identify the root cause – They track down where the excess moisture is coming from. It could be a leaking pipe, blocked air vents, faulty guttering, or rising damp. If this isn’t fixed, the rot will simply return.
- Assess the full extent of damage – Professionals don’t just look at the visible areas. They investigate hidden spots using tools like moisture meters or borescopes. This may involve lifting floorboards, making small inspection holes, or probing timber to detect internal decay.
- Dry out the affected area – Moisture feeds rot. The area must be fully dried to stop the fungus from spreading before any repairs begin.
- Remove and replace damaged timber – Any wood that’s beyond saving is carefully cut out and replaced with sound, treated timber to restore the structure’s integrity.
- Apply specialist fungicides – Targeted treatments are applied to kill the fungus and protect surrounding timber from future infection.
- Improve ventilation – They ensure airflow is adequate in the space, reducing the chances of damp conditions returning.
- Offer a treatment guarantee – Many reputable companies provide a written guarantee, meaning if the rot reappears, they’ll return to fix it at no extra cost.
Professional Dry Rot Treatment Process
7-Step Comprehensive Solution
What’s the Risk If You Get It Wrong?
Let’s be blunt — rot is expensive if you let it get out of hand.
A £20 DIY rot treatment on a skirting board can turn into a £2,000 repair job if the joists beneath are infected and nobody notices. Especially with dry rot — leave that alone, and it’ll spread behind walls, under floors, into brickwork. One missed patch and it’s off again.
That’s not scaremongering. Just how this stuff works.
Another risk? Botched repair jobs. Using the wrong treatment. Sealing in moisture. Painting over rot. All things people do by accident because they’re trying to save money.
You end up with the worst of both worlds: it looks fine, but it’s quietly decaying underneath.
DIY Rot Treatment Costs vs Professional Costs
Let’s talk money, because it matters.
- DIY rot treatment kits cost between £20 and £100, depending on the brand and what’s included (wood hardeners, fungicides, brushes, etc.).
- Timber replacement — maybe £30-£50 if you’re just replacing short sections yourself.
- Tools — already got them? Great. If not, add in another £50+
So on paper, DIY rot treatment might cost you under £200 total. Tempting, right?
But.
Professional rot treatment can start at around £300-£600 for smaller jobs, and climb into the thousands if there’s structural damage.
That said, you’re paying for the full package: inspection, moisture checks, treatment, replacement, and guarantee.
It’s not just about product cost — it’s about what gets missed if you cut corners.
Explore our detailed dry rot treatment guide: Dry Rot Repair Costs in the UK: Full Breakdown for 2025
| DIY Rot Treatment | Professional Rot Treatment |
|---|---|
| DIY kits: £20–£100 (wood hardeners, fungicides, brushes, etc.) | Smaller jobs: £300–£600 |
| Timber replacement: £30–£50 (short sections) | Large/structural jobs: £1,000+ |
| Tools: add £50+ if you don’t own them already | Includes: inspection, moisture checks, treatment, timber replacement, guarantee |
| Total: Often under £200 | Total: Can reach several thousand |
Common Mistakes in DIY Rot Treatment
This bit matters.
If you’re going to do it yourself, know what trips most people up:
- Treating the surface only. You clean up the visible bit, but miss the hidden spread.
- Ignoring the moisture source. Fixing the wood without sorting the leak is pointless.
- Using the wrong fungicide. Not all treatments work for both dry and wet rot.
- Leaving affected timber behind. Even a tiny piece can re-seed a bigger problem.
- Blocking airflow. Sealing vents, using non-breathable paints or membranes, can make things worse.
DIY rot treatment can work. But not if it’s just a cosmetic fix.
Tip: Don’t Just Treat the Wood — Fix the Cause
This bit gets skipped too often.
You can coat timber in all the treatments you like, but if the wall behind it stays damp, rot’s just going to come back. Ventilation, drainage, roofing, pointing, plumbing — half the time, fixing rot properly means fixing something unrelated to the timber itself.
So the real question isn’t just “can I do this myself?”
It’s “do I know what’s going on?”
And if the answer is “not sure” — well, you probably just answered the original question.
When DIY Rot Treatment Makes Sense
Let’s be fair here. DIY rot treatment isn’t always a mistake.
It makes sense if:
- You’ve already fixed the leak or moisture issue.
- The rot is clearly wet rot, minor, and surface-level.
- The timber isn’t load-bearing or hidden.
- You know what product to use and how to apply it properly.
- You’re realistic about checking back regularly to make sure it’s worked.
Just go in with open eyes. Keep records. Take photos. If anything starts to spread or reappear, stop and call someone.
When Professional Rot Treatment is the Only Real Option
Honestly? More often than people think.
You need a professional if:
- You suspect dry rot.
- The damage affects floors, beams, or anything structural.
- You can’t locate the damp source.
- You’re seeing cracks, mushroom-like growths, or spore dust.
- The same area keeps developing rot despite previous treatment.
Dry rot in particular is a silent destroyer. It’ll move under your radar until it’s a structural issue. That’s not something you want to mess with solo.
Final Thought
DIY rot treatment has its place. It’s cheaper, faster, and if done right on a small, surface-level issue, it can work just fine.
But rot doesn’t care about your budget. Or your optimism. It follows moisture, travels in silence, and spreads while you’re busy thinking it’s sorted.
So the best rule? Know what you’re good at. Know when you’re guessing. And don’t be afraid to get it properly looked at if you’re even a little unsure.
Because fixing rot early is one thing.
Fixing the whole house after the floor caves in?
That’s a different story.
DIY Rot Treatment: Questions Answered
-
Will home insurance cover dry rot?
In most cases, no. Home insurance in the UK generally treats dry rot as a maintenance issue rather than sudden, accidental damage. That means if it’s developed over time — as it usually does — your insurer won’t pay for repairs.
The exception is if the rot is directly caused by an insured event, such as a burst pipe that’s covered under your policy. Always check the small print before assuming you’re protected. Read more information on Dry Rot Treatment & Insurance by Rentokil.
-
Can rising damp cause dry rot?
Yes. Rising damp can create the perfect breeding ground for dry rot because it keeps timber consistently damp.
The fungus that causes dry rot thrives in wood with a moisture content above about 20%. If that dampness comes from the ground and isn’t dealt with, rot can spread quickly.
-
Does dry rot come back after treatment?
It can — and often does if the root cause isn’t fixed.
You can remove the visible fungus and treat the timber, but if the underlying moisture problem remains, spores in the air or hidden in the structure can trigger a fresh outbreak.
That’s why a proper survey and full moisture control are just as important as the treatment itself.
-
Does ventilation prevent dry rot?
Good ventilation helps — a lot. Fresh air circulation keeps humidity lower and stops timber from staying damp for long periods.
While ventilation alone won’t save you if there’s a serious leak or rising damp, it’s a strong preventative measure for lofts, basements, and underfloor voids.
-
What does dry rot smell like?
People often describe it as a mix of mushrooms and damp earth. It’s musty, slightly sweet, and unmistakably “wet” smelling.
If you notice that kind of odour, especially in enclosed spaces, it’s worth investigating before the damage becomes visible.
-
How do you make homemade wood rot treatment?
You can slow down surface decay with things like borax solutions or vinegar sprays, but these are only temporary fixes.
They don’t penetrate deeply enough to kill a dry rot infestation. They might help preserve small, non-structural items until you can get proper treatment — but they’re not a substitute for professional work.
-
Does vinegar stop rot?
Vinegar has mild antifungal properties and can slow surface mould growth, but it’s not strong enough to kill dry rot fungus in timber.
At best, it’s a cleaning aid. For real treatment, you need a specialist fungicide and a proper moisture fix.
-
Is dry rot a serious problem?
Yes — it’s one of the most destructive issues you can have in a timber-framed structure.
Left untreated, it can hollow out beams, weaken floors, and compromise the integrity of walls. Even small outbreaks can spread surprisingly far behind the scenes.
-
Can a house collapse from dry rot?
In extreme cases, yes.
If the fungus has been quietly eating away at main support beams or floor joists for years, the structural strength can be so badly reduced that floors or even sections of the building fail. Thankfully, that’s rare — but it’s a reminder not to ignore it.
-
What is the damage of dry rot?
It breaks down the cellulose in wood, turning strong, solid timber into a crumbly, brittle shell.
The damage often extends beyond what you can see, creeping behind plaster, under floors, and through adjoining timbers. In severe cases, large areas of a building may need stripping back and replacing.
-
How to repair rotting wood without replacing it at home?
For small, non-structural areas, you can use a wood hardener to stabilise the fibres, then fill gaps with an exterior-grade wood filler before sanding and painting.
This works for window frames, skirting boards, or decorative trim. For anything load-bearing, replacement is the only safe option — patching won’t restore its strength.

