A damp survey is a systematic inspection process designed to uncover dampness-related problems within a building. It provides an in-depth understanding of the presence, nature, origin, and extent of damp issues, going far beyond a quick visual check.
Unlike a standard property inspection, a damp survey is a fact-based evaluation carried out with specialist equipment and the expertise of a trained surveyor. The goal is not only to confirm whether damp exists, but also to determine the root cause and recommend the right course of action.
In this article, we’ll answer the question of what is included in a damp survey and help you understand how the survey is carried out, the typical tools used, and what you can expect from the final report.
First Consultation and Background Evaluation
Most damp surveys start with an initial consultation where your best damp survey company in London takes down preliminary details of the building and its problems.
These include:
- History of the property (e.g., age, past works, past damp problems).
- Occupancy behaviour that may influence condensation, including heating and ventilation routines.
- Particular issues raised by the owner or occupant (e.g. staining visible, musty odours, peeling paint).
- Local conditions, e.g., areas of high rainfall, flood-prone areas.
This background information enables the surveyor to adapt the inspection and prioritise those areas likely to be impacted.
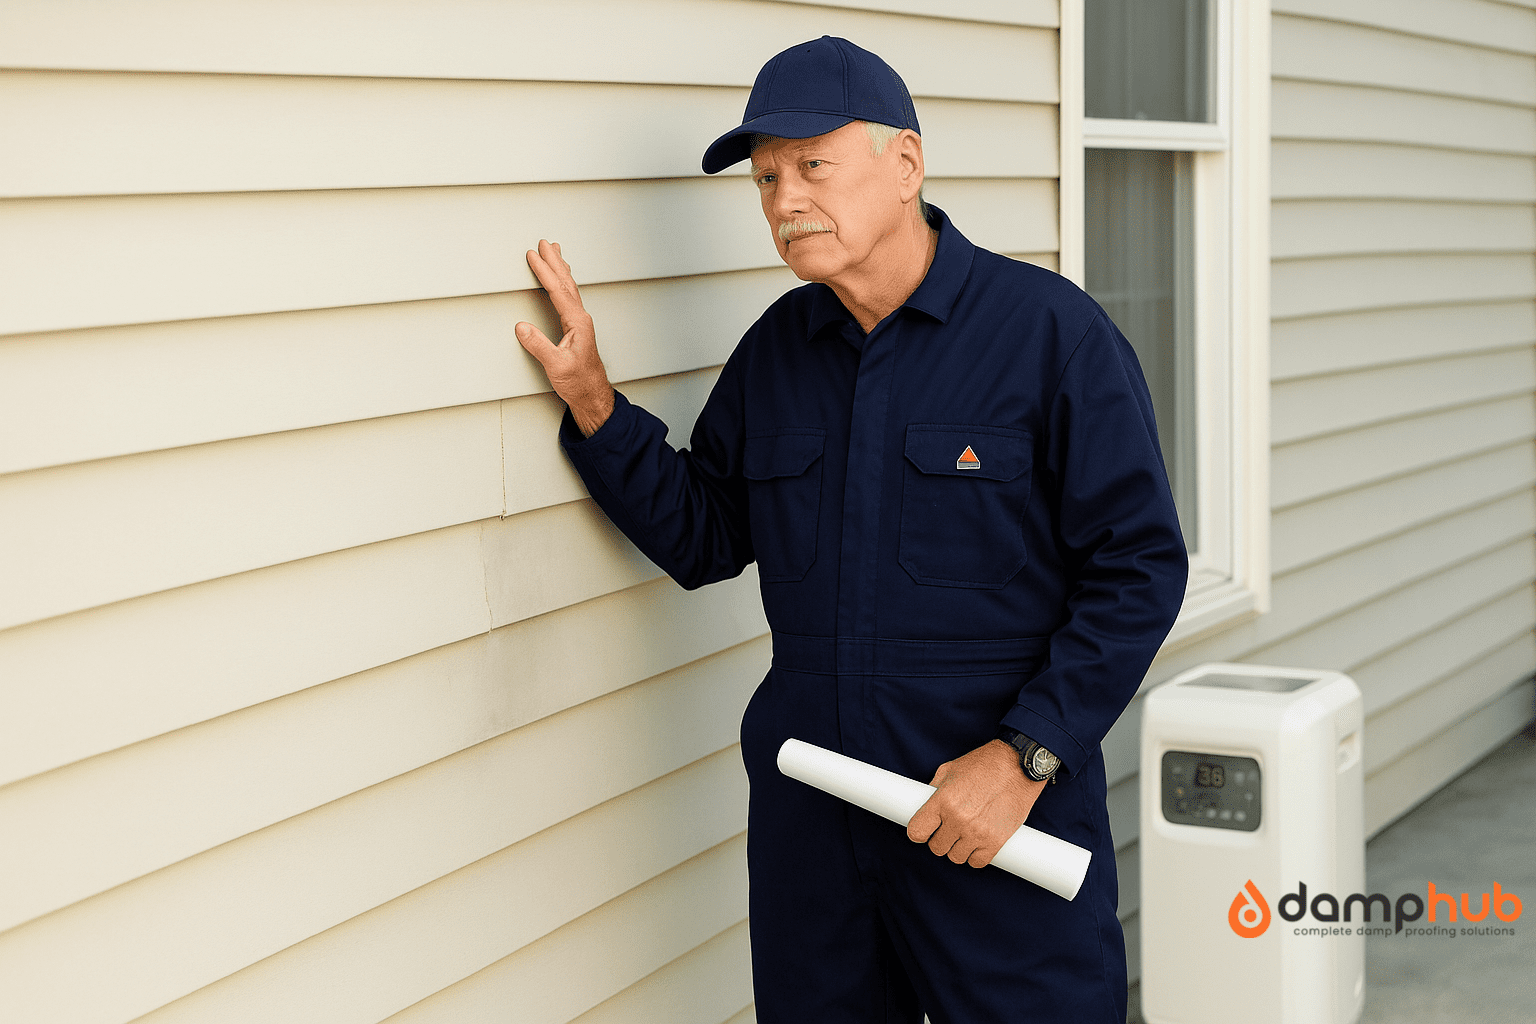
External Inspection
A surveyor will normally carry out an external inspection before accessing the property to determine any environmental or structural reasons that could be causing damp.
This section of the survey covers:
- Examination of walls, roofs, gutters, and downpipes for any water entry points.
- Inspecting the condition of brickwork, mortar joints, render, or cladding.
- Inspect the ground level against the damp-proof course (DPC) to confirm that water isn’t bridging the DPC.
- Evaluation of drainage systems and surface water movement around the property.
- Vegetation, clogged gutters, or damaged drains could be sending water towards the building.
These external characteristics have an important role to play in establishing penetrating damp and checking overall exposure dangers.
👉 Must read: How Long Does a Damp Survey Take? A Step-by-Step Timeline
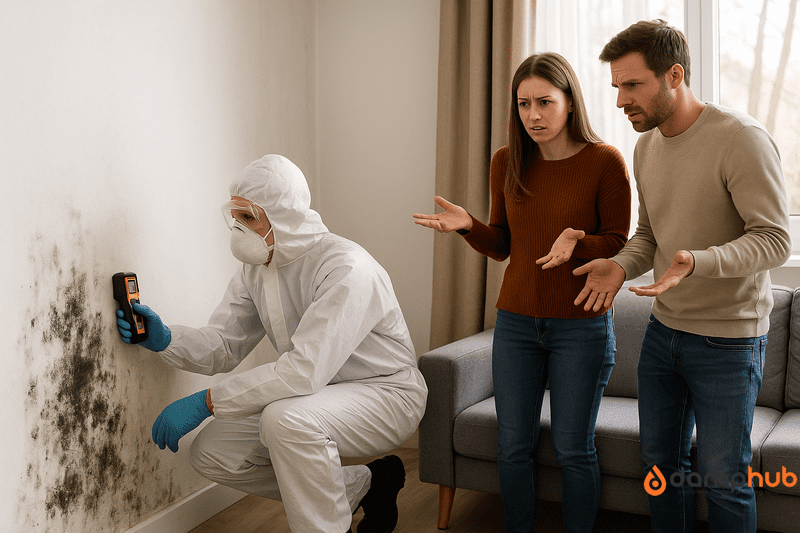
Internal Inspection
After entering the property, the surveyor conducts a room-by-room visit, looking at major indicators and trends of damp.
The internal inspection typically involves:
- Visual inspection of walls, ceilings, floors, and windows.
- Detection of evident damp signs like staining, bubbling paint, flaking plaster, mould, or discolouration.
- Observation of musty smells, condensation on windows, or poor ventilation areas.
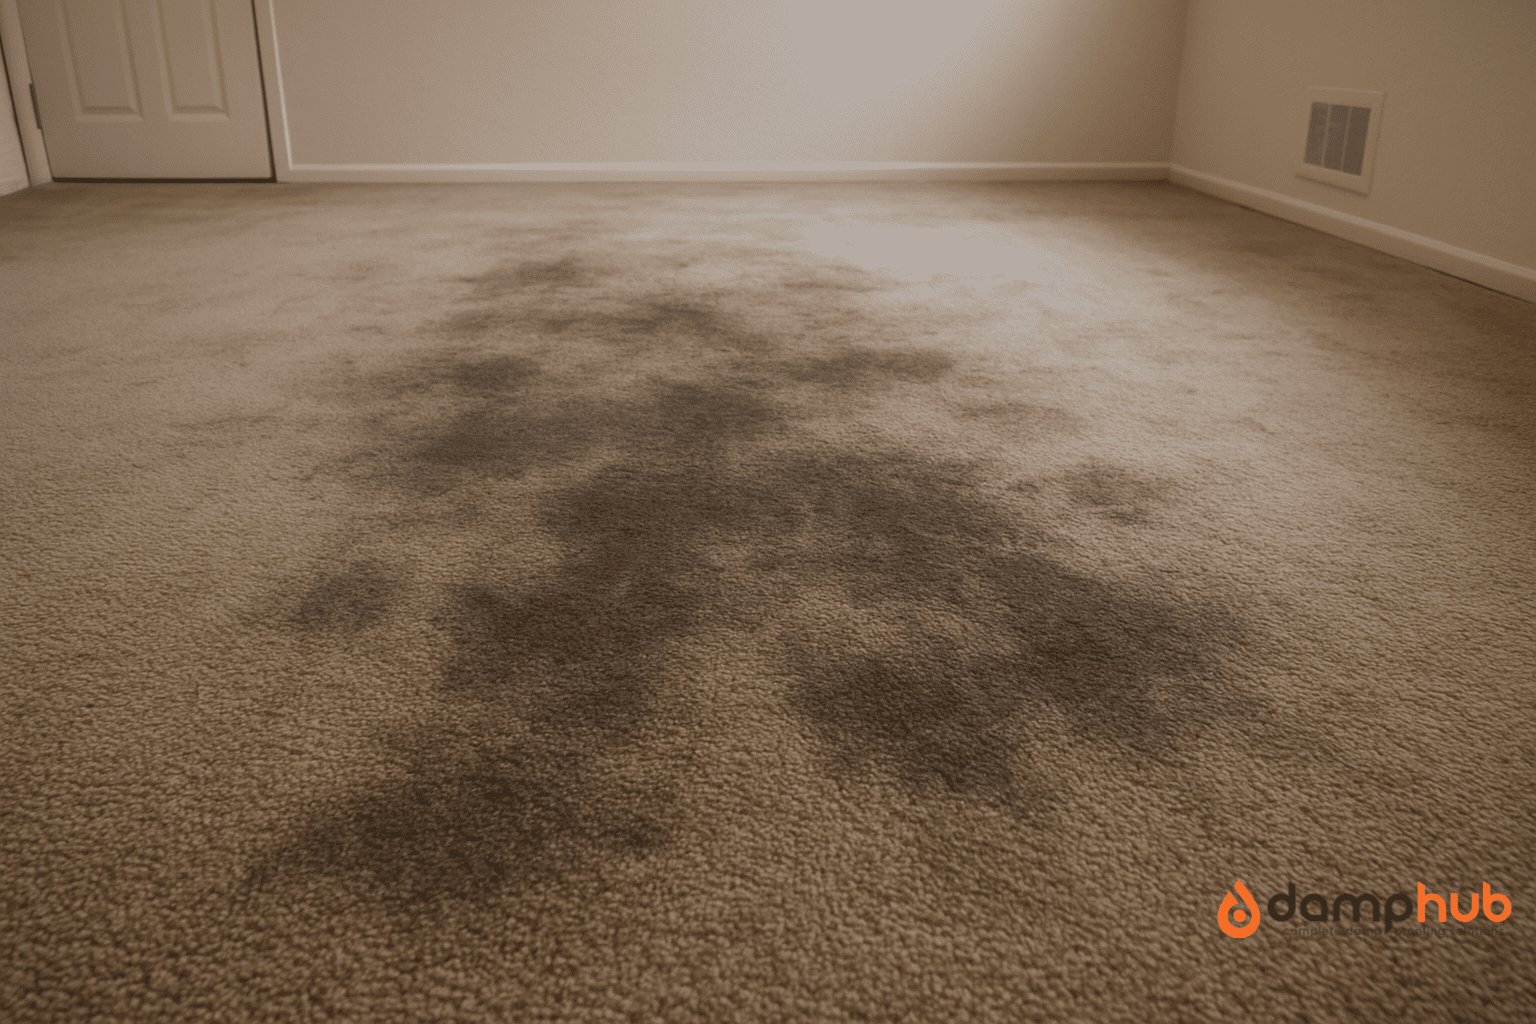
- Lifting of carpets or floor coverings where suspected.
- Inspection behind furniture or inside built-in units, where water can be trapped.
Special attention is given to rooms like bathrooms, kitchens, and basements because they have high moisture levels.
Mapping and Measurements
An essential aspect of the survey is to utilise specialist equipment to measure moisture levels and patterns.
This equipment allows the surveyor to look beyond what can be seen and to trace damp in a scientific manner:
- Moisture meters: Used to check for moisture content in walls, timber, and flooring. High readings tend to show rising or penetrating damp.
- Hygrometers: Record relative humidity and temperature, assisting in evaluating the potential for condensation.
- Thermal imaging cameras: Identify temperature changes within building materials, which can reflect moisture build-up.
- Salt analysis kits: Test plaster for nitrates or chlorides, which support the diagnosis of rising damp.
- Calcium carbide test (carbide bomb): Occasionally employed in more invasive surveys to quantify the true content of moisture in masonry samples.
These readings assist in identifying not just where damp exists but also assist in distinguishing between the different types of damp, i.e., condensation, rising damp, or penetrating damp.
Identification of Damp Type
One of the principal objectives of the damp survey is to determine the type of damp that is present within the property.
The surveyor will base this decision upon evidence collected.
Typical categories are:
1. Rising Damp
Resulting from moisture rising from the ground, usually as a result of a defective or absent damp-proof course.
Symptoms of rising damp are:
- Salt staining on walls
- Damp streaks or staining on lower walls
- Bubbled or peeling paint or wallpaper at floor level
👉 Must read: Who Should Pay for a Damp and Timber Report?
2. Penetrating Damp
When water penetrates via external defects (e.g., cracked walls, roof).
Usually found in:
- High-level patches on walls and ceilings
- Room corner areas close to gutters or exterior features
- Driver in rain-exposed areas
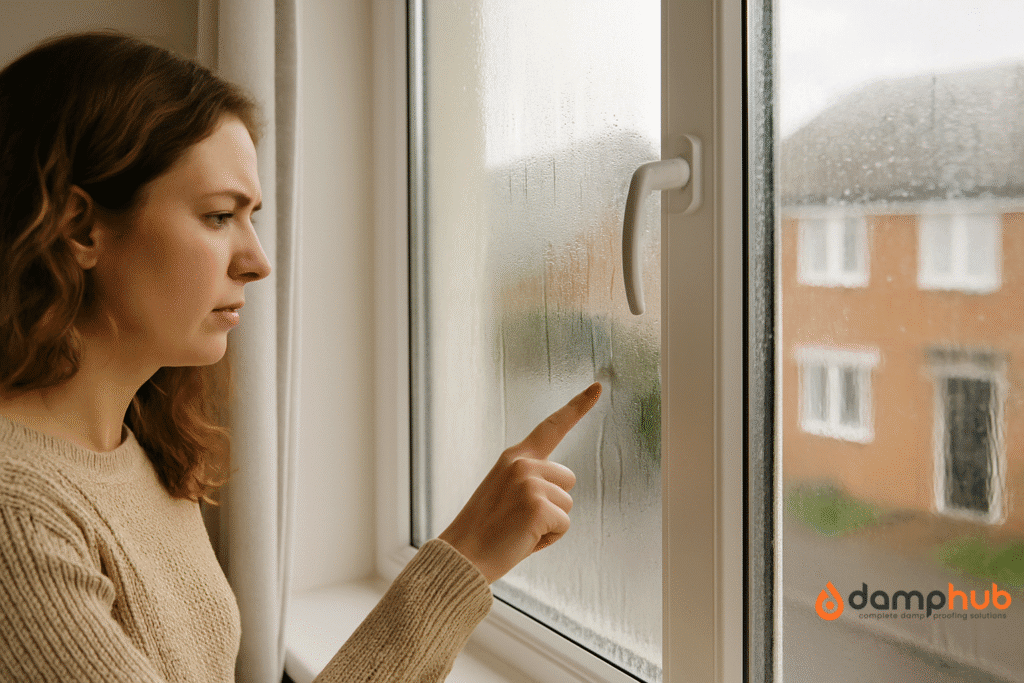
3. Condensation
This results from humid air condensing on cold surfaces.
Frequently found in:
- Bedrooms and bathrooms
- Near windows or cold outside walls
- Poorly ventilated areas with elevated humidity
4. Internal plumbing leaks
Frequently confused with other forms of damp, but traced back to:
- Concealed pipes or water tanks
- Leaking appliances
- Wet spots under radiators for bathrooms
Proper identification of the type is important, as treatment is vastly different according to the cause.
Structural and Material Assessment
Damp can deteriorate building materials over a period.
In the course of the survey, building element condition is also evaluated, including:
- Plaster and internal wall finishes: Inspected for salt deterioration or deterioration.
- Timber elements (joists, floors, skirting boards): Inspected for woodworm or fungal rot, which may be attributed to high dampness.
- Brick and masonry: Evaluated for cracking, erosion, or saturation.
- Cavity walls and insulation: Inspected for bridging or retention of dampness, particularly for retrofitted insulation systems.
As required, the surveyor can suggest additional structural examination.
Ventilation and Heating Check
Since ventilation and temperature regulation are at the heart of condensation-induced damp, the survey further involves:
- Checking air movement in kitchens, bathrooms, and bedrooms.
- Analysis of ventilation systems, extractor fans, trickle vents, and opening windows.
- Checking heating systems, radiators, and thermostat operation.
Poor ventilation and excessive humidity are a primary source of condensation and mould.
Photographic Evidence
The majority of contemporary damp surveys now comprise photographic evidence. This could include:
- Photographs of the areas in question with visible evidence of damp.
- Thermal imaging photographs that reveal cold or damp spots.
- High-quality close-ups of structural or material decay.
This evidence can be an important item for record-keeping, particularly where it is being used in the context of insurance claims or litigation.
👉 Must read: Is It Worth Paying for a Damp Survey?
Detailed Report and Recommendations
Upon completion of the inspection, the surveyor prepares an extensive report which normally contains:
- Summary of findings – what kinds of damp were found, where, and how bad?
- Moisture readings and environmental information.
- Cause analysis with supporting evidence.
- Recommended remedies, such as:
- Damp-proof course installation
- External works
- Ventilation improvement
- Dehumidification
- Replastering with salt-resistant plaster
- Estimated costs (where applicable).
- Any recommendations for continuing monitoring or follow-up inspections?
This guide is both a technical manual and an action plan.
Conclusion: What is Included in a Damp Survey?
A damp survey is much more than a glance-over.
It is a thorough, evidence-led process to find hidden moisture issues, diagnose their causes, and recommend long-term solutions.
From external building inspections and internal moisture readings to high-tech options such as thermal scanning and salt testing, the survey will provide property owners with clarity and certainty.
A properly executed damp survey not only addresses present problems but also avoids future structural degradation, health hazards, and monetary loss.
FAQs
What do surveyors use to check for damp?
Surveyors use a range of tools to detect and assess damp, including:
– Moisture meters (pin-type and pinless): These measure moisture levels in walls, floors, and timber.
– Thermal imaging cameras: Detect temperature variations that may indicate moisture presence.
– Hygrometers and psychrometers: Measure humidity and dew point levels.
– Calcium carbide meters (CM Test): A more invasive method to confirm moisture content in masonry.
– Salt analysis kits: Identify nitrates and chlorides, which are signs of rising damp.
– Borescope cameras: Used to inspect hidden areas inside walls and cavities.
How is rising damp distinguished from condensation or penetrating damp during a survey?
Surveyors differentiate between damp types by examining:
– Rising DampMoisture rises from ground level, often shows tide marks, salt deposits (nitrates). Affects the lower sections of the walls.
the
– Condensation: Typically found on windows, cold surfaces, or corners. Associated with poor ventilation and high humidity.
– Penetrating Damp: Caused by water ingress through walls or roofs. Appears in isolated patches, unrelated to ground level.
Surveyors combine moisture profiling, visual inspection, and sometimes salt testing to determine the cause accurately.
How does a moisture meter detect moisture?
There are two main types:
– Type moisture meters: Use two metal probes inserted into the surface. They measure electrical resistance—moisture lowers resistance, which the meter reads as a higher moisture level.
– Pinless (capacitive) moisture meters: Use electromagnetic signals to measure moisture beneath the surface without penetration. These are less precise but good for scanning larger areas.
What is non-invasive vs. invasive damp surveying?
Non-invasive damp surveying involves surface-level tools like pinless moisture meters and thermal cameras. It’s fast and causes no damage.
Invasive damp surveying includes drilling or removing sections of plaster to test deeper materials with carbide meters or salt analysis. It provides more definitive results when necessary.
Surveyors typically start non-invasively and escalate if the source or extent of damp is unclear.
How do environmental factors affect damp survey readings?
Several environmental conditions can skew results:
– Temperature: Cold surfaces may lead to condensation, falsely suggesting damp.
– Humidity: High ambient humidity can affect surface moisture readings.
– Ventilation: Poor airflow may exaggerate condensation signs.
– Weather: Recent rain can cause temporary surface dampness or mask long-term problems.
That’s why experienced surveyors consider the building’s history, ventilation, and weather conditions when interpreting readings.