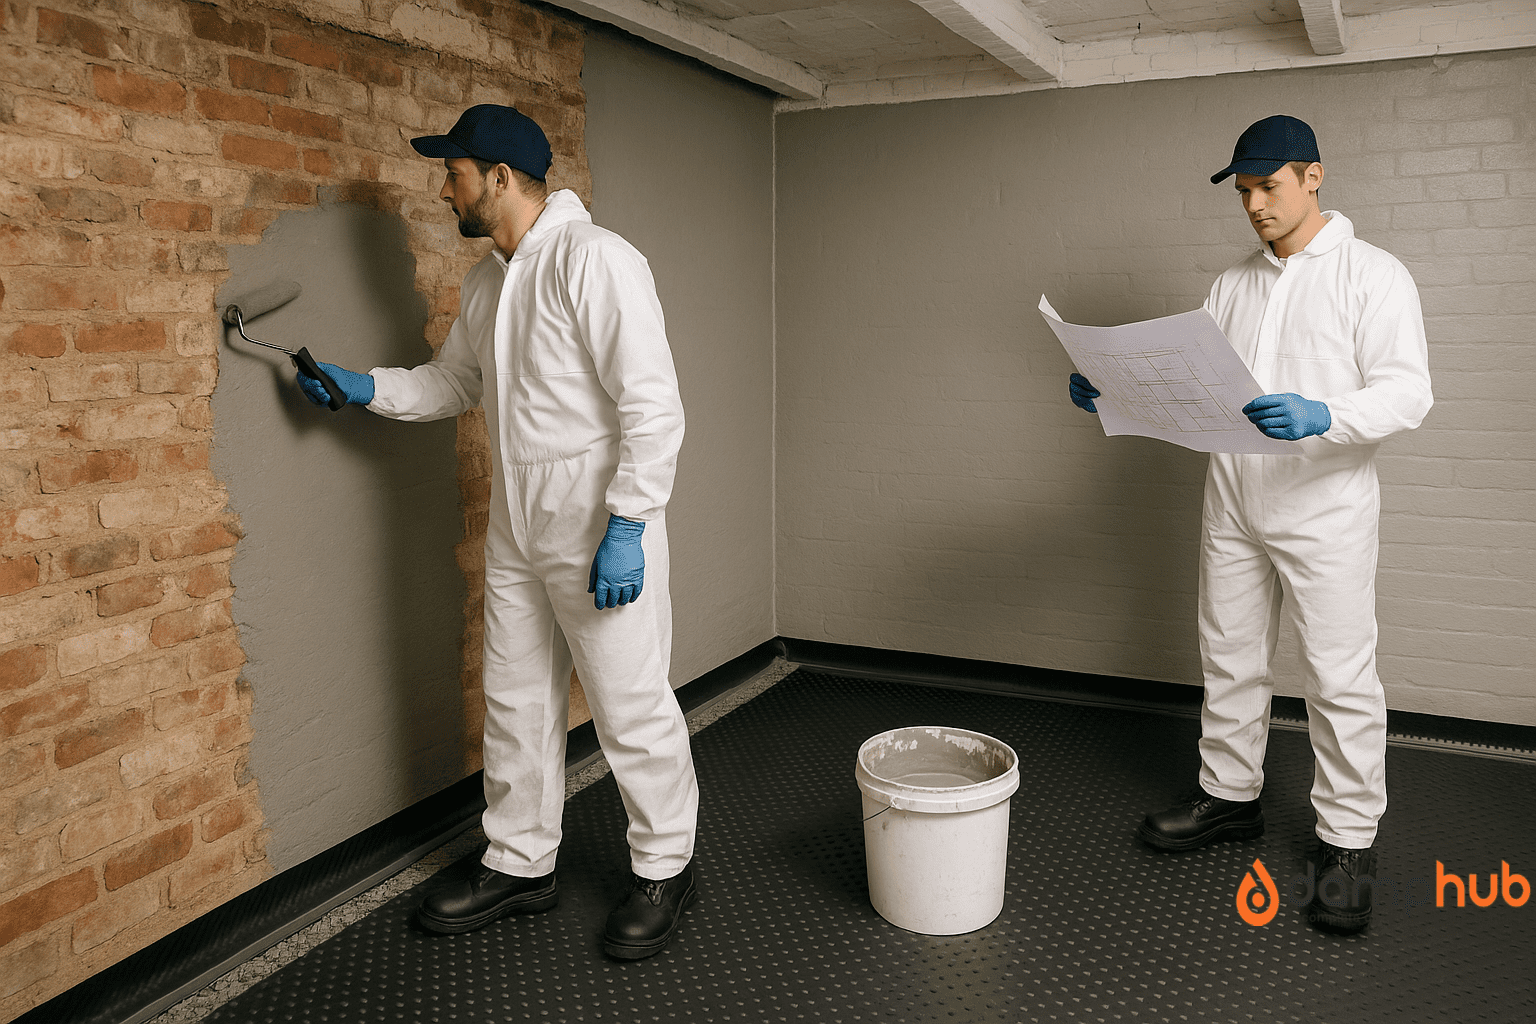
Basements are incredibly useful. You can turn one into a guest room, a home office, a laundry space, or even just a dry place to store valuables.
But here’s the issue: basements sit below ground level. That means they’re in continuous contact with moisture from the surrounding soil. If there are issues like cracks, porous brick, or a leaking floor slab, this moisture will slowly creep in.
Over time, that leads to musty smells, peeling paint, mould growth, and even structural damage. In short, an unusable space and expensive repairs.
That’s where basement tanking comes in.
It is one of the most widely used waterproofing methods for below-ground spaces in the UK, but it’s also one of the most misunderstood.
This guide will explain everything — what basement tanking is, how it works, when to use it, what it costs, and how to make sure it’s done properly.
What Is Basement Tanking?
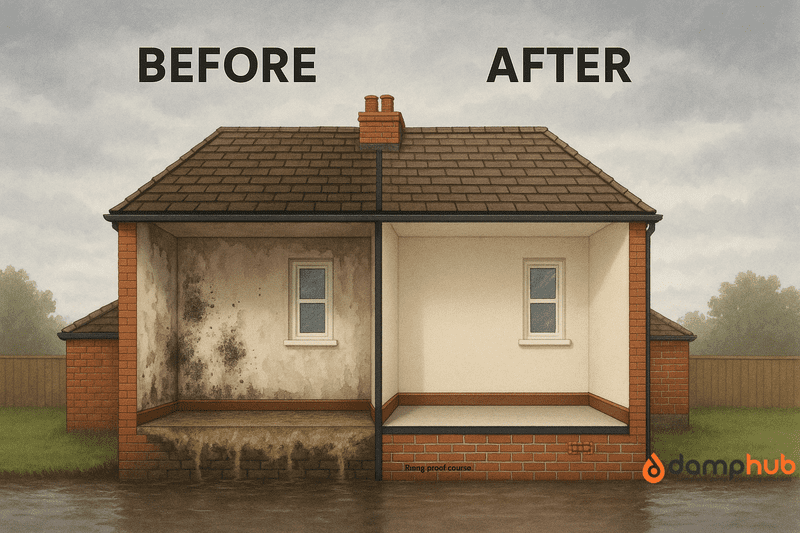
Basement tanking is a method of waterproofing that involves applying a barrier to the inside surfaces of your basement walls and floor to stop water from getting in. The idea is to create a completely watertight layer — a “tank” — that protects the room from damp, mould, and moisture damage.
The key thing here is that tanking doesn’t manage water. It blocks it.
Other systems — like drainage membranes or sump pumps — are designed to collect water after it comes through the wall and redirect it somewhere else. Tanking does the opposite. It tries to keep all water out, right at the surface.
In British standards, tanking is called Type A waterproofing. This means it uses a physical barrier to resist water ingress, rather than relying on movement or drainage.
Why Do Basements Get Damp in the First Place?
Before we talk about solutions, let’s look at the problem.
Basements get damp for a few simple reasons:
- They’re surrounded by soil, which holds moisture, especially after rain
- Groundwater can rise during wet seasons (this is called the water table)
- If drainage around the house is poor, water builds up around the foundations
- Some older homes have porous bricks or crumbling mortar, which lets water in
The water doesn’t have to pour in through obvious cracks. It can seep in silently, spreading into the walls and causing slow, steady damage.
Once in, the paint begins to bubble, and the air feels humid. You might notice mould in corners or salt deposits on the plaster.
This slow moisture movement is called water ingress, and it’s what tanking is designed to stop.
How to Spot Signs Your Basement Needs Waterproofing
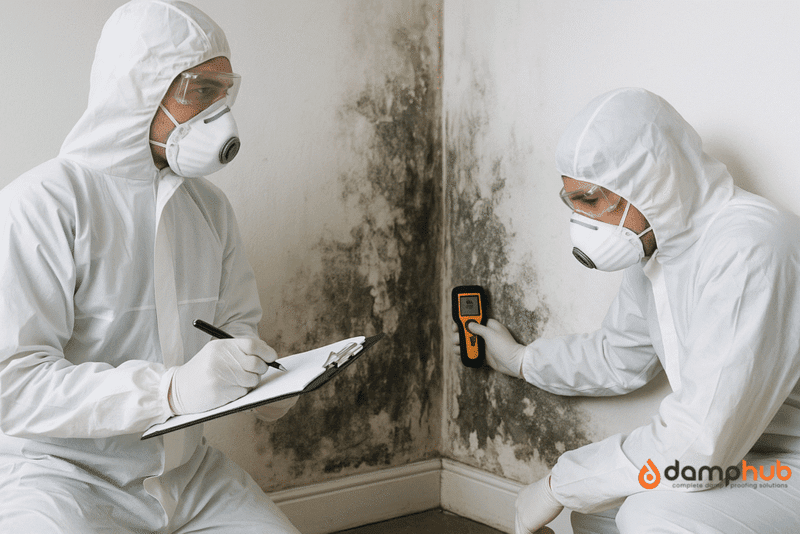
This is where you detail common warning signs:
- Musty smell
- Peeling paint
- Salts (efflorescence)
- Damp patches or mould in corners
- Water pooling or seeping during rain
👉 Related Blog: How Much Does Damp Proofing Cost?
How Basement Tanking Works
Tanking creates a sealed barrier on the inside of the basement. It lines the walls and floor with a waterproof layer that resists water pressure from the outside.
There are two main types of tanking used in UK homes:
1. Cementitious Tanking (Cement-Based Slurry)
This is the traditional method.
A thick slurry made from cement and waterproofing additives is applied directly to the bare masonry using a brush or trowel.
Once it cures (dries and hardens), it forms a rigid, solid barrier that water can’t pass through.
Pros:
- Simple, time-tested method
- Strong and durable on solid walls
- Cost-effective for smaller spaces
Cons:
- Can crack if the building shifts and needs thorough surface prep
- Doesn’t suit flexible or unstable substrates
This system is ideal for old basements with solid brick or stone walls that aren’t expected to move.
2. Liquid Waterproofing Membrane
A more modern method. This involves applying a rubbery liquid — either by brush, roller, or spray — that dries into a seamless, elastic membrane. Think of it as shrink-wrap for your walls.
Pros:
- Flexible — handles small cracks and movement
- Adheres to uneven or rough surfaces
- Works well on older homes with mixed substrates
Cons:
- Can be more expensive than cementitious tanking
- Often needs reinforcing mesh for added strength and must be applied correctly in layers — not a quick DIY fix
In many projects, this method is preferred because UK homes — especially older ones — tend to shift slightly over time.
A flexible membrane can bend and stretch, whereas a cement barrier might eventually crack.
When Is Tanking the Right Choice?
Tanking is a strong option if you’re trying to keep a dry basement dry, or if you’re converting a space with minor damp issues into a habitable room.
Tanking is ideal when:
- The walls are mostly sound and structurally stable
- Damp is coming in gradually, not flooding in rapidly
- You don’t already have a drainage system in place
- You want a clean, plasterable finish on the inside
Tanking is not ideal if:
- Water is actively flowing through cracks or joints
- The basement floods during heavy rain
- You live in an area with high groundwater levels
- The structure shows signs of movement or cracking
In high-pressure, high-moisture situations, it’s safer to use cavity drain membranes (CDM) or combine tanking with a sump and pump system.
Tanking is cleaner and usually cheaper. But if your basement behaves like a sponge after every rainfall, tanking might not hold up.
The Tanking Process – Step-by-Step
Tanking a basement isn’t just about sealing it up and hoping for the best. It’s a detailed process that relies on doing things properly — and in the right order.
Below is a full breakdown of how professionals approach basement tanking and why each step is essential if you want long-term results.
1. Initial Survey
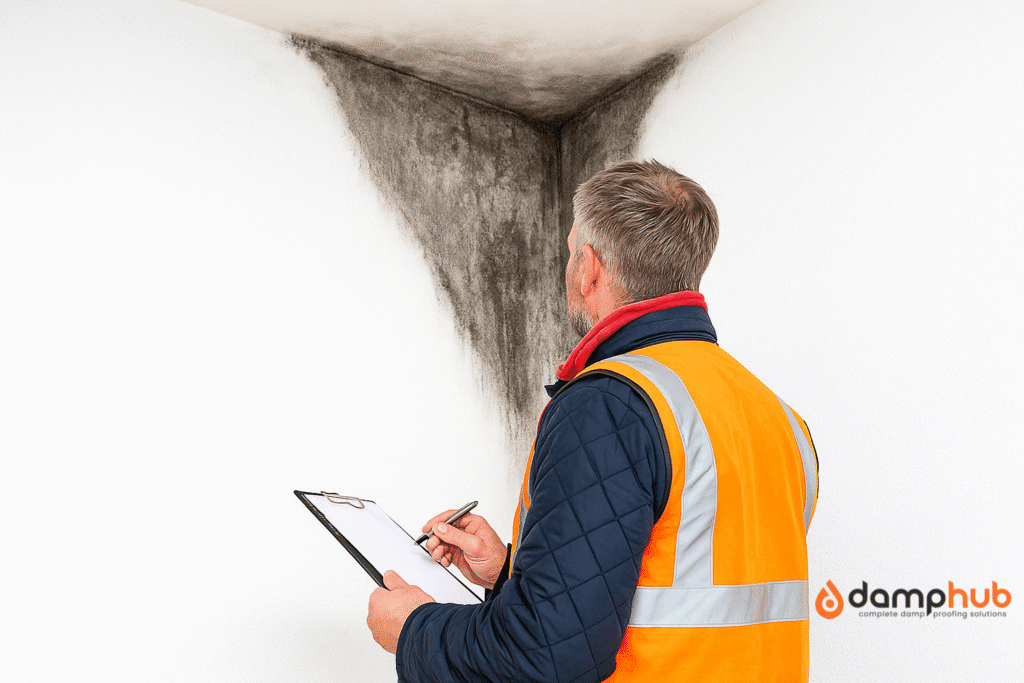
Everything starts with a proper inspection. A qualified surveyor checks the basement for moisture, water entry points, wall condition, and signs of pressure from groundwater.
They’ll also look for cracks, leaks, and whether the walls or floor are stable enough to hold a tanking system. This early check matters because tanking isn’t a one-size-fits-all solution.
Some basements simply aren’t suitable, either because of structural problems or extreme external water pressure. Skipping this step could mean spending a lot on a system that won’t last.
👉 Related Blog: How Long Does a Damp Survey Take?
2. Strip Back to Bare Masonry
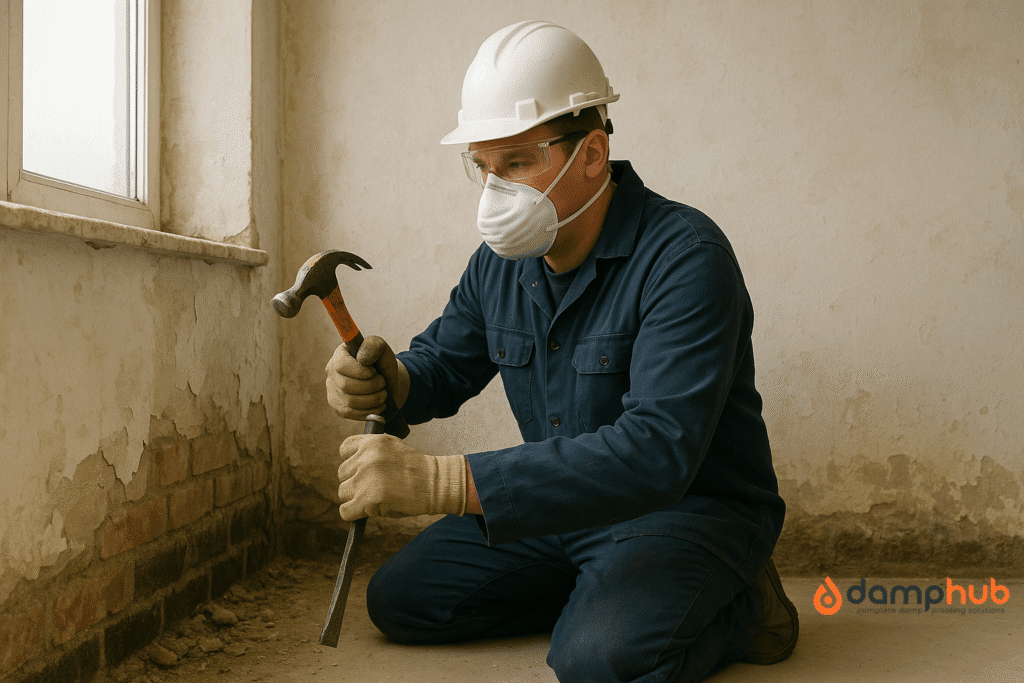
Once a basement is approved for tanking, the surfaces need to be stripped back to their bare structure. That includes removing:
- Paint and wallpaper
- Plaster or render
- Tiles, boards, and insulation
- Any dust, salts, or leftover adhesive
Tanking products must bond directly to clean brick, block, or stone. If there’s anything between the wall and the waterproofing layer, it can break the seal, which means water gets back in.
3. Repair the Surface
With everything exposed, any cracks, holes, or weak points get fixed.
- Gaps are filled
- Mortar joints are raked out and refilled
- The wall-to-floor junction is sealed using a fillet or a flexible waterproof product
This step is often where quick jobs go wrong. If these repairs aren’t done properly, the tanking layer won’t have a stable base, and water will find its way back through the weak spots.
4. Apply Primer (If Needed)
Some tanking systems require a primer, especially cement slurries used on dry or dusty surfaces. This isn’t always needed, but if it is, it helps the first waterproof coat stick properly.
Skipping primer when it’s recommended can cause flaking or peeling later on, which defeats the entire purpose of tanking.
5. Apply the Tanking System
This is the main waterproofing stage. Depending on the type of system being used, your contractor will apply one of the following:
Cementitious Slurry Tanking
- Mix the slurry into a thick, workable paste using clean water.
- Apply the first coat directly onto bare, clean masonry using a brush or trowel.
- Allow the first coat to dry until it’s touch-dry — usually between 6 and 24 hours.
- Apply the second coat at a 90-degree angle to the first to cover any missed areas.
- Let both coats cure completely before adding any finishes — often up to 48 hours.
Liquid Membrane Tanking
- Use the membrane straight from the container — no mixing required.
- Apply the first coat using a roller, brush, or spray, depending on the product.
- Wait for the first coat to dry — typically 4 to 12 hours, depending on conditions.
- Apply the second coat in the opposite direction to the first for full, even coverage.
- Allow full curing before finishing — usually takes 24 to 48 hours.
6. Allow Time to Cure
Once the tanking is on, it needs time to cure, meaning it needs to fully dry and bond with the wall.
Depending on the product and the conditions inside the basement, this can take anywhere from 24 to 48 hours.
Rushing ahead and applying finishes too early risks damaging the seal, and if that happens, you may need to start again.
7. Add the Final Finishes
Once fully cured, the space can be finished off.
You can now:
- Add mesh-reinforced waterproof render
- Fit battens and install plasterboard
- Lay flooring and add insulation
There’s one important detail here: whatever you add should allow moisture to escape. Even with a waterproofed wall, condensation can still build up inside the room. Using breathable materials helps keep that under control.
How Long Does Tanking Last?
If done properly, a tanking system can last 20 to 30 years or more.
Some manufacturers and contractors offer guarantees of 10–25 years, especially when installed by certified specialists.
But those guarantees only hold if:
- The prep work was done right
- The structure doesn’t shift significantly
- The external ground drainage isn’t causing constant water pressure
This isn’t a DIY weekend project. Done badly, tanking can fail in less than 12 months.
Cost of Basement Tanking in the UK
Here’s a rough breakdown based on property size and condition:
| Project Type | Size (approx) | Cost Range |
| Small cellar | 15–20m² | £2,000 – £4,000 |
| Medium basement | 30–40m² | £4,000 – £8,000 |
| Full basement | 40–60m² | £6,000 – £12,000 |
| Sump & pump (if needed) | Add-on | £2,000 – £5,000 extra |
Prices can differ depending on:
- Wall condition (cracks, salts, render removal)
- Access (difficult corners, low ceilings)
- Type of tanking system used
- Whether drainage or pumps are added
Always budget for a damp survey first. It’s the only way to know if tanking is even the right choice.
Pros and Cons of Basement Tanking
Advantages
- Keeps interiors clean, dry, and plaster-ready
- Great for storage rooms, offices, or conversions
- Cheaper than full excavation or CDM systems
- Works well in the right structure
Limitations
- Doesn’t manage water already inside the wall
- Can fail if the building settles or cracks
- Prep-intensive — skips or shortcuts lead to leaks
- Not suitable for all types of damp or flooding
👉 Related Blog: What is Damp – A Complete Guide
Tanking Vs. Cavity Membranes
Both basement tanking and cavity drain membranes are used to keep basements dry, but they work in very different ways.
- Tanking is a barrier system. It blocks water from entering by sealing the inside surfaces of walls and floors. The aim is to stop moisture at the point of contact, keeping everything behind the waterproof layer completely dry.
- Cavity drain membranes (CDMs), on the other hand, don’t try to block water. Instead, they manage it. These systems accept that moisture might come through the wall. They create a small air gap behind a plastic membrane fixed to the wall, letting water run down into a drainage channel at the base. That water is then directed to a sump and pumped out.
Here’s a quick breakdown:
In essence, tanking is defensive. Cavity systems are adaptive.
Choosing the Right Contractor
Basement tanking isn’t just about slapping on waterproof paint. It requires an understanding of moisture patterns, pressure, structural integrity, and proper sequencing.
Consequently, you must work with a company that knows what they’re doing, not just a general builder guessing their way through it.
Look for:
- Membership in the Property Care Association (PCA)
- Experience with similar properties (especially period homes)
- A clear, written quote with a full breakdown
- A long-term guarantee, ideally insurance-backed
Ask about the specific product they’re using. Ask how they’ll deal with corners and joints. If they avoid the questions, walk away.
Final Word
Basement tanking works — but only when used in the right place, with the right prep, and applied with care.
It’s best for spaces where water isn’t aggressively forcing its way in but needs to be kept out for comfort, hygiene, or building health.
If you’re converting a cellar or trying to make a musty basement usable again, it could be exactly what you need.
Just remember: the solution starts with understanding the problem. And once you’ve done that, tanking becomes a tool, not a guess.
FAQs
What is the difference between tanking and damp proofing?
Tanking blocks water completely by creating a watertight barrier on walls and floors. It’s designed for below-ground spaces exposed to constant moisture.
Damp proofing, on the other hand, controls moisture levels in above-ground walls. It helps stop rising damp or humidity, but won’t hold back groundwater.
If your basement is underground and showing signs of water ingress, damp proofing alone won’t be enough.
Why does tanking fail?
Tanking fails when it’s applied to the wrong type of basement or installed incorrectly. Common reasons include:
– Skipping surface prep (like not removing old render or salts)
– Applying it to a wall that’s unstable or already cracking
– Using the wrong system in high-pressure zones
– Not allowing the layers to cure fully before finishing
In short, tanking fails when corners are cut or when it’s used in the wrong situation.
Does tanking stop flooding?
Tanking is not designed to stop active flooding. It’s meant to hold back low to moderate moisture ingress, like seepage through walls or floors.
If your basement floods during heavy rain or groundwater surges, tanking alone won’t solve it.
You’ll need to combine it with a sump pump, cavity membrane system, or external drainage to handle serious water pressure.
Does tanking cure damp?
Tanking stops water from entering, which helps prevent damp from developing. But it won’t “cure” damp caused by:
– Internal condensation
– Leaky pipes
– Poor ventilation
– Rising damp from upper walls
If the damp is already inside or coming from a different source, those issues need fixing separately. Tanking prevents future moisture from seeping in — it’s not a one-stop cure.
How long does tanking take to cure?
Most tanking systems need 24 to 48 hours to cure fully, depending on the product and site conditions like temperature or ventilation.
Some systems may feel touch-dry after a few hours, but applying plaster or boards too soon can ruin the seal. Always follow the product’s guidance and allow full curing time before finishing.
How do you permanently waterproof a basement?
There’s no one-size-fits-all method, but a permanent waterproofing system often includes:
– A tanking barrier (slurry or membrane)
– A sump and pump (if water pressure is high)
– Good external drainage and rainwater management
– Breathable finishes and ventilation inside
The right system depends on the condition of the basement and how much water you’re dealing with.
It’s always best to start with a professional damp survey before committing
Is tanking slurry better than membrane?
Neither is better in all situations — it depends on the situation.
Tanking slurry works well on solid, stable walls that don’t move. It’s cheaper and more straightforward to apply.
Liquid membranes are more flexible, so they’re better for homes where the walls may shift or crack slightly over time.
If in doubt, professionals often recommend membranes in older homes where flexibility is key.

