Damp doesn’t always arrive with a splash. Sometimes it’s subtle — a whiff of mustiness in the hallway, a wall that never quite feels dry, or that patch of paint that keeps flaking no matter how many times you redo it.
Ignore these little signs and you won’t just be dealing with cosmetic issues — you’ll be facing real, long-term damage to your home’s structure and value.
This isn’t a scare story or a sales pitch. It’s straight-talking damp proofing advice for people living in real homes — especially older ones that weren’t built with modern damp-proofing in mind.
So, whether you’re dealing with a known issue or just want to keep things in check, our damp proofing advice walks you through what to look for, what to do, and how to avoid the common (and costly) mistakes.
👉 Make sure to read: How to Damp Proof a House: 7 Practical Tips from Industry Experts
10 Damp Proofing Advice For Homeowners
1. Look for signs of damp
You don’t need a moisture meter to spot damp — you just need to pay attention. Many people live with it for years without realising, putting odd smells or flaky paint down to “just one of those things.”
Take a slow walk through your house, especially ground-floor rooms and corners that don’t get much light. Use your senses:
- Sight: Bubbling paint, yellow stains, mould spots, warped skirting boards.
- Smell: That earthy, musty scent that clings in bedrooms, hallways or behind furniture.
- Touch: Cold, clammy patches on walls — especially external ones.
Don’t overlook “harmless” signs like condensation on windows or slightly peeling wallpaper. These are often the first clues that something’s brewing behind the scenes.
🟠 Good to Know:
Rising damp usually starts low — think skirting boards or the first foot of wall. But don’t rule out ceilings or high walls either — roof leaks and condensation can strike anywhere.
2. Figure out where the moisture is coming from
Before you start fixing anything, you need to understand where the water’s coming from. Throwing money at damp-proofing without knowing the source is like sticking a plaster over a broken pipe.
Ask yourself:
- Is water getting in from the outside — through the roof, walls, or ground?
- Or is it forming inside, from normal daily life — cooking, showering, drying clothes?
Here are some usual suspects:
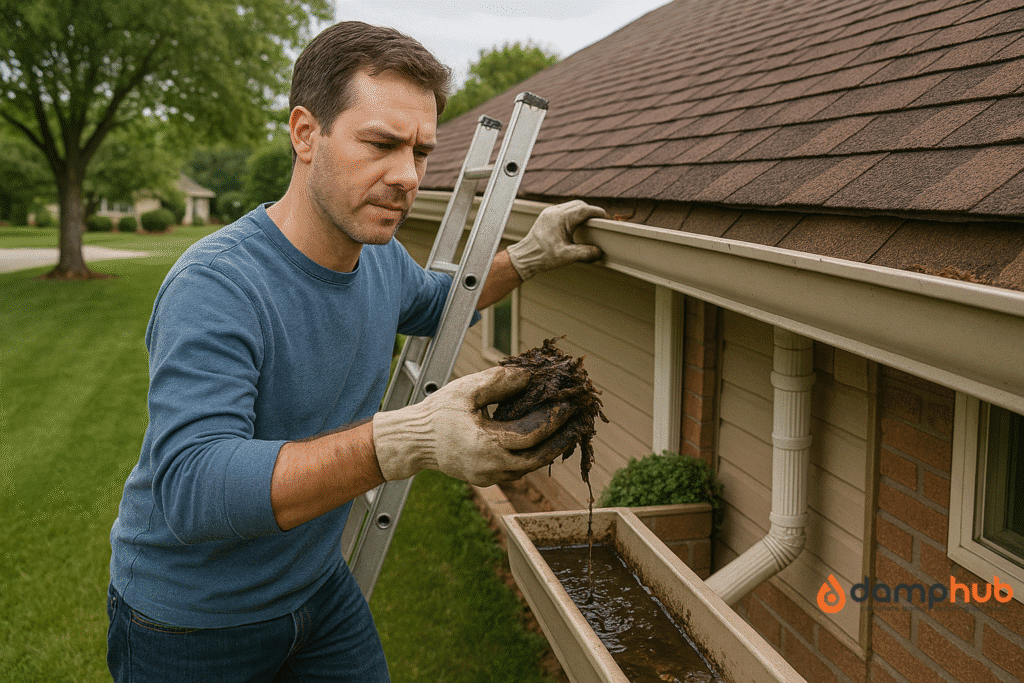
- Leaking gutters that spill water down the walls.
- Cracked render or bricks are letting rain seep in.
- Failed DPCs that no longer block ground moisture.
- High flowerbeds or soil levels that trap water against the house.
- Poor ventilation, especially in bathrooms and kitchens.
- Slow plumbing leaks, hidden under floorboards or behind walls.
🛠️ Try This:
Next time it rains, run your hand along internal walls or skirting boards near problem areas. If they feel unusually cold or damp, you might be looking at penetrating damp.
3. Identify what type of damp it is
Now that you’ve spotted the signs and suspect a source, the next step is figuring out what type of damp you’re actually dealing with. This bit matters — because the treatment depends entirely on getting the diagnosis right.
Rising Damp
This is ground moisture creeping up through porous building materials — bricks, mortar, concrete. You’ll usually see tide-like marks, blown plaster, and salt crystals low on interior walls. It’s more common in older properties without a working DPC.
Penetrating Damp
Caused by water physically entering your building from outside — usually through cracks in brickwork, broken gutters, or failed pointing. It often shows up as random damp patches that grow after rainfall.
👉More guide from us: Damp Proofing UK: Costs, Rules, and What You Need to Know
Condensation Damp
This one’s internal. Everyday activities — cooking, bathing, even breathing — release moisture into the air. If it can’t escape, it condenses on cold surfaces, leading to black mould, especially behind furniture or on external-facing walls.
4. Get a proper damp survey
Unless you’re 100% certain of what you’re dealing with, don’t guess — get a professional survey. And not just any survey. You want someone independent, who isn’t trying to sell you a product or push unnecessary treatments.
A good damp surveyor will:
- Inspect the whole property inside and out — including lofts, basements, and cavity walls.
- Use moisture meters, borescopes, and thermal imaging (when needed).
- Explain clearly what the issue is, what’s causing it, and how to fix it properly.
Avoid anyone offering a “free survey” that leads straight into a pitch for chemical injections or waterproofing. You want a diagnosis, not a sales call.
💡 Pro Tip:
Look for surveyors with PCA qualifications or check if they’re listed as independent specialists. Read reviews. If they’re in and out in 20 minutes and don’t even look in the loft, it’s not a real survey.
5. Treat the right type of damp properly
This is where things often go wrong. People paint over stains or plug in a dehumidifier — and wonder why the damp keeps coming back. The truth is, unless you fix the underlying cause, the problem will return.
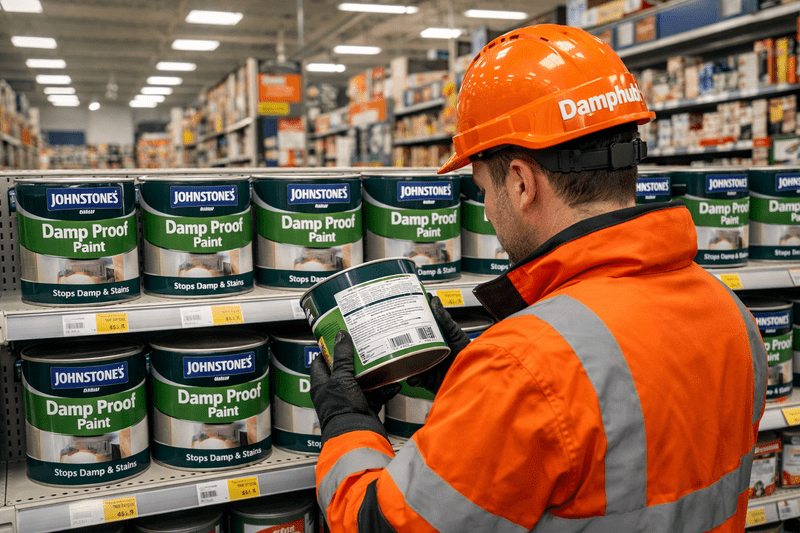
Rising Damp Treatment
- Inject a new DPC: A chemical damp-proof course can stop moisture rising, but it must be installed properly.
- Hack off contaminated plaster: Salts from rising damp keep attracting moisture, even after it’s dried.
- Check drainage and ground levels: Paths, beds, and patios should sit well below the internal floor level.

Penetrating Damp Treatment
- Repair external damage: Seal cracks in render or bricks. Replace damaged roof tiles or flashing.
- Fix drainage: Unblock gutters, reposition downpipes, and sort any overflow issues.
- Repoint walls or apply breathable water repellent: Especially helpful for exposed walls in windy, wet areas.
Need damp proofing help? Here are the top 10 Best Damp Proofing Specialists in Swindon UK
Condensation Treatment
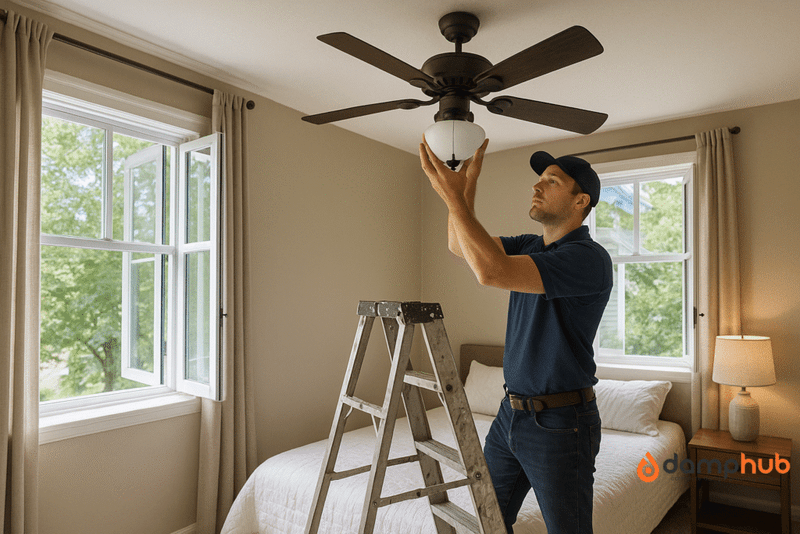
- Ventilation is king: Fit extractor fans in kitchens and bathrooms. Use trickle vents on windows.
- Improve insulation: Warm walls are less likely to attract condensation.
- Dry clothes outside: Or use a vented dryer — indoor drying is a major moisture source.
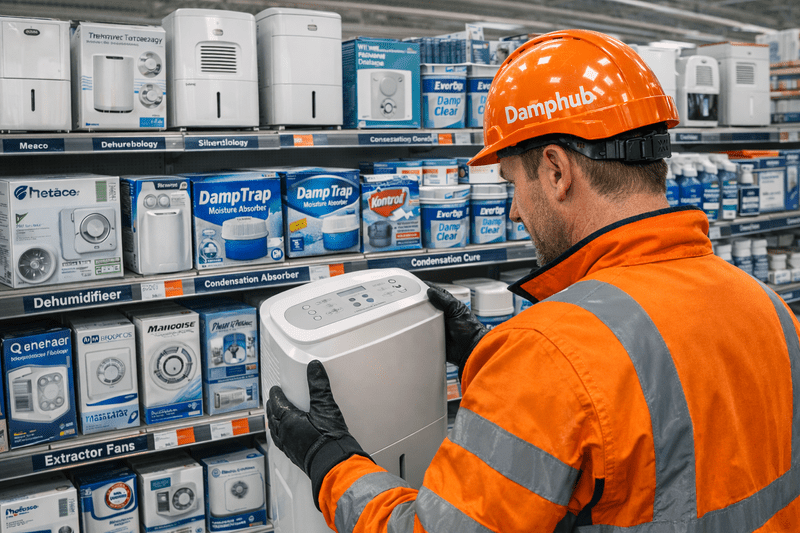
- Use dehumidifiers: Especially in winter or in rooms with poor airflow.
6. Don’t skip the replastering stage
Here’s a detail many skip — and then regret. If the wall’s been damp for a long time, the plaster has likely absorbed salts. Even once the source is fixed, these salts draw moisture from the air, keeping the wall feeling damp and ruining finishes.
What to do:
- Strip plaster back to bare brick or block.
- Apply a salt-inhibiting base coat.
- Replaster using breathable lime plaster or a renovating plaster that allows the wall to “breathe”.
Modern gypsum plaster traps moisture — not what you want on a wall that’s just been damp.
👉Please make sure to read: What Is the Best Method of Damp Proofing?
7. Check ventilation in key areas
Think of your house like lungs — it needs to breathe. If moisture from cooking, washing, or just living can’t escape, it gets stuck inside and turns into condensation.
Ventilation checklist:
- Extractor fans: Make sure they’re fitted with timers or humidity sensors — and used!
- Air bricks and vents: Clear them of dust, leaves or cobwebs.
- Trickle vents on windows: Keep them open, even just a little.
- Move furniture slightly off the walls: Just an inch can help airflow and prevent mould.
Good airflow costs nothing — and it’s one of the most powerful ways to stop damp forming in the first place.
8. Watch out for hidden sources of moisture
Some damp problems lurk completely out of sight. They don’t show up until floorboards warp, paint peels, or you start spotting mould in random corners.
Hidden causes to check:
- Leaking pipes: Especially under floors, behind toilets, or inside partition walls.
- Overflowing cold-water tanks: These often go unchecked in lofts for years.
- Roof problems: Slipped tiles or cracked flashings can let water in unnoticed.
- Cavity wall insulation: If it’s blocked, damp can bridge across to internal walls.
If the damp is stubborn and the source unclear, a proper survey will usually get to the bottom of it.
9. Keep the outside of your home in good shape
It’s not glamorous, but regular exterior maintenance is one of the best ways to prevent damp.
Every few months, take 10 minutes to walk around the house and look for:
- Cracks in render or brickwork
- Missing pointing between bricks
- Blocked or sagging gutters
- Plants growing in downpipes
- Mossy or waterlogged patches near the base of walls
💡 Pro Tip:
Make sure patios and flowerbeds sit at least 150mm (about two bricks) below your damp-proof course. Water should run away from your house, not towards it.
10. Think long-term prevention
Once you’ve sorted the damp, keep it that way. Prevention is cheaper, easier, and far less stressful than dealing with repairs and redecoration every few years.
Long-term tips:
- Use breathable materials: Especially on older properties — avoid plastic paints and vinyl wallpaper.
- Service your gutters twice a year: Spring and autumn are best.
- Consider a PIV system: If condensation is constant, these units push dry air through the house.
- Stay on top of small repairs: Don’t ignore slipped tiles or tiny cracks.
- Think before landscaping: Keep soil, decking and paving well below internal floors.
Damp thrives on neglect. A bit of maintenance now can save you thousands later.
👉 Find more guides: 10 Best Damp Proofing Specialists in Cornwall, UK
Summary Table for Our Damp Proofing Advice
| # | Advice | What to Know |
|---|---|---|
| 1 | Look for signs of damp | Don’t wait for mould — bubbling paint, musty smells, or cold patches are often your first clue. |
| 2 | Figure out the source | Outside leaks? Poor ventilation? Hidden pipes? You can’t fix it till you know where it’s coming from. |
| 3 | Identify the type of damp | Rising, penetrating or condensation — the fix depends entirely on the type. |
| 4 | Get a proper survey | Skip the sales pitch. Get an independent surveyor who actually investigates. |
| 5 | Use the right treatment | Different damp, different fix. Injection, tanking, ventilation — don’t guess. |
| 6 | Replaster properly | Damp walls hold salts. Use breathable plaster after stripping it back. |
| 7 | Improve ventilation | Extractor fans, open vents, airflow behind furniture — it all helps. |
| 8 | Check hidden moisture | Leaks in lofts, under floors or inside walls can cause years of hidden damage. |
| 9 | Maintain your exterior | Cracked bricks, blocked gutters, high ground levels — all let damp in. |
| 10 | Think long-term | Breathable materials, good drainage, regular checks — prevention is cheaper than repair. |
Final Thoughts
Damp doesn’t knock loudly. It creeps in quietly, builds up slowly, and by the time you notice it, the damage may already be done. But that doesn’t mean it’s unstoppable — far from it.
By learning what to look for, understanding where moisture comes from, and taking action based on evidence (not guesswork), you can protect your home properly. Don’t fall for quick fixes or “miracle” treatments that ignore the real issue.
Sort the cause, not just the symptom.
Need help?
Use our above damp proofing advice or visit Damp Hub to hire trusted independent damp surveyors and local specialists who know what they’re doing — and won’t just sell you a one-size-fits-all solution.
Your Damp Proofing Advice Questions Answered
-
What are the principles of damp proofing?
Stop moisture from coming in. Let existing moisture escape. Fix the cause, not just the patch. Don’t trap water inside the wall. And don’t cover things up hoping they’ll dry out — they won’t.
-
What is the difference between damp proofing and waterproofing?
Damp proofing blocks moisture. Waterproofing blocks actual water. One’s for damp patches, the other’s for places where water is pushing in — like basements.
-
Is damp proofing better than waterproofing?
No. You use one or the other depending on the problem. Damp proofing won’t work where water’s forcing its way through. Waterproofing is overkill for a bit of rising damp.
-
How many types of damp proofing are there?
Five main ones. DPC injection. Membranes. Tanking. Cavity trays. Surface treatments like sealants or paints. Some are permanent, some just delay the problem.
-
How do you know if your damp proof course has failed?
Paint bubbling near the floor. Salts on the wall. Plaster flaking off. A cold patch that never dries. If it’s always damp about a metre up — and getting worse — your DPC’s likely had it.
-
How to fix damp walls permanently?
Sort the cause first. Could be a leak, blocked gutter, high ground, or no DPC. Strip back the wall, let it dry, and only then fix it properly — with the right method. Anything else is temporary.
-
How to check for DPC?
Look for a black plastic strip or slate line near the base of the wall outside. About 150mm up. If you can’t see one, or damp’s creeping above it, it might be bridged or gone.
-
How to fix a damp proof course?
Inject a new one into the mortar — that’s what most people do. But it won’t work unless you also take off damp plaster and sort anything bridging it, like render or soil outside.
-
What are the properties of damp proofing?
It blocks moisture. Stays in place. Doesn’t react with salts. And works for years — if it’s done right. That’s it.
-
What is the difference between DPC and DPM?
DPC (damp proof course) goes in walls to stop moisture rising up from the ground. DPM (damp proof membrane) goes under floors to stop damp coming up through concrete or slabs.
DPC is horizontal in brickwork. DPM is usually a plastic sheet under your floor. Both do the same job — just in different places. For more information, please see our full guide: What is the Difference Between DPC vs DPM?