Quick Takeaways
- ✓ There’s no single best method — it depends on the damp type and property.
- ✓ Chemical DPC works well for rising damp but needs correct replastering.
- ✓ Tanking and membranes are best for basements and below-ground walls.
- ✓ Ventilation is key for solving condensation — not just blocking moisture.
- ✓ A proper damp survey is always the smartest first step.
Not all damp is the same — and neither are the solutions. So when people ask, “What’s the best damp proofing method?”, the honest answer is: it depends. It depends on the type of damp, the condition of your property, the cause of the moisture, and how long it has been happening.
This guide walks you through the main types of damp, how professionals determine the right fix, and which damp proofing methods work best in real UK homes — not just on paper.
👉 Make sure to read: How to Damp Proof a House: 7 Practical Tips from Industry Experts
Understanding What Needs Fixing First
Before you can talk about “the best damp proofing method”, you need to understand what you’re treating. Here’s a quick breakdown of the three main types of damp that affect homes:
- Rising damp – Moisture coming up from the ground through porous brickwork.
- Penetrating damp – Rain or leaks getting through walls, roofs, or windows.
- Condensation – Moisture in the air turns to water on cold surfaces.
Each one behaves differently. Each one leaves different signs. And most importantly, each one needs a different approach.
💡 Pro Tip:
If someone’s offering one universal fix for “damp”, be cautious. Good damp proofing always starts with an accurate diagnosis, not just a product.
What Are the Different Types of Damp Proofing? (And When to Use Them)
Let’s break down the most widely used damp proofing methods in the UK — and when they work.
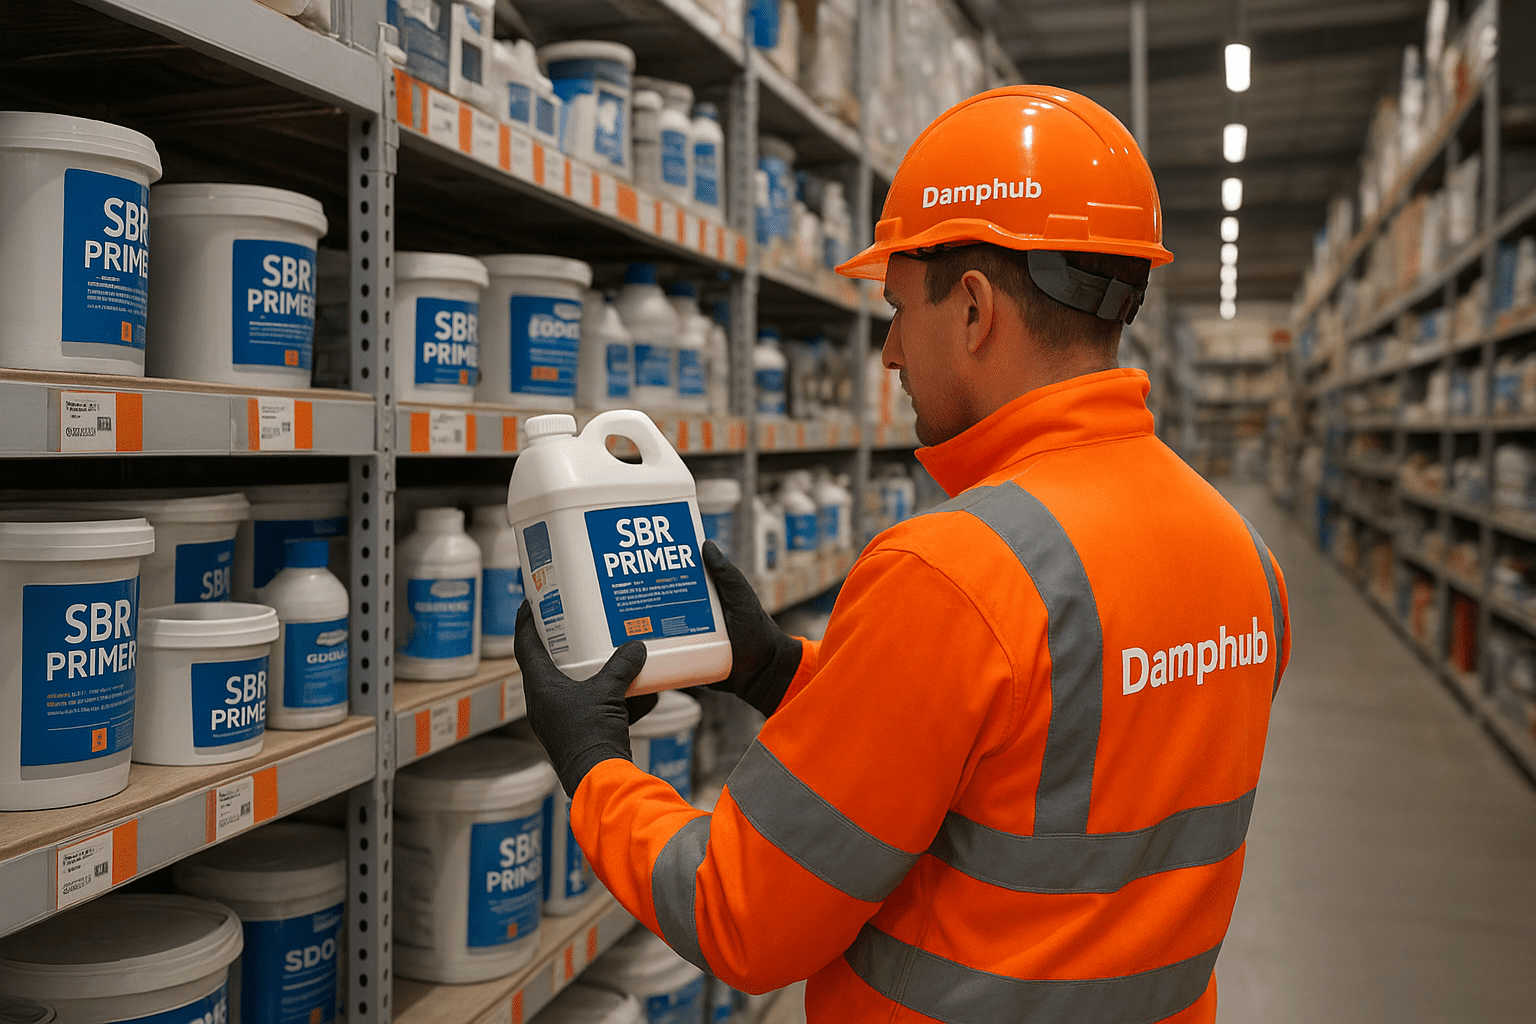
1. Chemical Damp Proof Course (DPC)
Best for: Rising damp in older walls with no existing DPC or failed DPC.
This method involves drilling holes in the base of the wall and injecting a water-repellent chemical. It forms a horizontal barrier that stops moisture from wicking up through the brickwork.
Why it’s popular:
- Quick to install (1–2 days)
- Doesn’t require major rebuilding
- Works well if installed properly
Risks if misused:
- It won’t help if the damp is from leaks, condensation or high external ground levels
- It can be useless if not injected correctly or if the walls are too saturated
🟠 Good to Know:
Always combine a new DPC with proper replastering using breathable or salt-resistant materials. Skipping this step means moisture and salts can still ruin your finish.
2. Damp Proof Membranes (DPMs)
Best for: Floor damp or when renovating basements and ground floors.
A DPM is a physical sheet (usually plastic) that blocks moisture rising through floors or walls. It’s often used under concrete slabs or behind wall finishes in areas below ground.
Why it works:
- Completely blocks water ingress
- Long-lasting when installed properly
- Ideal for floors and basements
Limitations:
- Needs good edge sealing and overlaps
- Not a fix for condensation or roof leaks
- Must connect properly with any wall DPCs
👉More guide from us: Damp Proofing UK: Costs, Rules, and What You Need to Know
💡 Pro Tip:
DPMs are great in modern builds — but in old houses, they can trap moisture. Make sure walls and floors are still able to breathe, especially in Victorian or stone homes.
3. Tanking Slurries
Best for: Cellars, basements, or retaining walls with water ingress.
Tanking involves coating walls with a cement-based waterproof slurry. It creates a barrier that water can’t pass through. This damp proofing method is often used when water is forcing its way through earth-retaining walls.
Why professionals like it:
- Strong, reliable barrier
- Can be applied internally where access is limited
- Cheaper than full cavity systems
Downsides:
- Doesn’t deal with the underlying water pressure long-term
- Can fail if applied to loose, crumbling or salty surfaces
- Needs proper drainage management
Read our full guide: A Complete Guide to Basement Tanking in the UK
🛠️ Try This:
In tricky basements, pros often combine tanking with a perimeter drain and sump pump. This redirects the water before it builds pressure.
4. Cavity Drain Membrane Systems
Best for: Long-term basement waterproofing or listed buildings.
Unlike tanking, cavity drain systems don’t block water — they manage it. Plastic membranes are fixed to walls and floors, creating a gap where water can move behind safely into drains and pumps.
Why they’re the gold standard:
- Allow walls to breathe
- Don’t rely on adhesion or wall condition
- Fully maintainable system
Considerations:
- This damp proofing method can be more expensive than other options
- Needs space and planning for drainage and sump system
- Usually only used by basement waterproofing specialists
🟠 Good to Know:
Many basement conversions use these in combination with insulation and dry-lining — a dry, warm, breathable setup that lasts.
5. Ventilation Improvements
Best for: Condensation and high indoor humidity.
No amount of membranes or chemicals will fix condensation. If the issue is damp air settling on cold surfaces, you need to reduce moisture levels and increase airflow.
Top options:
- Positive Input Ventilation (PIV) units
- Bathroom and kitchen extractor fans
- Trickle vents on windows
- Humidity-controlled fans
Important Note:
- These don’t remove existing mould or moisture damage
- But they stop the cycle from continuing
👉 More guide: How to Get Rid of Damp: A Professional Guide
🛠️ Try This:
Use a digital hygrometer to monitor humidity. Anything consistently over 60% indoors is likely to cause trouble in winter.
6. Exterior Wall Treatments
Best for: Penetrating damp through porous brick or stone.
Walls that soak up rain like a sponge might need extra protection. Some breathable water repellents (like silane/siloxane-based creams) can reduce water absorption while letting trapped moisture escape.
Effective when:
- Applied to clean, dry surfaces
- Used on sound brick or stone
- Not covering existing damp patches
What they don’t do:
- Fix structural cracks
- Replace failed pointing or render
💡 Pro Tip:
Products like Stormdry Cream are popular for a reason — but only work if applied under the right conditions. They’re not a magic paint-over solution.
So… What Is the Best Damp Proofing Method?
The truth is, there’s no single damp proofing method that can work for all the damp issues. Here’s how to think about it instead:
| Damp Type | Best Method |
|---|---|
| Rising Damp | Chemical DPC + Salt-Resistant Replastering |
| Penetrating Damp | Fix Source + Exterior Wall Treatment |
| Condensation | Ventilation + Humidity Control |
| Basement Damp | Cavity Drain Membrane + Sump Pump |
| Floor Damp | Damp Proof Membrane + Proper Subfloor Drainage |
Signs You Need More Than Damp Proofing Methods
It’s rarely just one thing causing damp. You might have:
- Rising damp and condensation
- Leaky gutters and poor internal ventilation
- No DPC and high ground levels outside
A proper damp survey looks at all of this — not just surface stains.
🟠 Good to Know:
A qualified independent damp surveyor isn’t there to sell you products. They’ll inspect the property thoroughly and recommend what you actually need — even if it’s a combination of solutions.
Don’t Just Treat the Symptoms
Plastering over damp, repainting, or even installing a DPC without fixing the cause is like mopping up a leak while the tap’s still on.
Here’s what actually solves it long-term:
- Find the moisture source (rain, rising damp, leaks, lifestyle)
- Check structural issues (cracked render, bridging, failed pointing)
- Fix drainage, ventilation or plumbing first
- Choose the right treatment based on property type and wall makeup
👉 Also read: How to Treat Damp Walls Internally: A Step-by-Step Guide
Choosing the Right Professional
Whether you need tanking, a DPC injection, or a full basement system, who installs it matters just as much as the product.
Look for:
- Experience with period and modern properties
- Insurance-backed guarantees
- Survey-first approach, not just quoting off photos
- Member of a recognised body (e.g. PCA, Which? Trusted Trader, TrustMark)
Final Word
The best damp proofing method is the one that matches your property, your problem, and your long-term needs — not just the cheapest quote.
If you’re unsure, don’t guess. Bring in someone who understands how UK buildings breathe, how water behaves, and how to stop damp without making it worse.
More to read: How to Remove Damp from Walls: The Ultimate Guide
Answering Questions on the Best Damp Proofing Method
-
How to apply damp proof on a wall?
It depends on what kind of damp you’re dealing with.
If it’s rising damp, a specialist will usually drill small holes near the base of the wall and inject a chemical damp-proof course.
If it’s surface moisture or minor penetrating damp, you might use a damp proof membrane or coating — but if the plaster’s damaged, it’ll need replacing too.
-
Which material is used for damp proofing methods?
As previously said, there’s no single damp-proof method that solves all the damp issues. The right choice depends on the type of damp and where it shows up.
For walls, chemical DPC creams or injection fluids are common. For floors, builders often use a thick plastic sheet called a damp proof membrane (DPM).
And in wetter spots like basements, they may use waterproof cement or tanking slurry.
For further guidance, you may also read: Top 10 Best Damp Seal Paints in the UK (2025 Buyer’s Guide)
-
Can you damp proof without removing plaster?
Sometimes — but not always. If the plaster is damp, flaky, or full of salts, you’ll have to strip it back. You can’t just treat over the top of damaged plaster — it won’t last, and the damp will come straight through again.
-
How long does plaster take to dry after damp proofing?
Most walls take 4 to 6 weeks to dry out fully after damp proofing. It’s slower in winter or if ventilation is poor. You’ll know it’s ready when there are no darker patches and it feels completely dry to the touch.
-
How soon can you plaster after damp proofing?
You normally wait around two weeks after the damp proof course goes in. The wall needs time to settle and start drying out. If you plaster too early, you could end up trapping moisture and causing more problems later.
-
Can you plaster straight onto a damp proof membrane?
Yes — but only if it’s the right type. Some membranes come with a rough or mesh face that’s made for direct plastering. If it’s a smooth plastic one, you’ll need to fix battens or apply a layer of render first.
-
What’s the difference between waterproofing and damp proofing?
Damp proofing stops moisture — waterproofing holds back water. If you’re dealing with general damp in walls or floors, damp proofing usually does the job.
But if water is actually leaking or seeping in — especially below ground — you’ll need proper waterproofing instead.
-
How to prevent damp in an empty house?
Keep the place aired — even a cracked window now and then helps. Run heating on a timer in winter to stop condensation.
And check for obvious signs like blocked gutters or slipped roof tiles — small issues turn into big damp problems when no one’s living there.
-
How do I make my house not damp?
Start simple: open windows regularly, especially in the kitchen and bathroom. Use extractor fans and avoid drying clothes indoors if you can.
And check the outside — damaged render, missing pointing, or a failed damp proof course can all let moisture in.
-
How to stop damp coming through external walls in a bedroom home?
Take a close look outside — are there cracks in the wall or gaps in the render? Leaky gutters or broken pointing are often to blame.
Fix those first, then inside, make sure air can flow properly and that walls aren’t covered in cold-trapping paint or wallpaper.