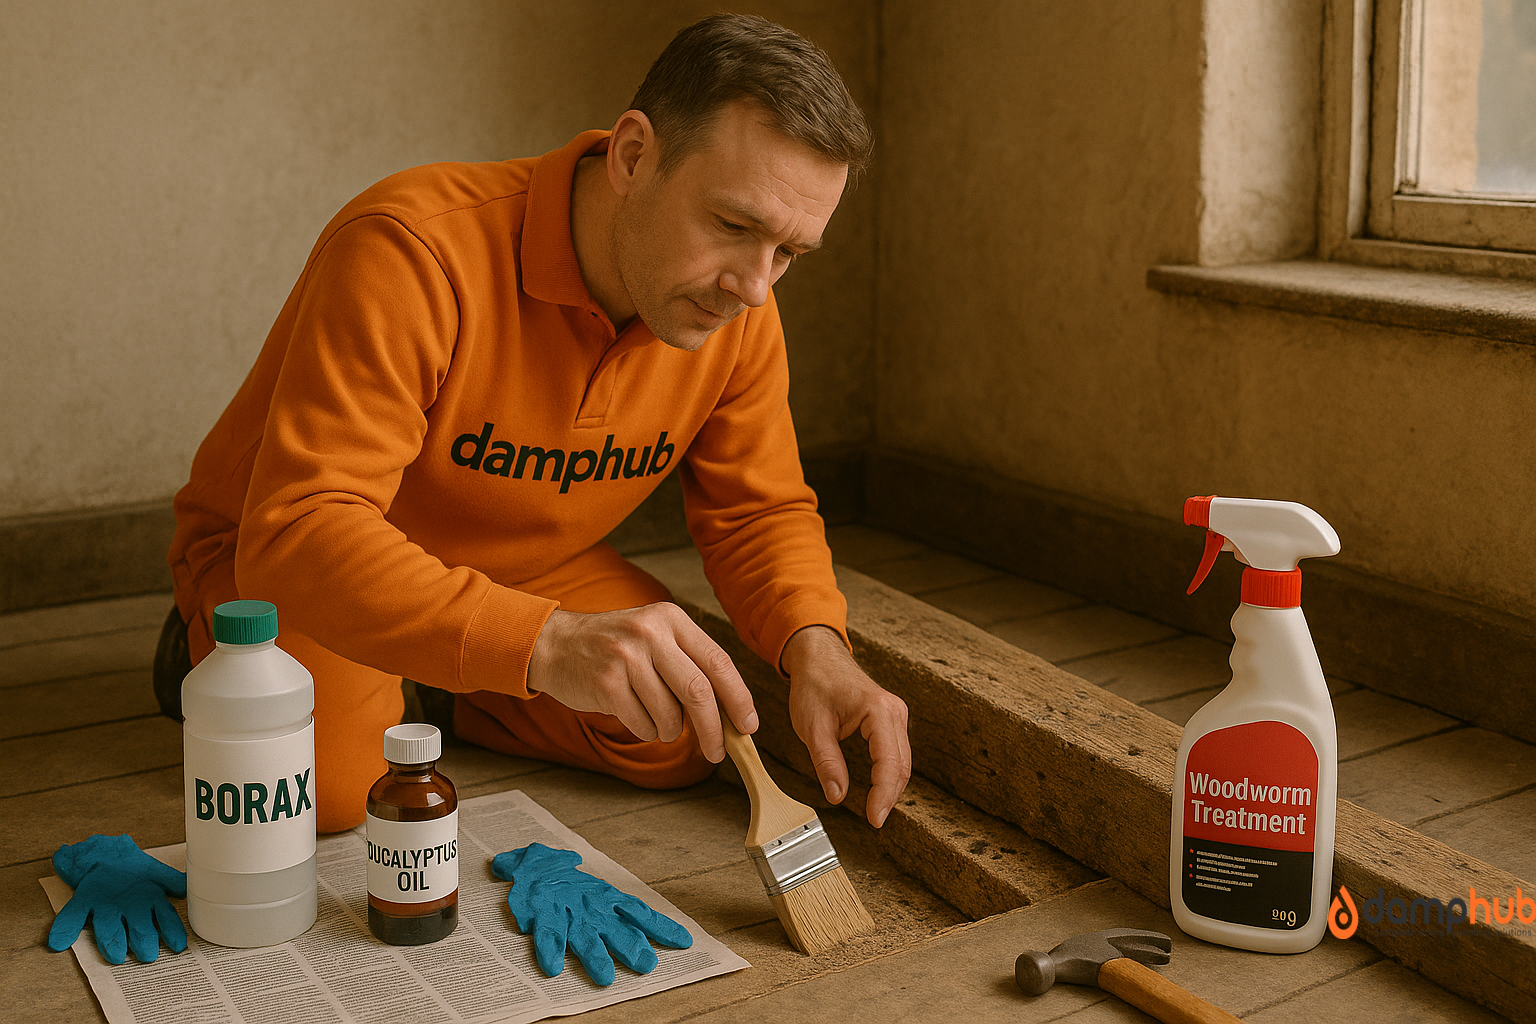
As a concerned homeowner looking to keep your home in good shape, the first thing you do when you spot a woodworm is plan how to eradicate it with immediate effect.
Why? Because leaving it means giving the woodworms ample time to complete their main mission: destroying your property.
Now, when it comes to removing these pests, you have to go the DIY woodworm treatment route or bring in experts. The best choice depends on the size of the infestation, whether you are comfortable with DIY, and the specific goal you want to achieve.
Some minor woodworm infestations, like a small piece of furniture or a single loft beam, can be tackled yourself. Others, especially those affecting structural timbers or multiple areas, are a different story that needs professional help.
Supposing your case looks minor and manageable, this guide walks you through everything you need to know about DIY woodworm treatment. Ultimately, you should be able to treat minor infestations yourself without any errors.
First, How to Check an Active Woodworm Infestation
Before you even think about grabbing a woodworm spray bottle or putting on gloves, you need to be sure the infestation is still active.
Treating old damage won’t achieve anything — and wasting effort on dead beetle holes is frustrating at best, and expensive at worst.
How to check if woodworm is still at work or a thing of the past:
1. Look for fresh exit holes
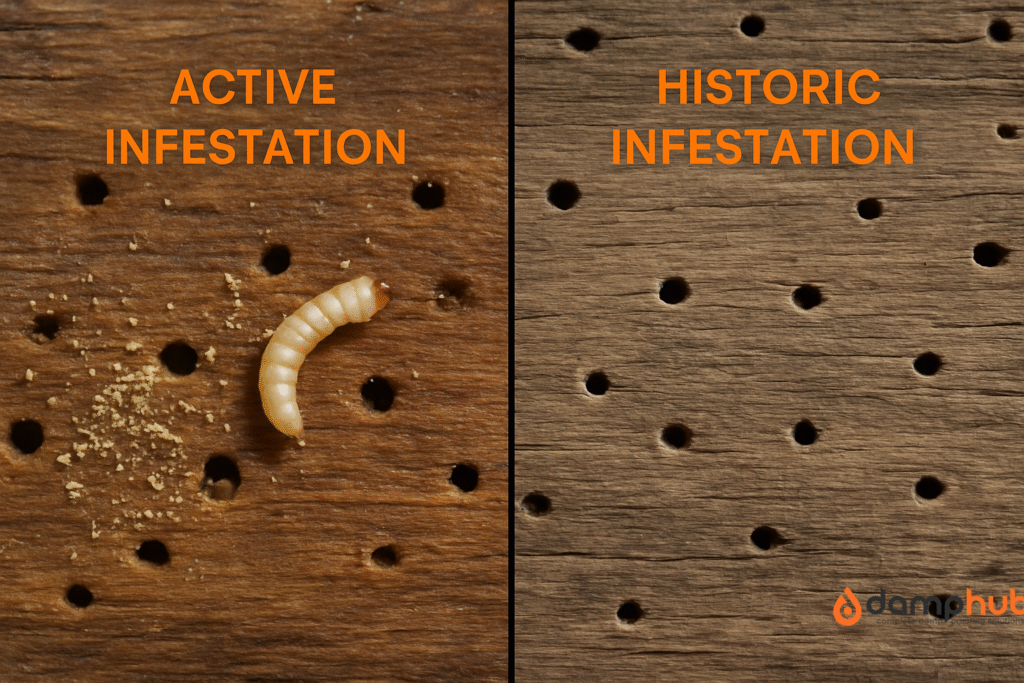
Wood-boring beetles leave behind tiny round holes when they emerge — usually 1–2mm in diameter. If the holes look pale or clean-edged, they may be recent. Old holes tend to darken over time and gather dust.
2. Check for fine dust (frass)
This powdery substance is a mixture of beetle droppings and chewed wood. You’ll usually find it beneath infested timber or around the exit holes. If you clear it away and it reappears in a few days or weeks, the infestation is active.
Pro Tip
Slide a sheet of paper or cling film under suspect timber and leave it for a few days. If frass collects, that’s your confirmation.
3. Test the wood’s integrity
Gently press or tap around affected areas. Soft, crumbly, or hollow-sounding wood could point to internal damage. Use a screwdriver to test deeper — it shouldn’t sink in easily.
4. Look for dead beetles or live larvae
You may find adult beetles near windows, light fittings, or underneath furniture, especially during warmer months. Larvae are rarely visible (they live inside the wood), but their presence means the life cycle is still active.
5. Know when beetles are active
In the UK, wood-boring beetles typically emerge between May and September. This is the best time to monitor for new holes or dust. If you’re unsure, set a reminder to recheck mid-summer.
If you still need more help spotting signs of active woodworm infestations, see our full guide: Signs of Active Woodworm Infestation.
Where Do Woodworn Hide
Once you have clear signs that you have an ongoing woodworm infestation, the next step is to find out where these pests are hiding in your home.
Normally, woodworm doesn’t go for the flashiest furniture. It prefers quiet, undisturbed spots where moisture levels are a bit higher and timber is untreated or unfinished.
Here are some woodworm hiding areas in your home:
- Loft timbers and roof beams – especially in older homes or where insulation traps moisture
- Floorboards and subfloors – particularly in damp or poorly ventilated rooms
- Backs and undersides of furniture – woodworm loves dark corners
- Staircases and banisters – often missed during routine checks
- Garden sheds, garages, and outbuildings – if they contain wooden shelving or roof trusses
Pro Tip
If you’re storing anything made of wood in a loft or garage — like picture frames, bookshelves, or even old toys — give it a once-over. You’d be surprised what turns into a beetle buffet.
What Tools and Materials Do You Need for DIY Woodworm Treatment?
At this point, you are very sure you have an active woodworm infestation, and you are very clear where the pests are hiding out.
Now what you need are a few basics. Some are obvious, some easily overlooked — but missing any of them mid-job can derail your progress fast.
Tools:
- Sandpaper or sanding block – You’ll need this to strip back any paint or varnish so the treatment can reach bare wood.
- Vacuum or stiff cleaning brush – To remove frass (wood dust), cobwebs, or anything else clinging to the surface.
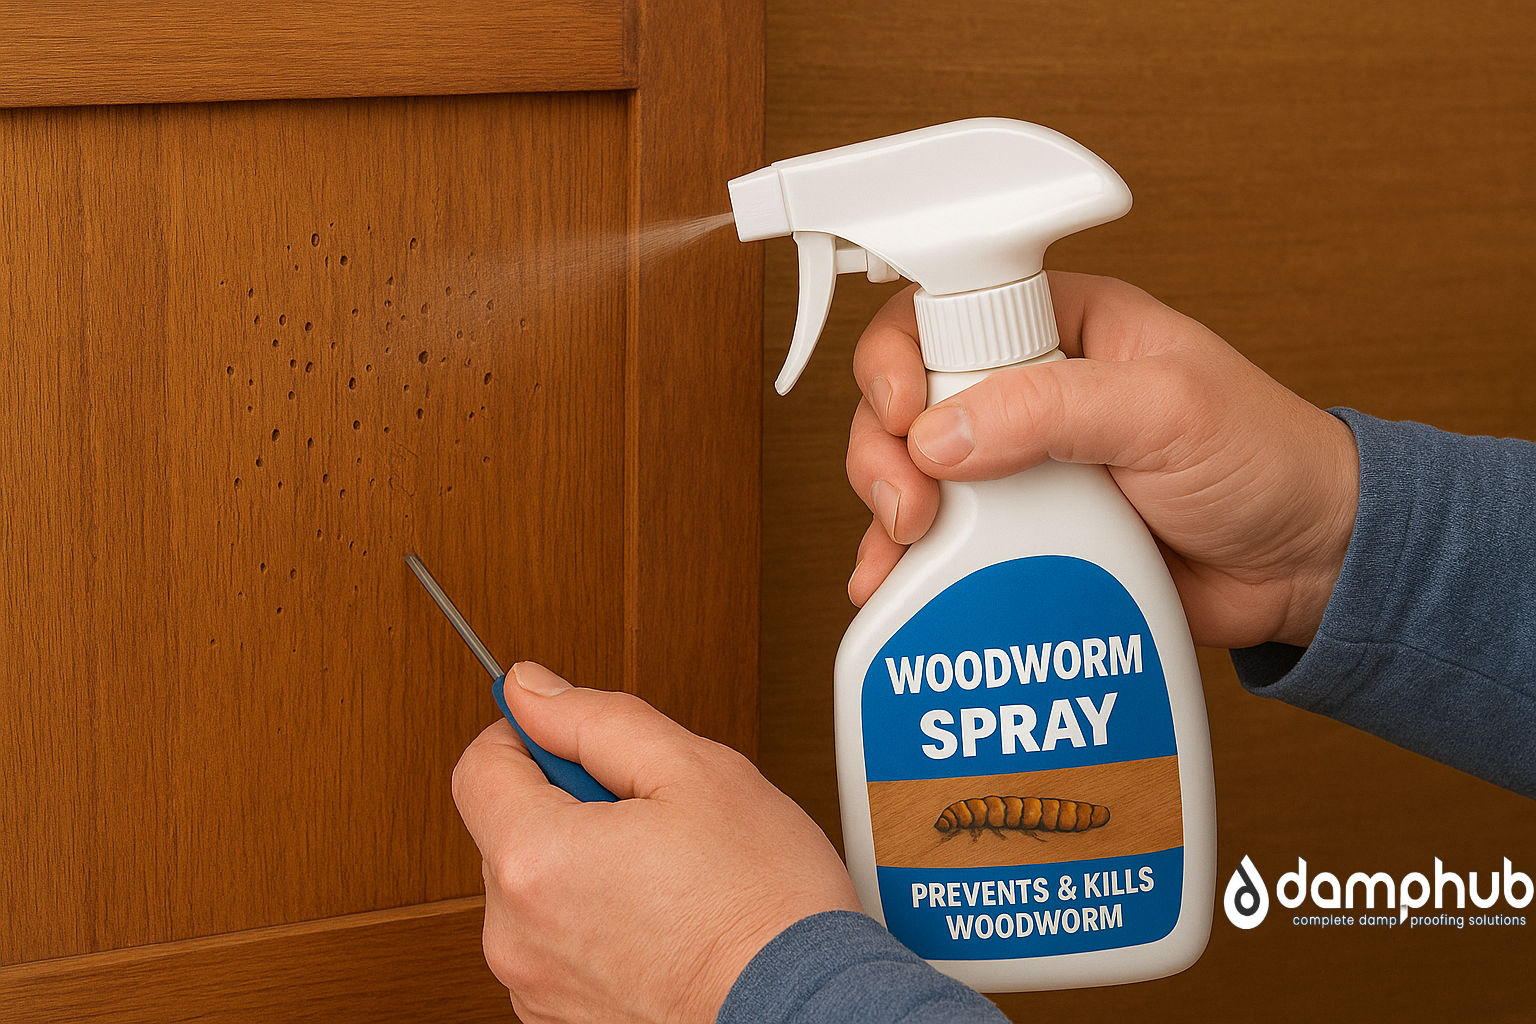
- Spray bottle or application brush – Depends on the type of product you’re using. Sprays are quick; brushes are better for soaking it in.
- Optional: woodworm injection kit – For deeper infestations. These let you inject fluid directly into exit holes.
Safety gear:
- Gloves – Even natural remedies can irritate skin.
- Dust mask or respirator – Essential if you’re sanding or using chemical treatments indoors.
- Goggles – Especially important when treating overhead or spraying near your face.
Products:
This is where your approach starts to matter. You’ve got two broad paths: natural and chemical.
- Natural remedies – Lower toxicity, eco-friendly, better for light infestations.
- Chemical treatments – More powerful, longer-lasting, designed to kill larvae deep inside the timber.
Optional extras:
- Wood filler – To plug deep exit holes after treatment, mainly for cosmetic or furniture repair.
- Wood sealant or stain – To protect exposed timber and help prevent future infestations.

Good to Know
If the timber is still damp or sealed with varnish, most treatments won’t soak in. Dry, bare wood = best results.
What is the Best DIY Woodworm Treatment
When considering treating woodworm yourself, you can either go with natural or chemical woodworm repellents.
Natural options come from plants, minerals, or physical methods like heat and freezing. They use substances found in nature to repel or kill woodworm with less impact on the environment.
Chemical treatments are man-made products containing synthetic insecticides designed to kill woodworm larvae and eggs deep inside the wood.
Let’s explore each of them:
(I) Natural DIY Woodworm Treatment
Natural remedies can be a good starting point for minor woodworm problems, especially if you’re cautious about chemicals or dealing with small, self-contained timber. These methods are cheap, easy to try, and usually safe around pets and children.
Just keep in mind: they’re not a silver bullet. Most work as deterrents or mild surface treatments, rather than deep-kill solutions.
Here are the natural woodworm remedies that work, and what you can expect.
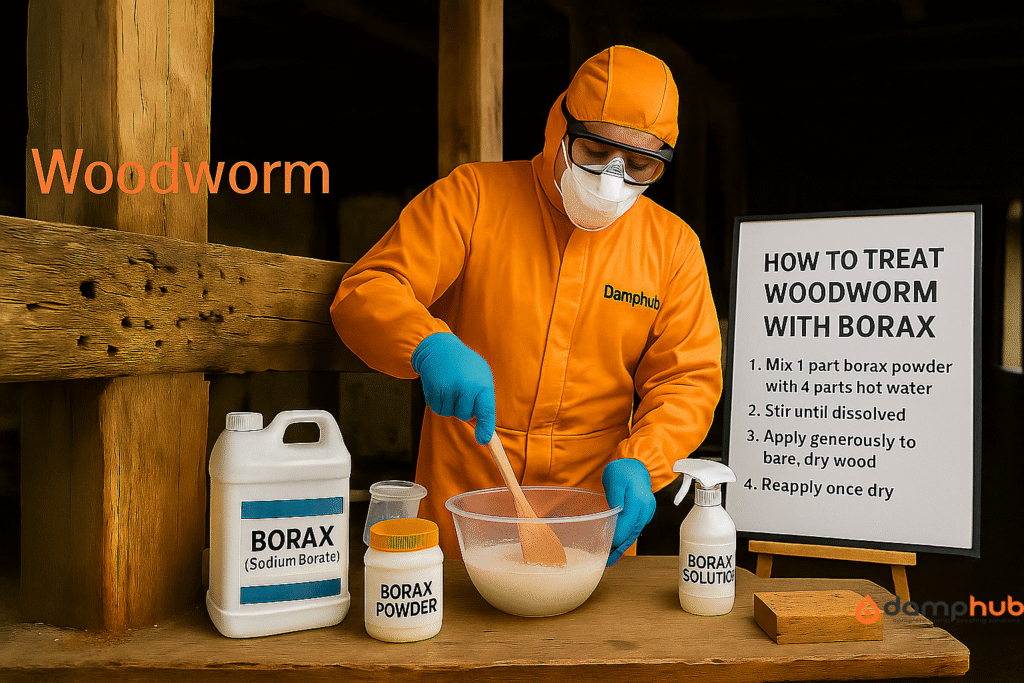
1. Borax (Sodium Borate)
Best for: Small furniture, exposed wood, mild infestations.
Borax is the closest thing to a natural woodworm killer. It dries out larvae and disrupts their digestion.
How to use it:
- Mix 1 part borax powder with 4 parts hot water.
- Stir until fully dissolved to make a clear solution.
- Brush or spray generously onto bare, dry wood—especially around exit holes and suspect areas.
- Let it soak and dry fully. Reapply once dry, especially on thicker wood.
Important
Remove any varnish or paint first so borax reaches the larvae. Wear gloves — it can irritate skin.
2. Vinegar and Lemon Juice
Best for: Light deterrence, early signs, or fresh exit holes.
Vinegar acidity repels adult beetles and mildly disinfects wood. It won’t kill larvae but can reduce egg-laying.
How to use it:
- Mix equal parts white vinegar and lemon juice.
- Apply with sponge, cloth, or spray bottle to affected wood.
- Let it soak in. Repeat every few days for several weeks.
Note
This is surface-level deterrence only — not a cure.
3. Essential Oils (Clove, Eucalyptus, Neem)
Best for: Ongoing prevention and smell-based deterrence.
Some oils have insecticidal or repellent effects: clove (eugenol), neem (insect growth disruptor), eucalyptus (strong scent beetles dislike).
How to use it:
- Add 10–15 drops of oil to 1 cup of water.
- Spray or wipe onto wood regularly, especially near holes or cracks.
- Reapply every few days.
Pro tip: Mix with vinegar for a two-in-one deterrent. This helps protect but won’t kill deep larvae.
4. Freezing Small Wooden Items
Best for: Portable wooden objects like picture frames, toys, and stools.
Woodworm larvae can’t survive extreme cold. Freezing kills them chemically without the need for using potentially harmful chemicals.
How to use it:
- Wrap the item tightly in plastic to avoid moisture damage.
- Freeze at -18°C or colder for at least 2 weeks.
- Thaw slowly before unwrapping to avoid warping.
Try this: Freeze several small items at once — especially second-hand or antique pieces.
5. Heat Treatment for Furniture
Best for: Small furniture or timber sections.
Raising internal wood temperature over 50°C kills larvae, but too much heat risks damage.
How to use it:
- Place furniture in a warm, enclosed space (greenhouse or sunroom) during hot weather.
- For smaller items, use a heat gun on low or an oven (only if safe, unvarnished, and glue-free).
- Aim for 50–60°C internal temp for 30 minutes minimum.
Warning
Never use on painted, glued, or delicate furniture. Heat gradually, avoid direct blasts.
Natural Woodworm Treatment: Quick Comparison
| Remedy | Kills Larvae | Prevents Eggs | Safe Indoors | Penetration | Effort |
|---|---|---|---|---|---|
| Borax | ✅ Yes | ✅ Yes | ☑️ Use gloves | Medium | Moderate |
| Vinegar + Lemon | ❌ No | ✅ Yes | ✅ Yes | Low | Easy |
| Essential Oils | ❌ No | ✅ Yes | ✅ Yes | Low | Easy |
| Freezing | ✅ Yes | ❌ No | ✅ Yes | Full (item) | Moderate |
| Heat Treatment | ✅ Yes | ❌ No | ⚠️ Risky | Medium | High |
(ii) Chemical DIY Woodworm Treatments
Chemical treatments for woodworm are the go-to choice for active or deeper infestations, and they come in a few different forms as we elaborate below:
- Sprays – Best for surface application on furniture or visible beams. Quick to apply and dries fast.
- Gels – Thicker, with medium penetration. Useful for vertical surfaces or irregular shapes.
- Injection fluids – Designed to go straight into exit holes. Delivers the product deep where larvae live.
- Preserving oils – Often plant-based but still effective, these tend to repel rather than kill, and are best for preventing recurrence.
Popular chemical woodworm treatment brands in the UK
- Barrettine Premier Wood Preserver – A trusted all-rounder with long-lasting protection.
- Cuprinol Woodworm Killer – Well-known, reliable, and safe for most interior use.
- No Nonsense Woodworm Killer – Budget-friendly, does the job for small-scale infestations.
How to Apply Woodworm Chemical Treatment
Once everything’s prepped and you’ve chosen your product, here’s how to apply it — whether you’re using a natural remedy or a chemical treatment.
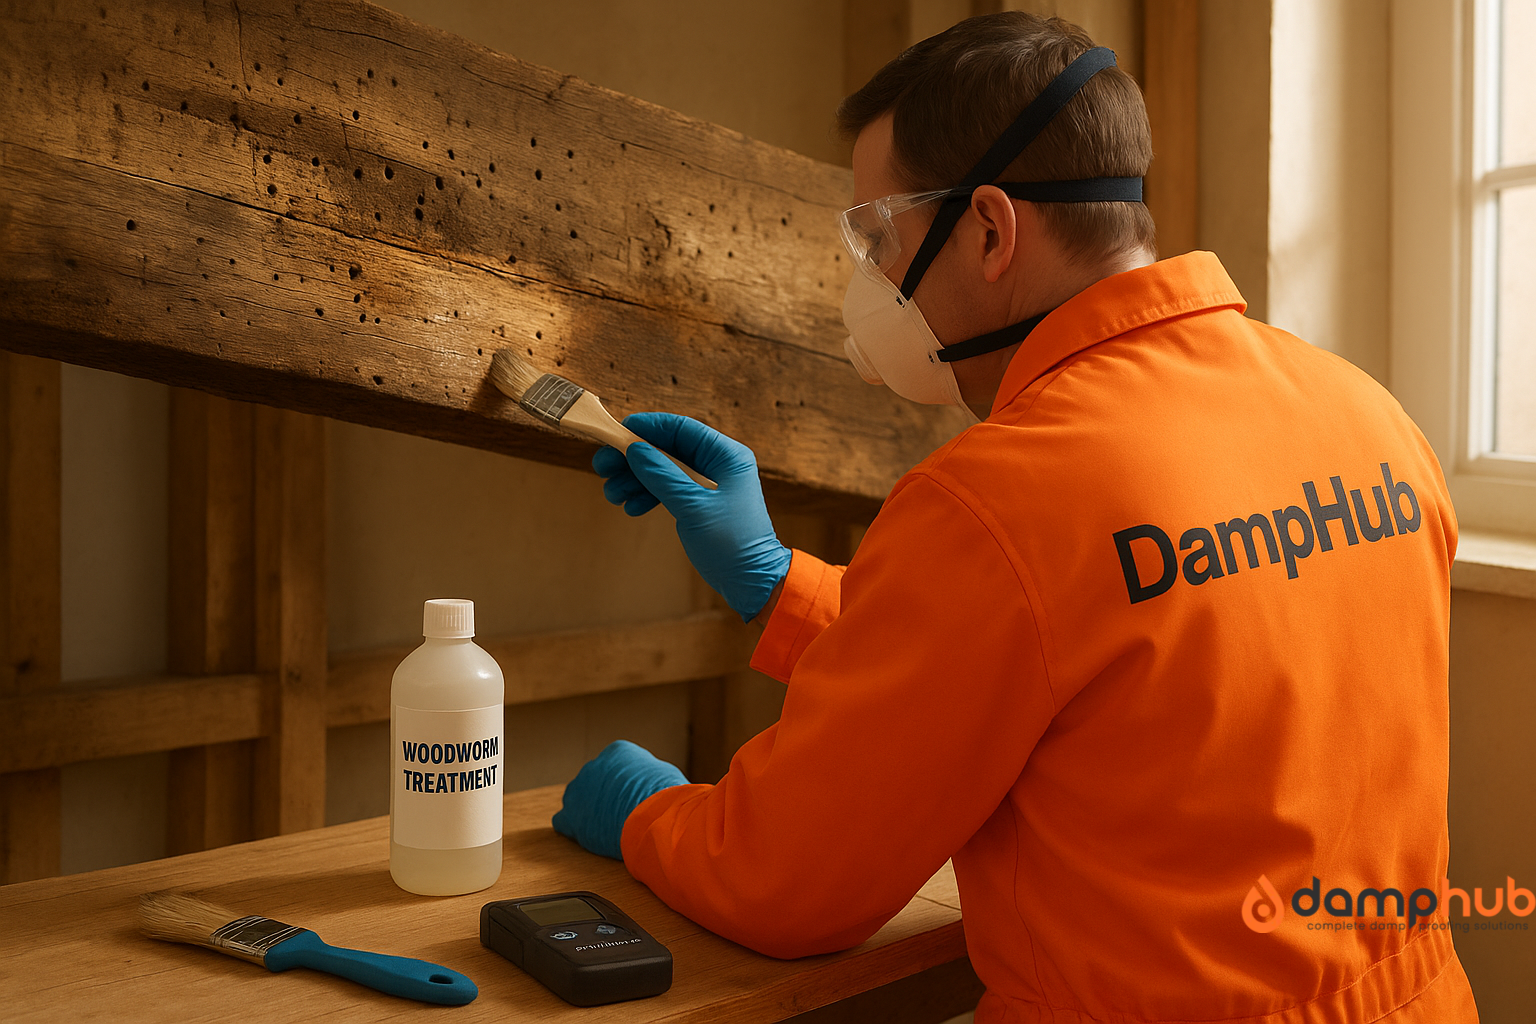
Step 1: Suit Up
Gloves, goggles, and a dust mask or respirator — especially if indoors. Don’t rely on just cracking a window.
Step 2: Apply the Treatment
- For sprays: Apply directly to the affected wood in a slow, even layer. Let it soak in. Two to three coats are usually needed.
- For injection fluids: Use the nozzle to inject the product straight into exit holes and deeper cavities. Don’t overfill.
- For brushes: Soak the brush well and apply generously, especially around joints, cracks, or areas with visible holes.
Try This
Tap lightly around the wood and focus extra attention on areas that sound hollow or feel soft.
Step 3: Let It Dry
Check the product label, but most treatments need at least 6–24 hours to dry between coats. Some need up to 48 hours to fully cure. Keep the space ventilated and off-limits to pets and kids during this time.
Step 4: Reapply as Needed
Some treatments are one-and-done. Others need two or three applications, especially natural remedies. Reapply according to the instructions.
Step 5: Monitor Over Time
Don’t just walk away and forget about it. Check the area again in a few weeks. Look for fresh holes or frass. If new signs appear, repeat the process or consider calling a professional.
Natural vs Chemical Treatments — Quick Comparison
| Feature | Natural Remedies | Chemical Treatments |
|---|---|---|
| Effectiveness | Mild, surface-level only | High — kills deep larvae and eggs |
| Cost | Very low (homemade options) | Moderate (£10–£50) |
| Safety | Excellent — low risk | Needs gloves/mask and good airflow |
| Residual Protection | None or minimal | Up to 10 years |
| Eco-Friendliness | High | Varies by product |
| Effort Required | Easy but repeated often | More prep, longer-lasting results |
How Do You Prepare the Wood Before Treatment?
Before any DIY woodworm treatment goes near your timber, the surface needs to be properly prepared. This isn’t a step to skip because if the product can’t reach the larvae, it won’t work.
1. Check That the Wood Is Dry
Woodworm treatment doesn’t work on damp timber. If you apply a product to wet wood, it either won’t soak in or it’ll just sit on the surface. Not ideal. If in doubt, use a moisture meter. Anything damp reading above 20 percent should be allowed to dry out first. Why? Find reasons in our other guide: What Percentage Damp Is Acceptable In Walls?
2. Sand Off Paint, Varnish, or Wax
The treatment needs bare timber to penetrate properly. If the wood has been sealed, even lightly, grab sandpaper or a sanding block and take it back to the raw grain. No need to get obsessive — just make sure the surface is open and breathable.
3. Clean Off Dust and Frass
Frass (that powdery wood dust) can block the treatment from entering holes. Vacuum it up or brush it away using a stiff brush. Pay attention to corners, joints, and deep grooves.
4. Cover Surrounding Surfaces
If you’re treating wood indoors, lay down dust sheets or plastic to catch drips. Chemical treatments can stain, and some have a strong smell while drying.
5. Ventilate the Area
Open windows and keep the air moving, especially if you’re using sprays or fluids. Never work in a completely closed space with chemical products.

How Long Does DIY Woodworm Treatment Take to Work?
- Initial Kill Time: Most chemical treatments begin killing larvae and beetles within 24 to 72 hours.
- Residual Protection: Many products continue working for 5 to 10 years, depending on how well the wood absorbs it.
- Natural Remedies: These tend to act more slowly and don’t leave long-term protection. You’ll need to reapply weekly or monthly.
What Safety Precautions Should You Take at Home?
You don’t need a hazmat suit, but a few smart precautions will keep the job safe:
- Always wear PPE — gloves, goggles, and a dust mask or respirator.
- Ventilate properly — open windows, use a fan, or work outdoors if possible.
- Keep pets and kids away — until the treated area is completely dry and aired.
- Don’t mix products — especially chemical and natural ones. You could cause a reaction or neutralise the treatment.
- Store leftover product safely — tightly sealed, away from heat, and clearly labelled.
How Do You Stop Woodworm From Coming Back?
Treatment is one part of the job. Prevention is the other.
Here’s how to keep woodworm out long-term:
- Control humidity – Use a dehumidifier in lofts, basements, or anywhere timber is exposed.
- Seal exposed timber – Use a wood stain, varnish, or preservative to stop beetles from laying new eggs.
- Be cautious with second-hand furniture – Especially antiques. Check backs, undersides, and joints before bringing it into your home.
- Inspect timber regularly – Once or twice a year, especially in spring and summer.
- Pre-treat bare wood – If you’re renovating or building, treat timber before painting or sealing it.
Is DIY Woodworm Treatment Worth It?
We need to be honest; not every woodworm infestation can be handled at home. But when it can, DIY is worth it.
Below is a comparison table showing how DIY and professional woodworm treatment costs compare.
DIY vs Professional Treatment — Cost Comparison
| Option | Typical Cost Range | Notes |
|---|---|---|
| DIY Treatment | £10–£50 | Includes basic boron gel or spray from hardware shops |
| Professional Treatment | £300–£1,000+ | Depends on size of infestation and type of timber |
If the infestation is mild, localised, and caught early, you can save hundreds and still get lasting results. But if it’s structural, widespread, or keeps coming back, don’t risk it. Get a survey. Peace of mind is worth paying for.
Answering Your DIY Woodworm Treatment Questions

-
How much does woodworm treatment cost?
It depends on how bad things are. For a small patch of affected floorboards, you might get away with a few hundred quid. But if it’s spread through the roof timbers or structural beams, expect to fork out closer to £1,500 or more. Always get a proper survey first—guesswork won’t cut it.
For more guidance, we dedicated another article to Woodworm Treatment Costs. Make sure to read and see how to budget.
-
Is woodworm treatment harmful to humans?
Most modern treatments are low-risk, but you still don’t want to breathe them in or get them on your skin. Open a few windows, let it dry properly, and keep kids and pets out till it’s safe. Nothing extreme—but don’t treat it like an air freshener either.
-
What is the best way to treat woodworms?
You need something that soaks into the wood and reaches the larvae—surface sprays won’t do much. Boron or permethrin-based treatments are usually the go-to. In really bad cases, parts of the timber might need replacing. It’s less about ‘best product’ and more about doing it right.
-
When to apply woodworm treatments
Spring and summer are your window—literally. That’s when beetles are most active, and you can stop them in their tracks. Don’t wait for damage to pile up. If you see fresh holes or that fine wood dust (frass), it’s time.
-
What to do after woodworm treatment?
First, let it dry properly—don’t rush to paint or varnish. Keep an eye out for new activity just in case, especially over the next 6 to 12 months. If it was done professionally, get your guarantee in writing and stash it somewhere safe.
-
How long after woodworm treatment is it safe?
Usually, 4 to 8 hours is enough, but it depends on the product and ventilation. If it still smells strong, give it more time. Better safe than sorry—especially if you’ve got asthma, pets, or small kids around.
-
Can you paint over woodworm treatment?
You can, but only once the wood’s bone dry. Some treatments can mess with paint adhesion, so try a patch test first. If it peels or bubbles, you’ll need a primer before you go all in.
-
How do you fill woodworm holes before painting?
Use a decent wood filler that matches your timber. Press it into the holes, let it cure, then sand it smooth. Once you’ve primed the surface, you’re good to paint—and it’ll look like nothing ever happened.
-
What do woodworms hate?
Dry wood. Good airflow. No damp. They thrive in neglected, humid corners—so fix leaks, improve ventilation, and keep timber sealed. Some people swear by cedar oil or eucalyptus, but don’t expect miracles from a few drops.
-
Will insecticide spray kill woodworm?
Not really—not the ones buried deep inside. Off-the-shelf sprays might take out the adult beetles, but the larvae are the real problem, and they’re tunnelling where spray can’t reach. You need something specialist that soaks in.

