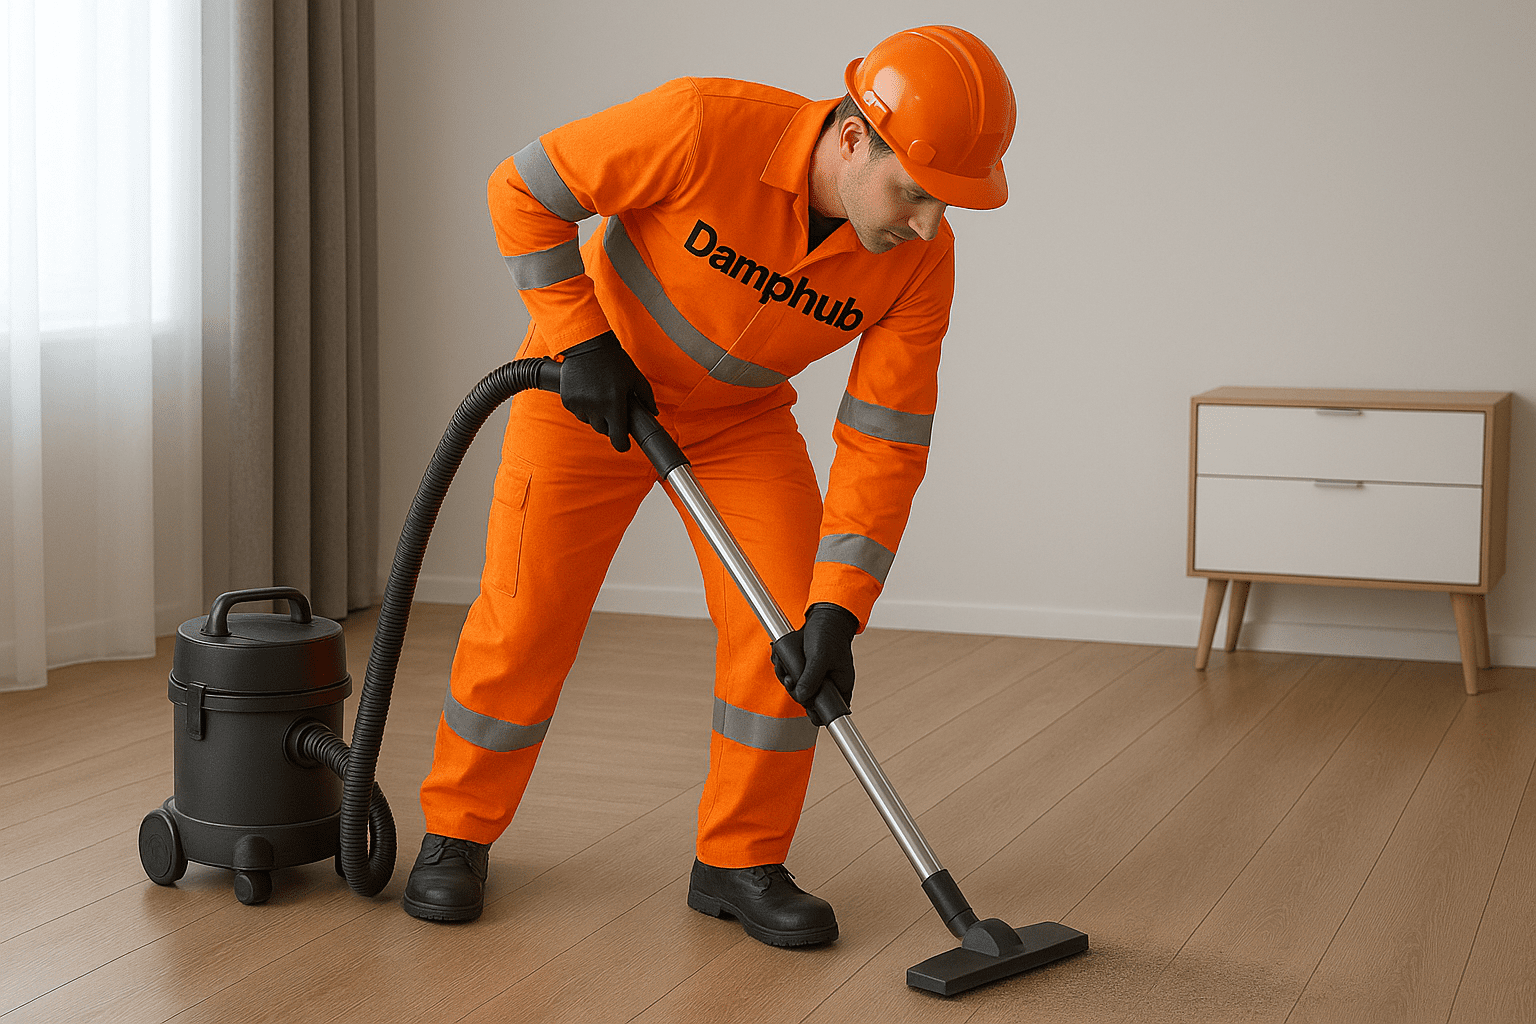
Damp can silently destroy your home’s structure, lower its value, and trigger serious health issues.
In the UK’s cold, wet climate, damp proofing isn’t just a recommendation—it’s essential.
If you’re ready to protect your home from moisture intrusion, here are seven practical and proven damp proofing tips from industry experts.
Why Damp Proof a house
Damp proofing a house is crucial to maintaining the structural integrity, comfort, and health standards of your home, especially in the damp-prone UK climate.
Without proper damp protection, moisture can seep into walls, floors, and ceilings, leading to rotting timber, crumbling plaster, and unsightly mould growth.
For example, in older Victorian terraced homes commonly found across cities like Manchester or Liverpool, the lack of a modern damp proof course often results in rising damp that damages skirting boards and peels off wallpaper.
Over time, untreated damp can also trigger respiratory issues, particularly in children and the elderly.
By proactively damp proofing your home, you’re not just preserving its value—you’re creating a safer, healthier living environment.
7 Expert Insights on How to Damp-proof a House
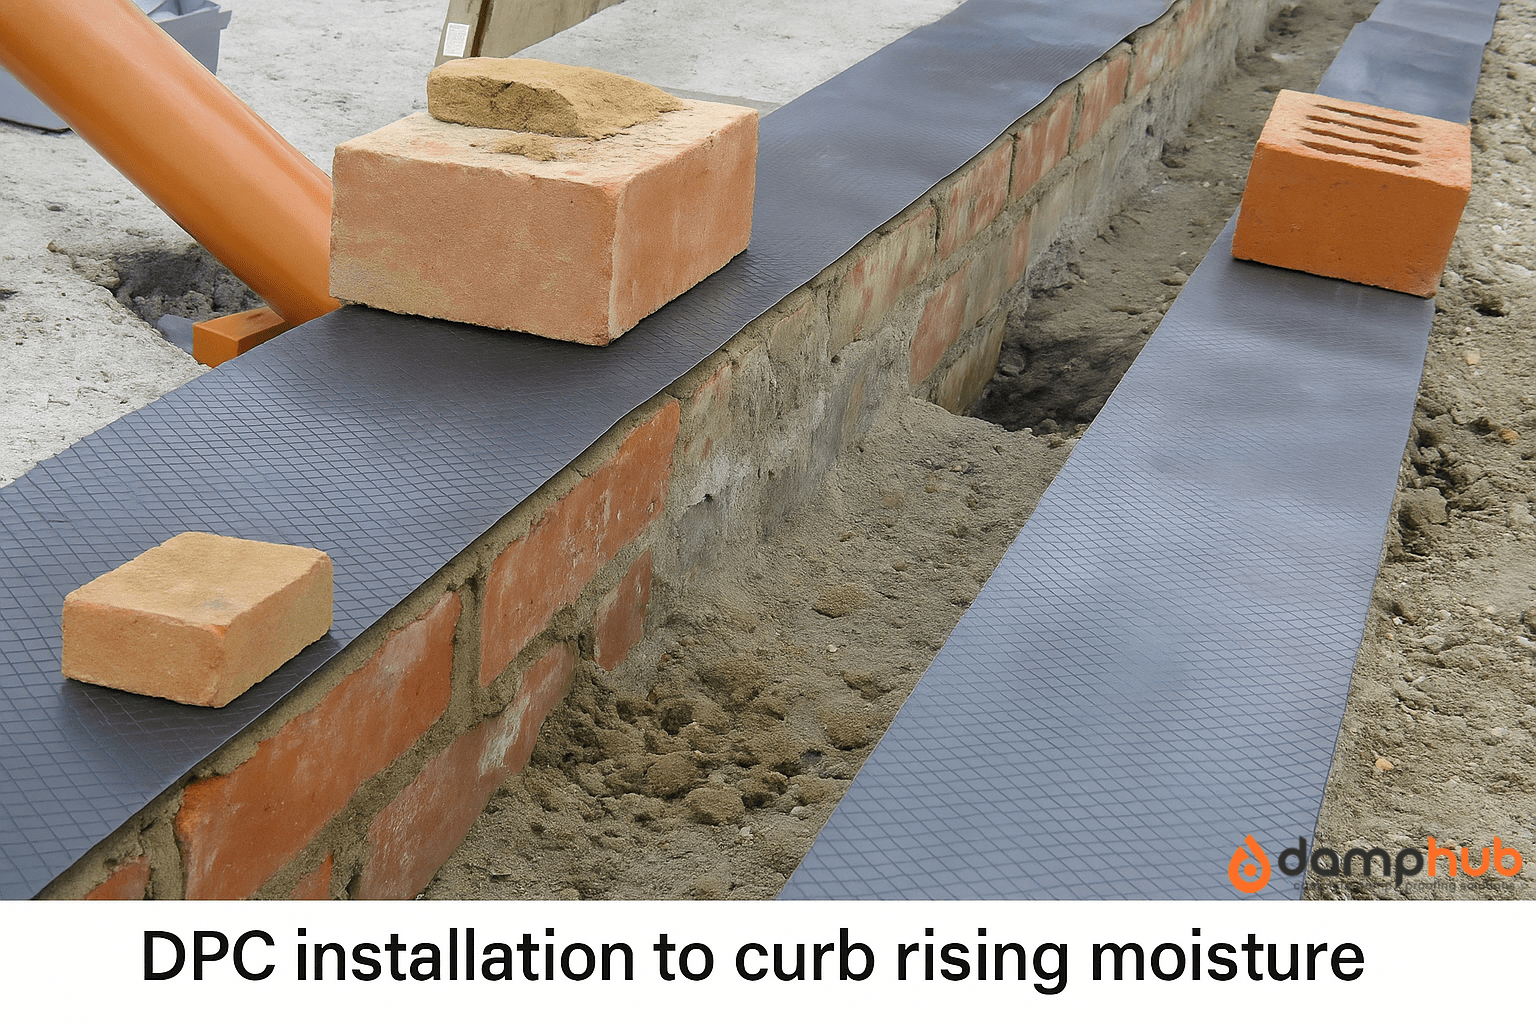
1. Install a Chemical Damp Proof Course (DPC)
A chemical DPC is one of the most effective solutions for rising damp.
This method involves injecting a water-repellent cream or fluid into the base of affected walls, creating a barrier that stops moisture from travelling upwards.
It’s especially useful in older UK properties that lack a modern DPC or have a failing one.
👉 Related Service: Professional Damp Survey and DPC Installation
🔗 For more guidance, visit Property Care Association (PCA) – Damp Control
2. Improve Ventilation Throughout the Property
Poor airflow allows condensation to build up, especially in areas like kitchens, bathrooms, and bedrooms.
Enhancing ventilation helps keep indoor humidity levels in check and prevents mould growth.
Quick Fixes:
- Install trickle vents in windows.
- Use extractor fans in moisture-prone rooms.
- Keep internal doors open to improve air circulation.
💡 For persistent condensation issues, consider a Positive Input Ventilation (PIV) system that introduces fresh, filtered air into the home.
🔗 Learn more from Energy Saving Trust – Home Ventilation
3. Apply Waterproof Render or Membrane on Walls
If your walls are vulnerable to moisture penetration—especially in basements—use a waterproof render, tanking slurry, or membrane system to block water ingress.
🛠️ These methods are ideal for:
- Cellar conversions
- Properties with high external ground levels
- Homes near flood-prone areas
🔗 See advice from the Basement Waterproofing Association
4. Maintain Your Property’s Exterior
Many damp problems start from the outside.
Regular maintenance of the building envelope is crucial in preventing moisture from seeping in.
Exterior Maintenance Checklist:
- Clear out blocked gutters and downpipes.
- Repoint cracked bricks or mortar.
- Ensure the ground level is below the DPC line (minimum 150mm gap).
👉 Related Blog: Who Can Carry Out a Damp Survey?
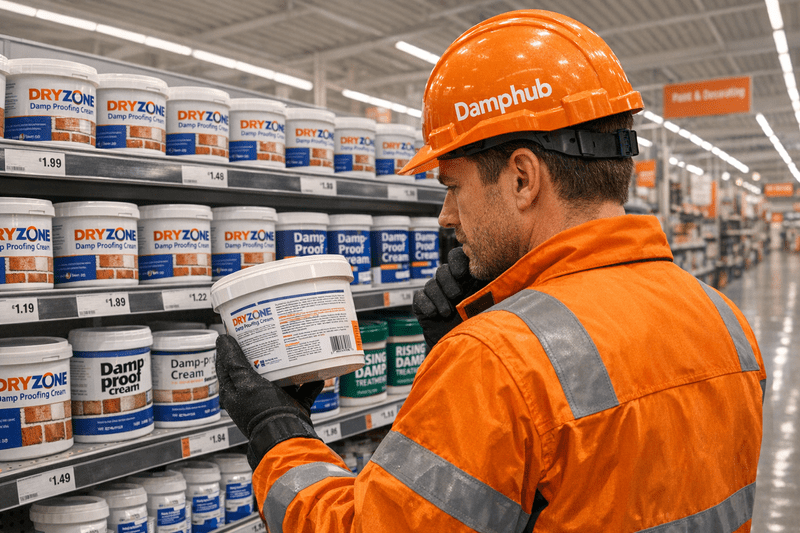
5. Use Water-Resistant Plaster and Paints
After resolving a damp issue, applying the right finish can prevent future recurrence.
Use breathable plasters and specialist anti-damp paints that allow moisture to escape without damaging the surface.
⚠️ Avoid vinyl emulsions or non-breathable paints—they trap moisture and can make the problem worse.
🔗 Check product certifications via British Board of Agrément (BBA) for reliable damp-proofing materials.
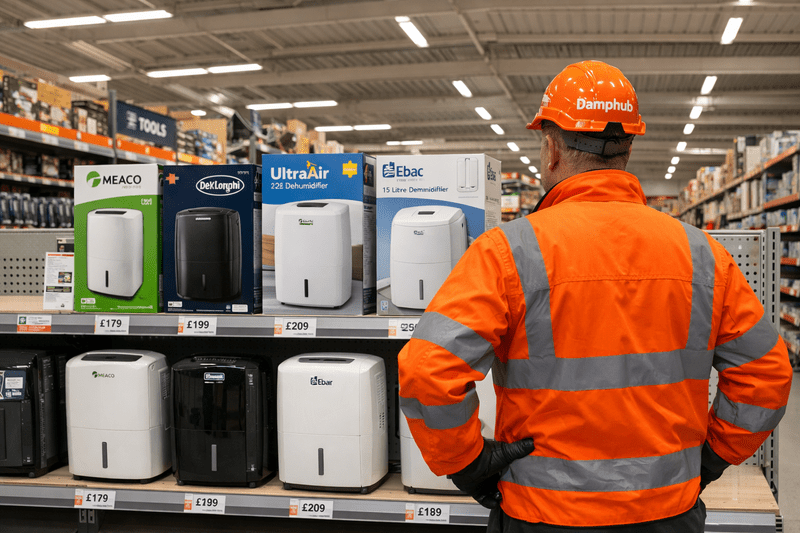
6. Insulate Cold Surfaces to Prevent Condensation
Condensation often forms on cold surfaces like single-glazed windows, uninsulated ceilings, and external walls.
These cold spots need attention to avoid long-term damage.
Insulation Upgrades:
- Internal wall insulation (e.g., thermal plasterboard)
- Loft insulation
- Upgrade to double glazing
👉 Related Blog: Is Rising Damp Dangerous?
7. Fix Leaks and Plumbing Issues Promptly
Undetected leaks are one of the most common causes of penetrating damp.
Even a slow drip under the floorboards can lead to major damp problems over time.
🛠️ What to Check:
- Under sinks and radiators
- Pipework in lofts and crawl spaces
- Ceilings for hidden leaks from bathrooms above
🔗 Visit WaterSafe to find certified plumbers in your area.
Final Thoughts
Damp proofing your house is not a one-size-fits-all approach.
With the UK’s damp-prone climate and mix of old and new building stock, it’s vital to take proactive steps to protect your home.
These seven expert tips give you a solid foundation to identify, treat, and prevent damp.
If you’re unsure where to begin, book a professional damp survey with a certified expert who understands UK building regulations and moisture control standards.
📥 Download Your Free Damp Proofing Checklist [PDF]
Includes actionable steps for each room of your home – perfect for homeowners, landlords, and buyers.
Trusted Resources & Organisations
- 🏠 Property Care Association (PCA) – UK trade body for damp, timber, and waterproofing specialists.
- 🛠️ TrustMark – Government-endorsed quality scheme for trades.
- 🌿 Energy Saving Trust – Advice on ventilation, insulation, and damp prevention.
- 💧 WaterSafe – Find qualified, approved plumbers in the UK.
- 📑 British Board of Agrément (BBA) – Certification body for construction products and installers.
FAQs
How is a damp proof course done?
A damp proof course (DPC) is usually installed by drilling holes into the base of the wall and injecting a special waterproofing cream or fluid. The cream spreads inside the bricks and forms a barrier that blocks water from rising.
In some cases, a plastic or slate sheet is inserted into the wall during construction. After the DPC is added, old plaster is removed and replaced with a new, damp-resistant layer.
What is the difference between damp proofing and waterproofing?
Damp proofing stops moisture from passing through walls or floors slowly over time. It’s good for ground moisture or rising damp.
Waterproofing blocks all water, even heavy leaks or pressure. It’s used in places like basements or on roofs.
Damp proofing handles dampness. Waterproofing handles water.
Why would a DPC fail?
A DPC can fail if:
– It’s old and has broken down
– It was not installed properly
– The wall is covered with materials (like soil, render, or tiles) that bridge the DPC
– The building has poor drainage, making the wall too wet for the DPC to work
– Salt or dirt in the bricks blocks the barrier
What is the curing period of the damp-proof course?
After injecting a DPC, the curing period is the time it takes to fully dry and start working.
This usually takes 1 to 2 weeks for the chemical to set inside the wall.
However, the wall itself may take several weeks or even months to fully dry, depending on how damp it was and how thick the wall is.
How to fix a failed damp proof course?
To fix a failed DPC:
– Check for bridging, like soil or plaster above the DPC line — remove it if found.
– If the DPC itself is weak or missing, inject new damp-proof cream into the wall at the correct height.
– Remove old, damp plaster and replaster with a special waterproof mix.
– Make sure there is good airflow to help with drying.
– If moisture still rises, a stronger system, like a physical membrane, may be needed.
Can you redo a damp-proof course?
Yes, a DPC can be redone. The most common method is to inject a new chemical DPC into the walls at the correct level.
The wall must be stripped back before and after the work, and replastered with damp-resistant material.
In very old or badly damaged buildings, a new physical DPC layer might need to be installed, but this is more complex and costly.
How do you know if you need damp proofing?
You might need damp proofing if:
– You see wet patches or bubbling paint at the bottom of walls
– There’s a musty smell or mould
– Salt marks or flaking plaster appear near the floor
– A moisture meter shows high readings
– A professional damp survey can confirm if you need damp proofing.
How to find out where the damp is coming from?
Look at:
– The position of damp: If it’s near the ceiling, it may be a leak. If it’s near the floor, it could be rising damp.
– External walls: Cracks or blocked gutters can let rain in.
– Bathrooms or kitchens: Poor ventilation may cause condensation.
– You can use a moisture meter or get a damp survey to find the exact source.
How to remove moisture from walls naturally?
Here are simple ways:
– Open windows to let fresh air in
– Use fans to move air around
– Place bowls of salt or baking soda near the wall — they absorb moisture
– Use charcoal in a breathable container to soak up damp
– Dry out the area using gentle heat (like a heater or radiator)
How do I stop my house from getting damp?
You can prevent damp by:
– Opening windows to improve airflow
– Using extractor fans in kitchens and bathrooms
– Keeping furniture a few inches away from walls
– Fixing any leaks or broken gutters
– Heating your home evenly so walls stay dry
Also, check outside: make sure soil, paving, or plants are not too high against the walls.