Damphub News Team — June 26, 2025
You walk into the room and boom—there it is. A broken tile. It won’t just ruin the look. Left slipped, it might let water soak into the floor or trip someone up.
But here’s the good bit: you don’t need to re-tile the whole floor. Just one tile. And sure, it takes some care—but it’s doable.
If you’ve got the right tools—and a spare tile from before—you can sort it in a few hours. Here’s how builders in the UK tackle it, without smashing the rest of your floor.
Why one broken tile matters
Looks—yeah, bad enough. But there’s more. Water can creep in through the crack. The glue underneath can fail. The subfloor may weaken.
“Water can seep down, messing with the adhesive or even the subfloor,” says Paul Kerr from Beatsons. “It’s not just cosmetic—it’s protecting your home.”
Plus, edges get sharp. Someone walking barefoot might slice their foot. It adds up.
What you need
– Hammer & chisel
– Grout rake or a sharp utility knife
– Safety gear: goggles, gloves
– Tile adhesive (pre-mixed is easiest)
– Notched trowel
– Tile spacers
– Grout & float
– Sponge & clean water
– Vacuum—or just a dustpan and brush
– Optional: angle grinder (if you’re comfortable)
Step 1. Clear the grout
You need that tile freed from its neighbours. Carefully remove the grout around it.
“Grout gets hard over time. Use your rake in steady strokes—or score with a knife first,” Kerr notes.
If you’ve got an angle grinder, it’s quicker—but go slow. Goggles and a mask, please.
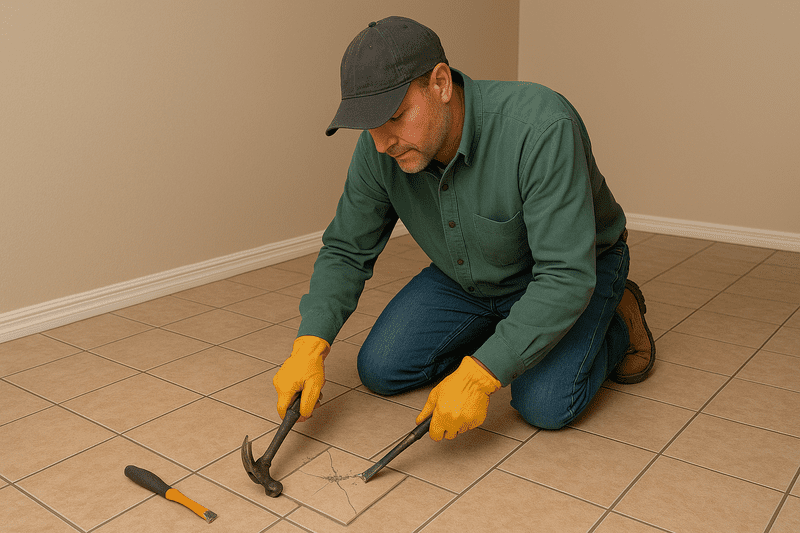
Step 2. Smash and remove the tile
Once the grout’s gone, crack the tile gently—start at the centre.
“Thin tiles? Tap with a hammer. Thick ones? Score first, then chisel,” advises Thomas Oldham of UK Construction Blog.
Grab pieces with a chisel. Wear gloves. Shards are nasty.
Step 3. Clean the spot
Now you’ve got tiles removed, but there’s leftover mortar. You have to get it all out.
“Chisel it flat. Take care near the edges—don’t crack the neighbours,” Kerr warns.
Vacuum or brush clean. Grinder can help, but slowly.
Step 4. Fit your spare tile
Dry-fit it first—make sure it sits flush. Damp the surface lightly.
“Dampen the area. Stops the subfloor sucking moisture from the adhesive,” Kerr explains.
Spread adhesive evenly with a notched trowel. Press the tile in. Use spacers for even gaps.
“Check it’s level—use a straight edge or level. You don’t want it sticking up,” Oldham says.
Step 5. Grout and finish
Let adhesive set—usually a day. Then grout the joints.
Press grout in with a float. Wipe clean with a damp sponge—rinse often. Let it dry, then polish off any haze.
Got porous tiles? Seal them afterward to protect them from stains.
What if you can’t find the same tile?
If you’ve held on to a spare, lucky you. If not…
“Check the original store or online. Still no match? Do a small patterned section. Turn it into a feature,” suggests Oldham.
A mismatch might be a design win.
Final thoughts
Fixing one tile doesn’t need to be a hassle. With some tools, a bit of care, and the right approach, you can fix it in a few hours. The rest of your floor stays safe, and your space looks sharp again.
Want help picking tiling tools, or need more home repair guides? Just shout.
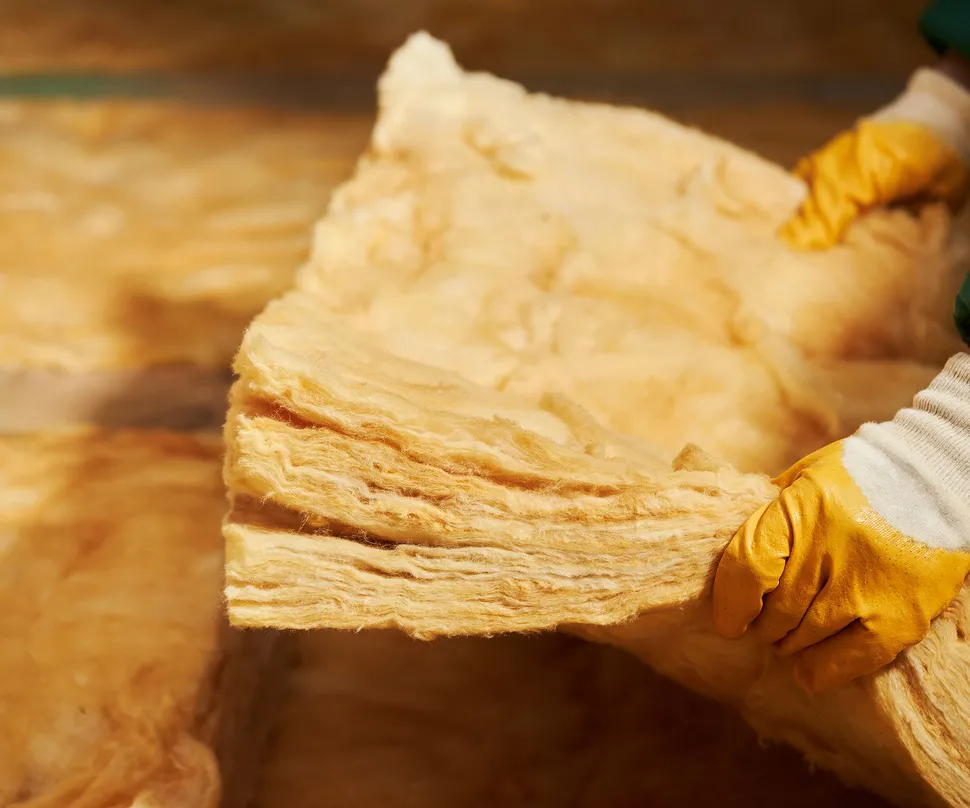
👉 More News: Loft Insulation Can Be Dangerous to Remove—Experts Caution
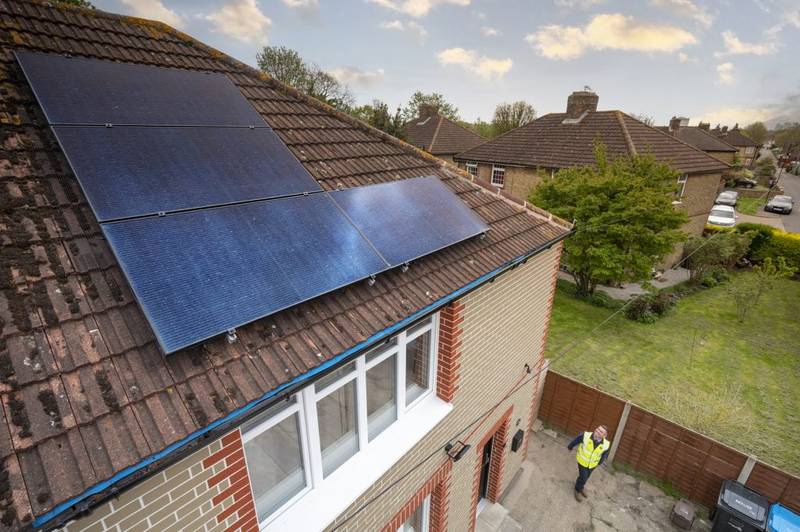
👉 More News: Over 400 Enfield Council Homes to Receive Energy Upgrades